
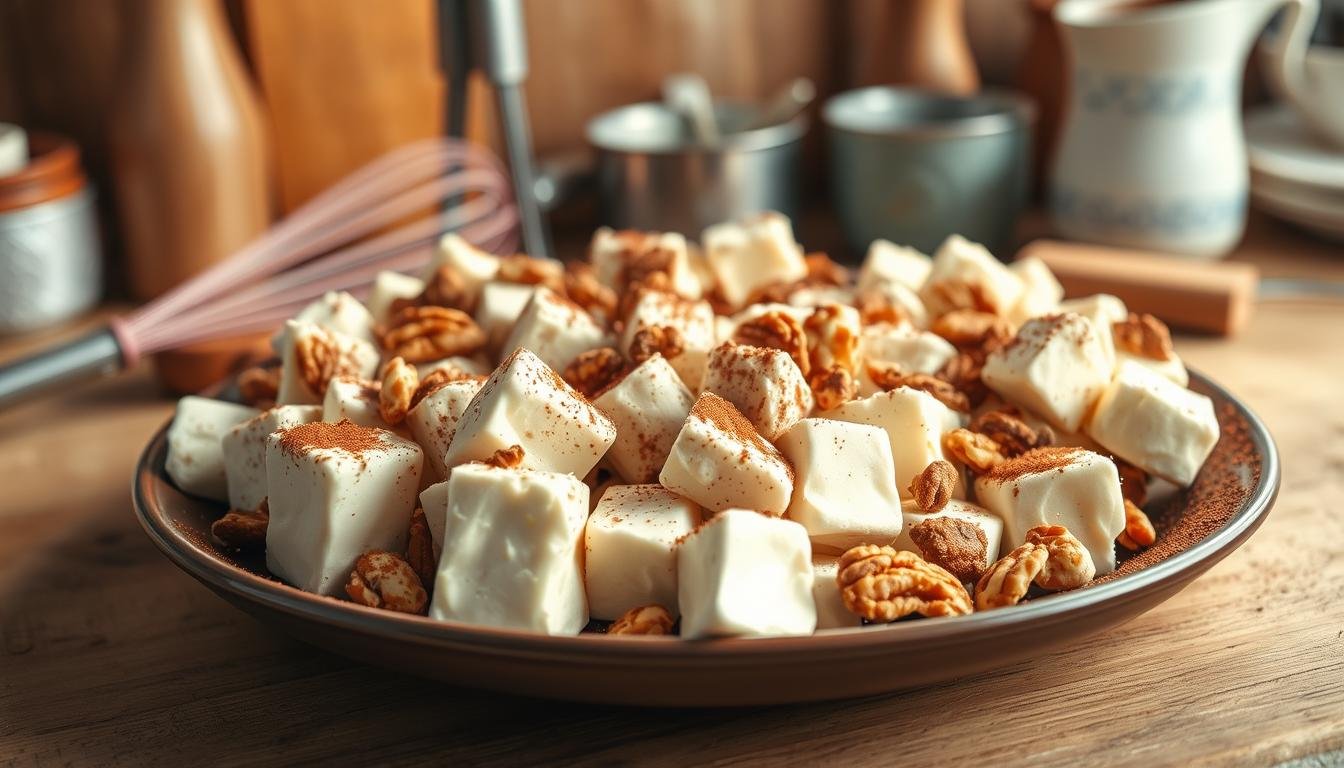
White Chocolate Rocky Road How-To Guide for Your Kitchen
There’s something magical about the smell of homemade treats in your home. It reminds you of family times and laughter around the table. Making the perfect White Chocolate Rocky Road can bring back those cozy moments.
This guide will walk you through making this treat easily. We focus on combining crunchy textures with smooth sweetness. With these tips, your White Chocolate Rocky Road will look great and taste amazing.
Whether it’s for a friend or your family, this recipe is sure to impress. You’ll learn to mix top-notch ingredients for a White Chocolate Rocky Road that’s perfect for any event. Let’s start your cooking adventure today.
Table of Contents
Understanding the Basics of White Chocolate Rocky Road
Exploring white chocolate rocky road reveals its special charm. It’s a indulgent treat that’s loved by many for its simplicity. By using white chocolate instead of dark, you get a dessert that’s both beautiful and delicious.
What Makes This Dessert Unique
This recipe’s magic comes from its mix of smooth white chocolate and crunchy nuts and marshmallows. Unlike dark chocolate, white chocolate’s sweetness brings out the best in these mix-ins. It offers a sensory experience that’s both fancy and comforting.
It’s also super easy to make your own version. You can add your favorite nuts or dried fruits. This makes it perfect for any event, thanks to its indulgent taste.
Why White Chocolate Changes the Texture
Working with white chocolate needs a bit more attention than regular chocolate. It has cocoa butter, milk, and sugar, making it more sensitive to heat. You need to keep the temperature low to keep it smooth and creamy.
If you heat it too much, it can become grainy. Keeping the heat steady is key to getting that smooth, melt-in-your-mouth feel. When done right, it turns into a rich, stable treat that looks great.
| Feature | Traditional Rocky Road | White Chocolate Version |
|---|---|---|
| Base Flavor | Deep, bitter cocoa | Creamy, sweet vanilla |
| Visual Appeal | Dark and rustic | Bright and elegant |
| Melting Point | High tolerance | Requires low heat |
| Texture Profile | Dense and chewy | Velvety and smooth |
Essential Ingredients and Kitchen Tools
Starting your journey to make the perfect indulgent treat begins with your pantry. Having the right items makes your time in the kitchen fun and productive.
Selecting High-Quality White Chocolate
The base of any great White Chocolate Rocky Road is the chocolate. You need exactly 450 grams of high-quality white chocolate melts for the right consistency.
Don’t use low-grade chips with too many stabilizers. They don’t melt well. Premium melts give a smooth finish, coating your mix-ins perfectly.
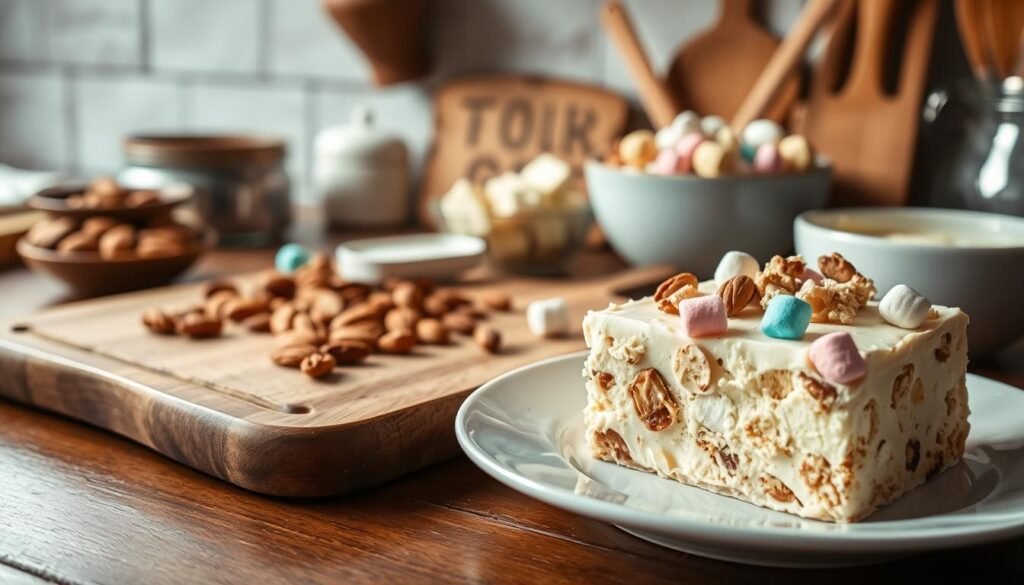
Choosing Your Mix-ins: Marshmallows, Nuts, and More
Texture is key for a successful recipe. You want creamy chocolate and crunchy mix-ins for a great contrast.
Here are the essential parts for a balanced dessert:
- Marshmallows: Use mini marshmallows for even distribution.
- Nuts: Freshly roasted almonds or macadamia nuts add a sophisticated crunch.
- Extras: Add dried cranberries or biscuit pieces for extra depth.
Required Kitchen Equipment for Success
Working with melted chocolate needs efficiency. Before starting, set up your workspace with these tools for a smooth process.
You’ll need a heavy-bottomed saucepan or a heat-proof bowl for melting. A silicone spatula is essential for mixing without crushing your marshmallows and nuts.
Lastly, prepare a square baking pan with parchment paper. This makes removing your White Chocolate Rocky Road easy, leaving a clean, beautiful result.
Step-by-Step Preparation of Your White Chocolate Rocky Road
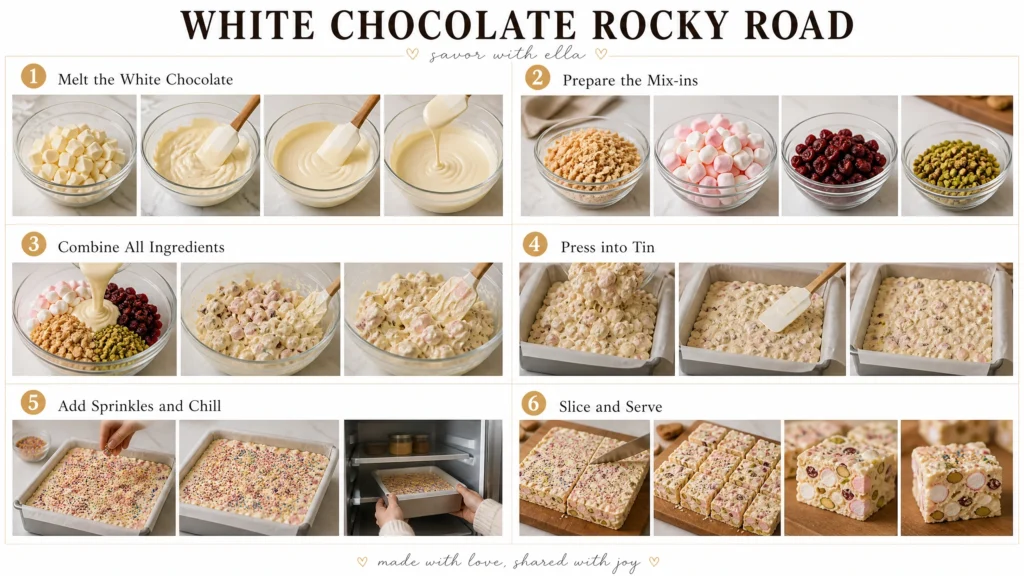
Turning simple ingredients into a gourmet dessert is all about the right technique and patience. This homemade sweet treat is surprisingly easy to make. Just follow these clear steps to get a professional-looking result.
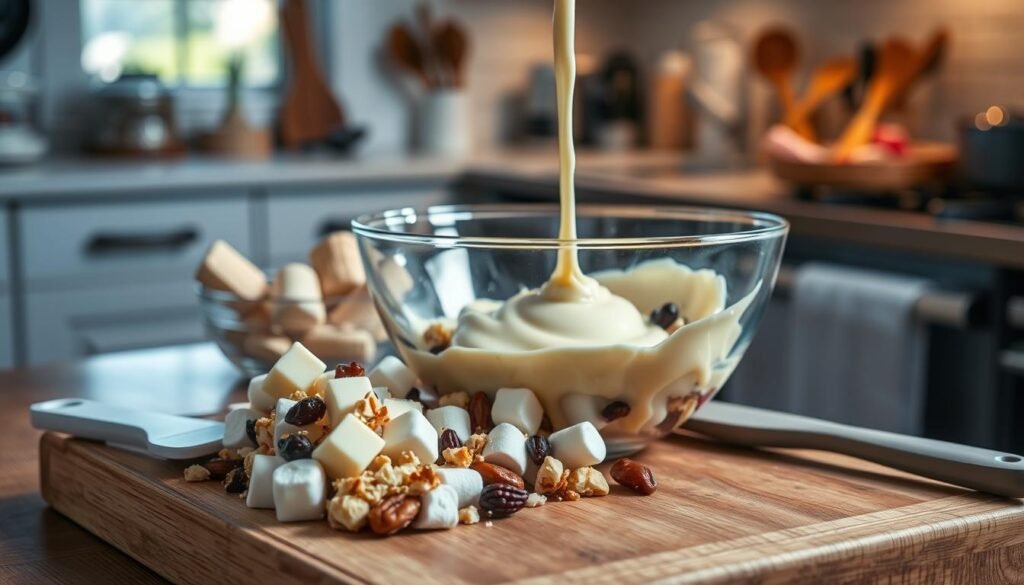
Preparing Your Baking Pan and Ingredients
Start by lining an 8-inch square baking pan with parchment paper. Make sure to leave some overhang for easy removal. Then, gather your ingredients, including high-quality white chocolate, crunchy nuts, and soft marshmallows. Having everything ready makes the assembly process stress-free.
Melting the White Chocolate Safely
For a smooth finish, use gentle heat. Place white chocolate and butter in a heat-proof bowl over simmering water. Crucially, make sure the bowl doesn’t touch the water to avoid burning the chocolate.
Combining the Ingredients for the Perfect Texture
Once the chocolate is smooth, remove it from the heat. Gently fold in your marshmallows and nuts with a silicone spatula. Make sure each piece is well-coated without crushing the delicate textures.
“The magic of a great dessert lies in the balance of textures and the love put into the preparation.”
Setting and Chilling Your Dessert
Pour the mixture into your prepared pan and spread it evenly. Refrigerate it for at least two hours to solidify the fats. This patience is key for that firm bite of a classic homemade recipe.
Slicing and Serving Your Homemade Treat
Once set, lift the block out of the pan using the parchment paper handles. Use a sharp, warm knife to cut it into uniform squares. This easy method makes your sweet treat look as good as it tastes.
| Ingredient Type | Texture Contribution | Preparation Tip |
|---|---|---|
| White Chocolate | Creamy Base | Melt slowly |
| Marshmallows | Soft/Chewy | Keep bite-sized |
| Nuts | Crunchy | Toast lightly |
Creative Variations and Flavor Add-ins
Find out how simple changes can make a classic snack into a fancy holiday treat. You can add different ingredients to the creamy base to make it your own. Whether you want something tangy or crunchy, these tweaks will make your dessert stand out.
Adding Dried Fruits for a Tangy Twist
Dried fruits offer a nice contrast to white chocolate’s sweetness. Try adding dried cranberries or apricots to balance the marshmallows and nuts. These fruits bring color and make your dessert look festive and professional.
Incorporating Cookie Crumbles and Biscuits
For more texture, cookie crumbles are a great choice. Crushed shortbread or ginger snaps add a buttery flavor that goes well with white chocolate. Just mix them in gently so they keep their shape.
Infusing Flavors with Extracts and Spices
Using high-quality extracts can change your treat’s whole flavor. For example, almond extract brings a nutty, sweet taste. You can also try peppermint for a winter feel or rum for a grown-up twist.
| Flavor Profile | Primary Add-in | Best Occasion |
|---|---|---|
| Festive Berry | Dried Cranberries | Christmas |
| Classic Nutty | Toasted Almonds | Year-round |
| Spiced Cookie | Ginger Snaps | Autumn |
| Cool Mint | Peppermint Extract | Winter |
Storage and Serving Tips for Maximum Freshness
Once your masterpiece is set, knowing how to store it properly ensures every bite stays perfect. Proper storage is key to keep the delicate texture of your homemade creation. By following a few simple guidelines, you can enjoy your dessert over several weeks.
Proper Storage Techniques for Room Temperature and Refrigeration
If you plan to eat your dessert quickly, keep it in an airtight container at room temperature. In a cool, dry pantry, your sweet treat will stay fresh for one to two weeks. This method keeps the marshmallows soft and the chocolate perfect for snacking.
For longer storage, the refrigerator is your best friend. When sealed tightly to prevent moisture absorption, your homemade rocky road can last up to four weeks in the fridge. Always bring the pieces to room temperature for a few minutes before serving to ensure the best flavor.
How to Freeze Your Rocky Road for Later
Freezing is a fantastic option if you want to prepare your dessert well in advance. Wrap your slab tightly in plastic wrap and then place it inside a heavy-duty freezer bag. This double-layer protection prevents freezer burn and keeps your sweet treat tasting fresh for up to three months.
When you are ready to enjoy it, simply move the container to the refrigerator overnight. Thawing it slowly helps maintain the integrity of the nuts and marshmallows. Avoid thawing at high temperatures, as this can cause the white chocolate to lose its smooth finish.
Presentation Ideas for Holidays and Gifts
Sharing your homemade creation is a wonderful way to spread joy during the holiday season. Consider cutting the rocky road into uniform squares and placing them in decorative tins lined with parchment paper. Adding a festive ribbon or a handwritten tag makes the gift feel personal and thoughtful.
You can also use clear cellophane bags tied with twine for a rustic look. These small packages are perfect for holiday party favors or stocking stuffers. No matter how you package it, your friends and family will surely appreciate the effort put into such a delicious sweet treat.
| Storage Method | Temperature | Shelf Life |
|---|---|---|
| Pantry | Room Temp | 1-2 Weeks |
| Refrigerator | 35°F – 40°F | Up to 4 Weeks |
| Freezer | 0°F or below | Up to 3 Months |
Conclusion
Making the perfect white chocolate rocky road turns your kitchen into a pro candy shop. You now know how to mix textures and tastes for a standout dessert.
Every batch you make adds a special touch to your table. Whether you use Ghirardelli white chocolate or their premium chips, your creations will impress. These bars are a quick fix for any sweet craving.
Planning for big holiday events is easier with these skills. You can make these treats ahead of time to save time. Your guests will love the effort and deliciousness you put into them.
Trying new mix-ins keeps your baking exciting. Mix nuts, dried fruits, or crunchy biscuits to create your own style. Share your best recipes with friends and family to share the joy of baking.