
How to Bake Millionaire’s Shortbread: Your Step-by-Step Guide
Do you remember the first time you tasted that perfect mix of buttery crust, gooey caramel, and silky chocolate? It’s like a warm hug on a cold day. Making this decadent treat at home is simpler than you think and tastes better than store-bought snacks.
Learning to make this classic dessert brings gourmet elegance to your kitchen. It’s perfect for festive gatherings or when you just want something sweet. This guide will help you get it right, teaching you how to balance textures and flavors.
With these easy steps, you can make impressive bars that compare to bakery-quality treats. Let’s dive into the key ingredients for your own batch of this favorite dessert. Get ready to wow your loved ones with your baking skills.
Table of Contents
Understanding the Layers of Millionaire’s Shortbread
Mastering Millionaire’s Shortbread starts with knowing its three layers. Each part has its role, making the dessert balanced and rich.
By understanding how these layers work together, you can make your shortbread look and taste like it came from a bakery. The right construction keeps it in shape and brings out complex flavors.
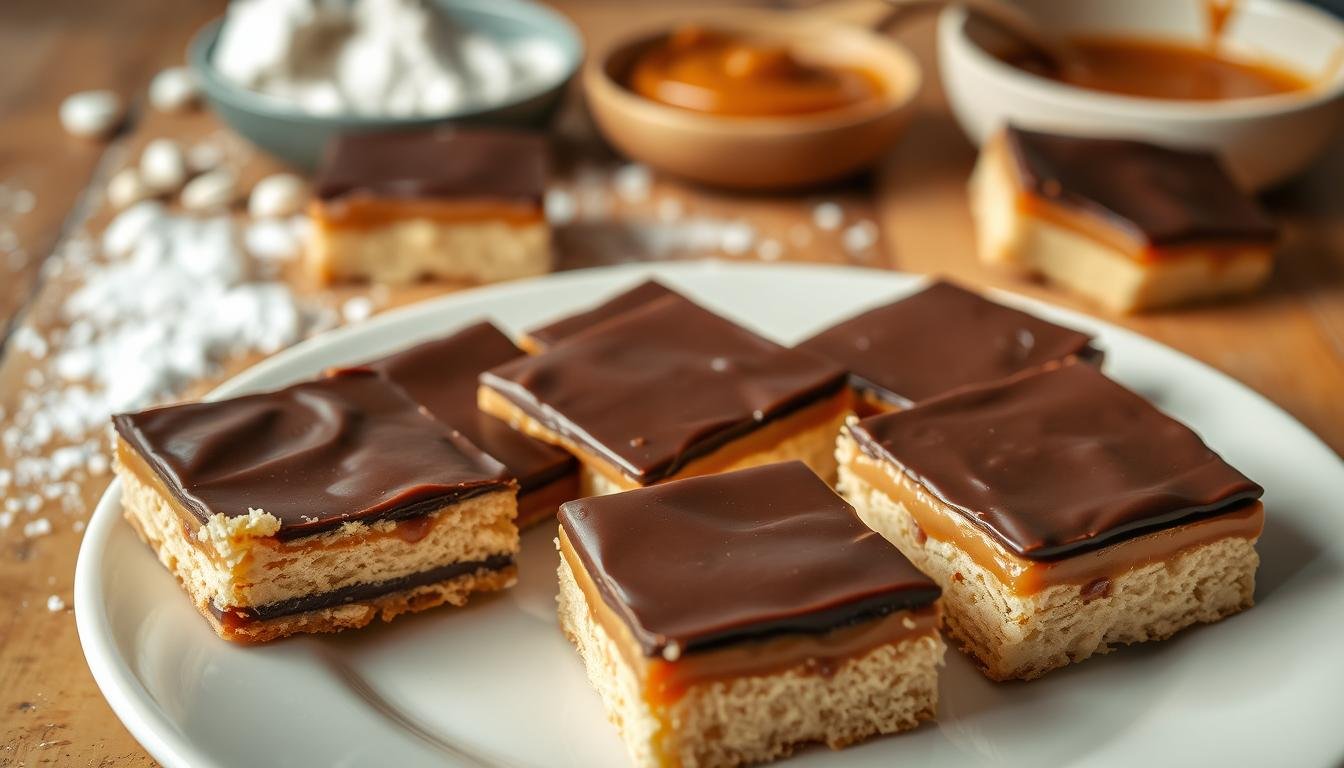
The Anatomy of a Classic Treat
The base of chocolate caramel shortbread is all about the buttery layer. It needs to be strong to hold up the fillings without falling apart.
Next, the gooey caramel adds sweetness and a soft chewiness. The chocolate on top finishes it off, making it smooth and preventing caramel from sticking to your hands.
Why Texture Matters in Each Layer
In making a classic millionaire’s shortbread, you aim for a mix of textures. You want a crunchy base, a sticky caramel, and a chocolate that melts in your mouth.
Texture is key to a great dessert. If one layer is off, the whole thing feels wrong. Adding flaky sea salt on top can make a big difference.
This simple touch enhances the flavors, balancing the sweetness of caramel and chocolate. It makes your shortbread sophisticated and not too sweet.
Essential Ingredients and Equipment
Starting your homemade millionaire’s shortbread journey is all about preparation. Organize your space and choose the best ingredients for a top-notch result. These early steps make baking smooth and fun from the beginning.
Sourcing Quality Ingredients for Your Bake
The key to a delicious treat is using the right millionaire’s shortbread ingredients. Choose high-fat, European-style unsalted butter for a soft, melt-in-your-mouth shortbread. Premium chocolate chips are also crucial for an even melt and a glossy finish.
Don’t skip on fresh, quality sugar and sweetened condensed milk. They’re the heart of your caramel. Freshness is your best friend for the perfect sweetness and depth.
Must-Have Kitchen Tools for Success
For a successful millionaire shortbread, you need the right tools. A heavy-bottomed saucepan is key for even caramel cooking. A reliable stand mixer helps make the shortbread dough just right, without overworking the butter.
Being precise is crucial, especially with hot sugar. An instant-read thermometer is a must for checking your caramel’s temperature. It helps avoid common mistakes, ensuring your caramel is always perfect.
- Heavy-bottomed saucepan: Prevents hot spots and burning.
- Instant-read thermometer: Guarantees the perfect caramel consistency.
- Stand mixer: Ensures uniform dough mixing for a consistent snap.
- Square baking tin: Provides the ideal depth for your three distinct layers.
Preparing the Perfect Shortbread Base
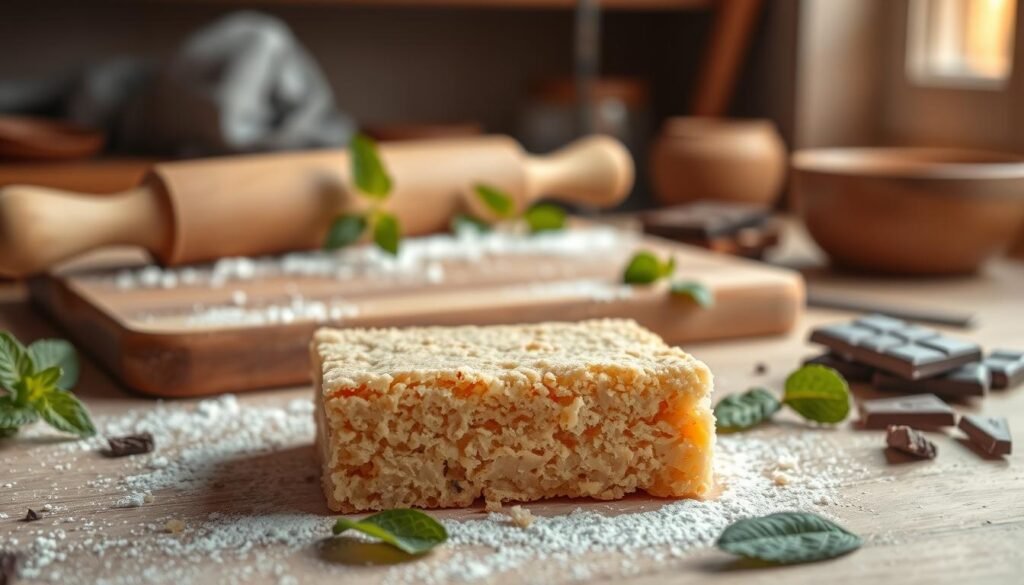
Creating a solid, buttery base is crucial for easy millionaire’s shortbread. It supports the caramel and chocolate layers. Getting the texture right ensures a satisfying crunch in every bite.
Mixing Your Dough for the Ideal Snap
To get the perfect snap, focus on mixing the butter right. Rub cold butter into flour and sugar until it feels like wet sand. This ensures the fat is spread evenly, avoiding a tough or greasy dough.
Don’t overwork the dough when it starts to clump. Too much handling can melt the butter, making the crust dense and oily. Just press the mixture into the pan to form a uniform layer.
Baking Techniques for an Even Golden Crust
For a beautiful golden crust, baking consistency is key. Always line your pan with parchment paper, leaving some overhang for easy removal. This trick prevents the edges from sticking and keeps your dessert looking clean.
Before baking, prick the dough’s surface with a fork. This lets steam escape, keeping the crust flat and bubble-free. Watch the oven closely, as the edges will brown faster than the center.
Troubleshooting Common Base Issues
Even experienced bakers can face crust challenges. If your base is too crumbly, it might not have been pressed enough. Use a measuring cup’s flat bottom to compress the dough into the corners for a firmer base.
For an even crust, make sure your pan is level and the dough is spread evenly. Follow these steps to master an easy millionaire’s shortbread every time. Refer to the table below for quick fixes to common issues.
| Issue | Primary Cause | Recommended Fix |
|---|---|---|
| Crumbly Base | Insufficient compression | Press firmly with a flat tool. |
| Uneven Browning | Hot spots in the oven | Rotate the pan halfway through. |
| Soggy Crust | Under-baking | Increase time by 2-3 minutes. |
| Tough Texture | Over-mixing dough | Use a light touch when mixing. |
Crafting the Rich Caramel Filling
Now that your shortbread base is prepared, it’s time to make the rich, buttery caramel. This layer is key for the gooey texture that makes Millionaire’s Shortbread special.
Achieving the Perfect Caramel Consistency
To get a smooth, sliceable filling, you need to control the heat constantly. Use a heavy-bottomed saucepan to spread the heat evenly. This prevents hot spots that can mess up your mixture.
Keep stirring the condensed milk, butter, and sugar mix with a silicone spatula. Patience is your best tool here. Rushing can cause uneven cooking or burnt milk solids at the bottom.

Safety Tips for Working with Hot Sugar
Working with molten sugar is very dangerous because it gets much hotter than boiling water. Always wear an apron and use long-handled utensils to protect your hands from the steam and bubbling liquid.
If hot sugar splashes on your skin, run cool water over it for at least ten minutes. Never try to wipe the sugar off because it can spread the heat and harm deeper tissues.
How to Prevent Your Caramel from Seizing
Seizing happens when butter fats separate from sugars, making the texture grainy or oily. To prevent this, keep the heat steady and low-to-medium. Avoid boiling too hard.
If the mixture starts to look oily, take it off the heat right away and whisk hard. This helps emulsify the fats back into the sugar, giving you that smooth finish you want.
Adding the Final Chocolate Layer
To get a professional look on your millionaire’s shortbread bars, you need patience and the right method. The chocolate layer gives them a glossy, rich look. By using the best millionaire’s shortbread recipe, you make sure every bite is as tasty as it is beautiful.
Tempering Chocolate for a Professional Finish
To achieve the perfect snap, melt your chocolate carefully. High heat can ruin the chocolate, making it dull and streaky. Use a double boiler or short microwave bursts for a smooth finish.
Adding a bit of coconut oil or butter to your chocolate can make it softer. This prevents it from breaking when you cut the bars. Make sure your chocolate is smooth before pouring it over the caramel layer.
Slicing Your Millionaire’s Shortbread Without Cracking
For clean edges, warm your knife in hot water and dry it. This lets the knife cut through the chocolate smoothly. Repeat this for every cut to keep your bars looking perfect.
If the chocolate starts to drag, reheat your knife. This professional technique helps your squares look uniform and elegant.
Storage Tips to Maintain Freshness
Keeping your dessert fresh is key. Store them in the fridge because of the butter and cream. Use an airtight container to keep the chocolate from picking up fridge odors.
| Chocolate Type | Flavor Profile | Melting Ease | Best Use |
|---|---|---|---|
| Semi-Sweet | Balanced | High | Classic Bars |
| Milk Chocolate | Creamy | Medium | Sweet Finish |
| Dark Chocolate | Intense | Low | Rich Contrast |
Stored right, your treats stay fresh for up to seven days. Let them sit at room temperature for a few minutes before serving. This makes the caramel soft, giving your guests the perfect mouthfeel.
Conclusion
Making Millionaire’s Shortbread is a rewarding experience for any home baker. It’s a perfect treat for any occasion, whether it’s a big gathering or a cozy afternoon.
You now know how to mix buttery textures with rich caramel and smooth chocolate. Your friends and family will be amazed by your millionaire shortbread.
Using top-notch ingredients like Kerrygold butter or Ghirardelli chocolate makes a big difference. Remember, patience is key for cooling and setting times.
With practice, these steps will become easy for you. Share your creations to spread the joy of homemade Millionaire’s Shortbread. Your kitchen is now a place where amazing sweets come to life.
What new flavors will you try next? Maybe sea salt or dark chocolate? Keep experimenting and happy baking as you get better.