
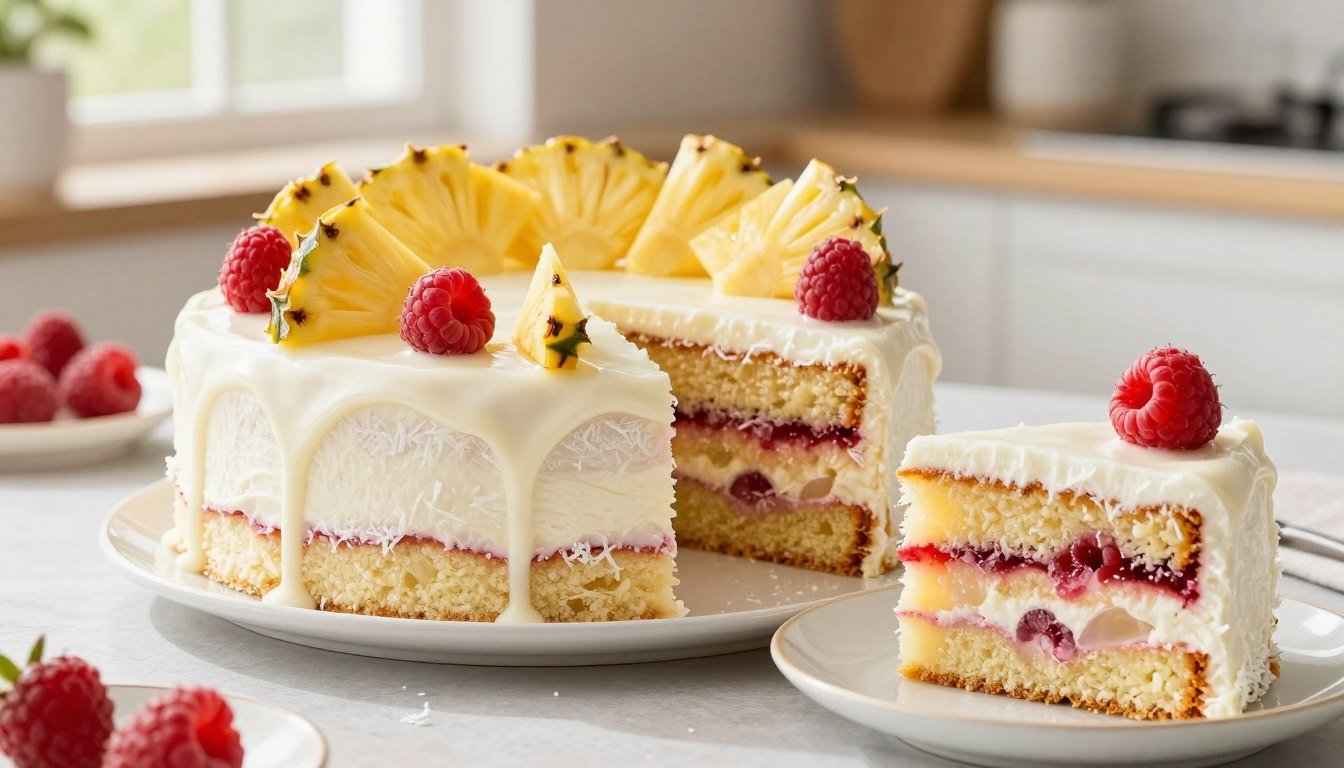
Step-by-Step Pina Colada Raspberry Battenberg Cake Tutorial
There’s nothing like a homemade dessert to brighten your day. Sharing a sweet treat with loved ones creates lasting memories. The Pina Colada Raspberry Battenberg Cake is a great choice to impress your guests.
This dessert is a showstopper that mixes classic baking with modern flavors. It teaches you to mix tropical tastes with tart fruit for a sophisticated taste. This guide helps both seasoned bakers and beginners to bake with confidence and precision.
Get ready to turn your kitchen into a pro patisserie. This Pina Colada Raspberry Battenberg Cake tutorial shows how fulfilling making a masterpiece from scratch can be.
Table of Contents
Essential Ingredients and Equipment for Your Tropical Bake
Starting your summer baking recipe journey means getting your kitchen ready. You need the right tools and ingredients for a top-notch result. By focusing on the details, your dessert will be both tasty and stunning.
Sourcing High-Quality Tropical Components
For a standout tropical dessert, choose the best flavorings. Use high-fat, unsweetened desiccated coconut for the best texture. Pick high-quality canned pineapple rings in juice for the right moisture and flavor.
Fresh raspberries are key for your cake’s color and taste. A vibrant, high-quality raspberry puree will make your sponge pop. Selecting premium ingredients turns your bake into a professional masterpiece.
Required Baking Tools for Precision
For a successful summer baking recipe, precision is key. The Battenberg cake needs uniform sponges. Use a digital kitchen scale for accurate measurements.
The right tools make assembling easier. You’ll need square or rectangular cake tins for the right shape. Here’s a list of must-haves for a smooth process:
- Digital kitchen scale for precise ingredient ratios.
- Adjustable cake frame or specific square tins for uniform sponge thickness.
- Offset spatula for spreading jam and marzipan evenly.
- Sharp serrated knife for clean, professional cuts for your tropical dessert.
- Parchment paper to prevent sticking and ensure easy removal from the tins.
Organizing your tools before starting ensures consistency. With your equipment ready, you can focus on the art of baking.
Preparing the Pina Colada and Raspberry Sponges
Mixing pineapple and raspberry flavors into a light sponge is key. It needs careful mixing and the right oven settings.
Mixing the Coconut and Pineapple-Infused Batter
Start by creaming butter and sugar until it’s light. Then, add coconut extract and crushed pineapple. This keeps the sponge moist and light.
Don’t overmix the batter after adding flour. This prevents a dense sponge, aiming for a light texture.
Incorporating Fresh Raspberry Puree for Color and Tartness
For the second sponge, add fresh raspberry puree. Mix it in until the batter is a beautiful pink.
The tartness of the berries balances the sweetness. Make sure to strain the puree for a smooth texture.
Managing Oven Temperatures for Delicate Sponges
Consistency is key when baking your homemade sponge cake. Use a moderate oven temperature for even rising.
If your oven is too hot, use a baking strip or lower the temperature. This keeps the sponge moist and prevents it from drying out.
Cooling and Trimming Your Sponge Layers
Let the sponges cool in the pan for ten minutes before moving them. This step is crucial to prevent crumbling.
Use a sharp knife to level the sponge tops. This ensures your final cake looks professional and even.
Mastering the Assembly of Your Pina Colada Raspberry Battenberg Cake
The assembly phase is where your cocktail-inspired cake comes to life. By aligning your prepared sponges, you turn simple ingredients into a stunning dessert.
Creating the Checkerboard Structure
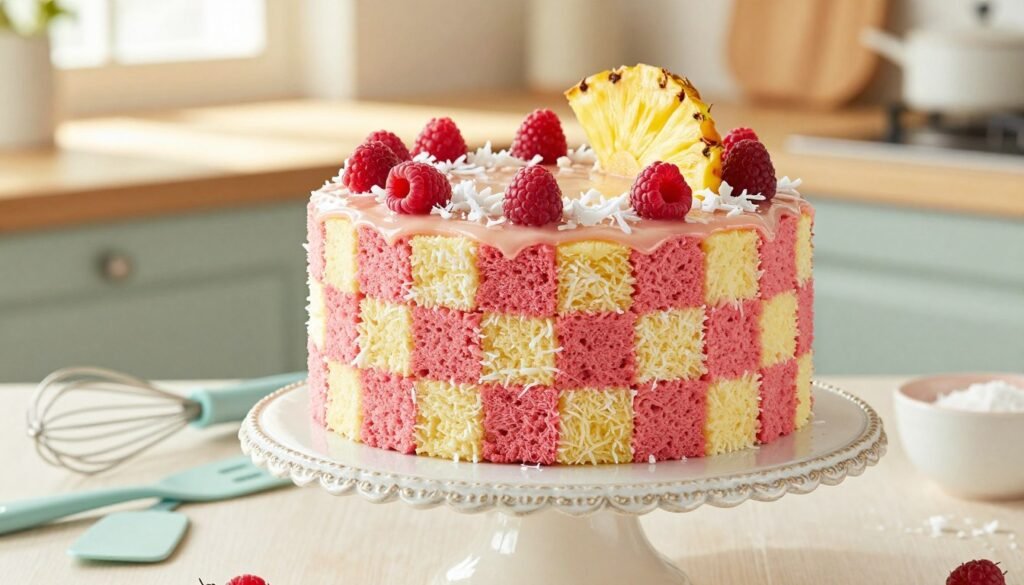
To get the iconic look of a Pina Colada Raspberry Battenberg Cake, your sponge strips must be uniform. Start by trimming the edges of your cooled coconut-pineapple and raspberry sponges to get straight lines.
After trimming, cut each sponge into two equal long strips. Arrange these strips in an alternating pattern to create the classic checkerboard design. It’s important to keep your measurements consistent for a professional finish.
Applying the Apricot or Pineapple Jam Glue
The jam is the glue that holds your cocktail-inspired cake together. While apricot jam is traditional, pineapple jam adds a tropical flavor.
- Warm your chosen jam slightly to make it smooth and spreadable.
- Apply a thin, even layer of jam to the sides of the sponge strips that will touch.
- Press the strips firmly together to ensure they stick without sliding.
Ensuring Structural Integrity During Stacking
To keep your Pina Colada Raspberry Battenberg Cake stable, handle it gently but firmly. Avoid over-saturating the sponges with jam, as too much moisture can make the structure lean or collapse.
After stacking, wrap the cake tightly in plastic wrap and refrigerate it for at least one hour. This cooling time lets the jam set, keeping your cake stable and easy to slice.
Creating the Perfect Coconut Rum Marzipan or Fondant Coating
To make your dessert stand out, you need a special coating. This layer brings together all the tropical tastes. It also protects the sponge and adds a touch of elegance to your coconut rum cake.
By focusing on texture and taste, you make sure every bite is perfect. This balance is key to a great dessert.
Infusing Traditional Marzipan with Rum Flavor
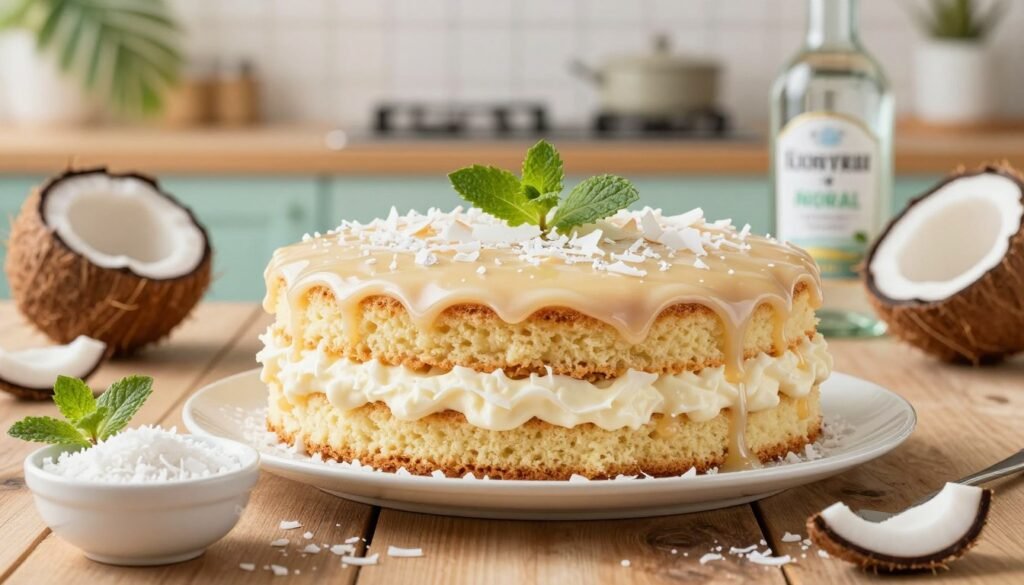
For a top-notch finish, use baking with rum flavor. Mix a high-quality rum extract or a bit of aged dark rum into the marzipan. This adds a fragrant layer that matches the coconut and pineapple inside.
“The secret to a perfect finish is consistency; your coating should be as flavorful as the cake it protects.”
Don’t add too much liquid to the marzipan. It should be sticky and hard to handle. Start with a few drops and adjust until it’s just right.
Rolling and Measuring the Coating for a Clean Finish
When making your coating, be precise. Roll out the marzipan or fondant on a surface dusted with powdered sugar. Aim for a thickness of 3 to 4 millimeters for a pliable coating.
Measure your sponge before rolling the coating. This way, you can cut it to fit perfectly. A clean edge is key to a professional coconut rum cake.
| Feature | Marzipan | Fondant |
|---|---|---|
| Flavor Profile | Nutty and Sweet | Neutral/Vanilla |
| Texture | Soft and Pliable | Smooth and Firm |
| Ease of Use | High | Moderate |
Wrapping the Cake for a Professional Look
Once ready, place the coating over the sponge. Smooth it out with your hands or a cake smoother. This removes air bubbles and makes the cake look as good as it tastes.
Trim the edges with a sharp knife for a clean finish. This step makes your cake look ready for any occasion.
Pro Tips for Achieving the Classic Battenberg Checkerboard Pattern
To get a professional look for your fruit-filled cake, pay close attention to the final steps. Getting that perfect checkerboard look means being consistent. Precision is what turns a homemade treat into a bakery-quality masterpiece.
Measuring Your Cuts for Uniformity
Use a sharp knife and a ruler to make sure your squares fit perfectly. Measure the height and width of your sponge strips before stacking. If the sizes are different, your pattern won’t be symmetrical.
“Baking is a science, but decorating is an art that demands patience and a steady hand.”
Using a template or guide helps keep your cuts straight. Trimming the sponge edges before assembly makes the jam stick better. This keeps your fruit-filled cake looking great.
Troubleshooting Common Assembly Issues
Even skilled bakers face problems with delicate sponges. If there are gaps, add more jam to fill them. A thin layer of apricot or pineapple jam works well.
| Issue | Cause | Solution |
|---|---|---|
| Uneven Height | Batter distribution | Use a kitchen scale. |
| Gaps in Pattern | Loose assembly | Apply more jam. |
| Crumbly Edges | Dry sponge | Chill before cutting. |
Level uneven sponge layers with a serrated knife before assembling. Consistency in batter weight helps avoid this problem. Always cool your sponges completely to prevent breaking.
Storage and Serving Suggestions for Maximum Freshness
To keep your cake moist, wrap it tightly in plastic wrap. Store it in an airtight container at room temperature for the first two days. For longer storage, keep it in a cool, dry place away from sunlight.
When serving your fruit-filled cake, use a warm, dry knife for clean cuts. This prevents the topping from tearing. Serving at room temperature brings out the flavors of coconut and raspberry.
Conclusion
Making a professional dessert at home is very rewarding. This cake recipe mixes bright fruit tastes with a traditional Battenberg’s structure.
You now know how to mix moisture, color, and precision in your baking. Keep practicing these steps to get better with each try.
Check out our 67 recipes to find new tastes and methods. Each recipe is a chance to improve and impress your guests.
Your pastry journey begins with this cake recipe. Use your creativity to make it your own.
Show off your dessert to friends and family. We can’t wait to see your version of this tropical treat.