
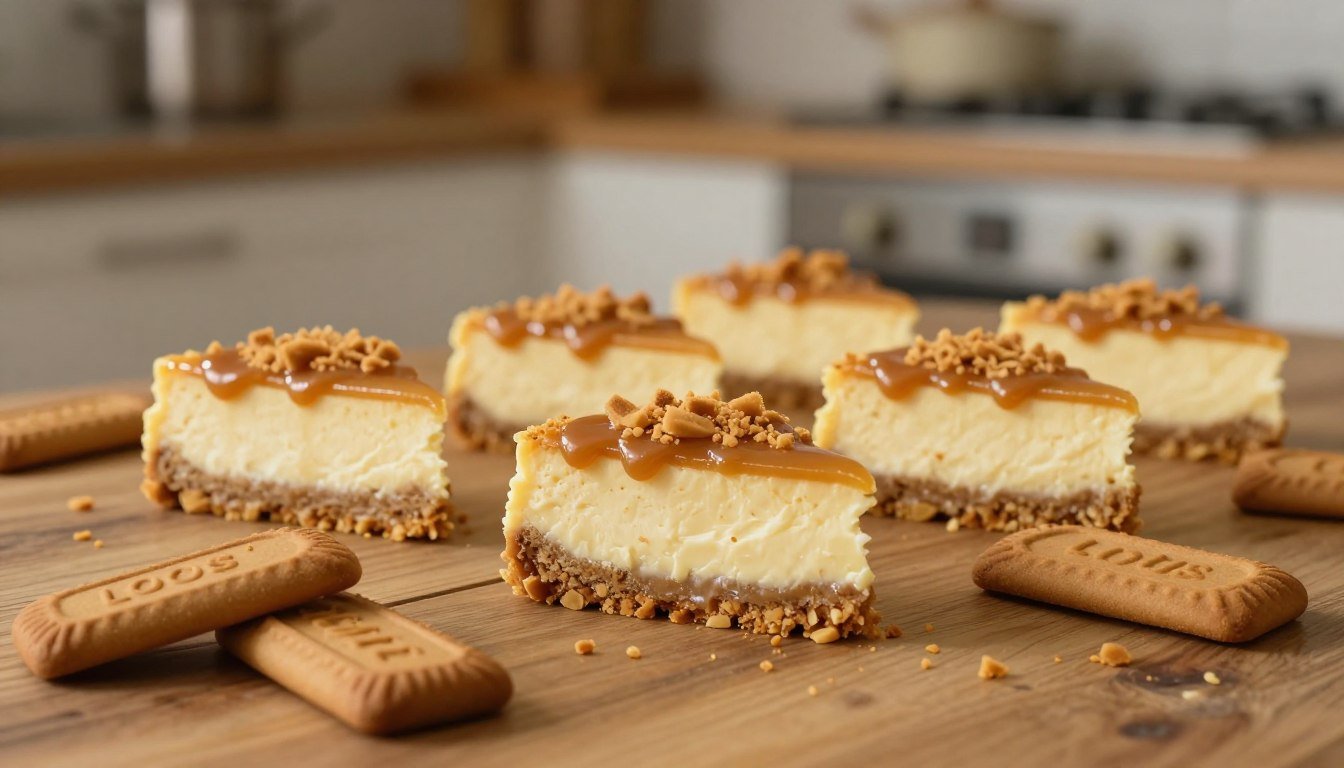
How to Make Lotus Biscoff Individual Cheesecakes Tutorial
Creating a sweet treat is truly magical. It brings people together, whether at a dinner party or for a personal indulgence. Finding the right mix of taste and look is crucial.
You deserve a delicious dessert that looks fancy but is easy to make. This guide shows you how to make these treats without using your oven.
We’ll guide you through each step of this easy recipe. Follow these simple steps to make stunning Lotus Biscoff Individual Cheesecakes. They’ll impress your guests for sure.
Even if you’re new to cooking, making these cheesecakes is rewarding. Let’s start your journey to becoming a home-baking pro.
Table of Contents
Essential Ingredients and Equipment
To make perfect sweet treats, you need the right ingredients and tools. Make sure your workspace is clean and your supplies are ready. This will make baking smoother and more fun.
Sourcing Quality Lotus Biscoff Cookies and Spread
The base of your dessert is Lotus Biscoff cookies. You’ll need about 150g of these spiced biscuits for a crunchy base. Make sure your cookies are fresh for the best texture.
The spread adds a deep, caramelized flavor. Using the real brand keeps your mini cheesecakes tasting classic and loved by all.
Selecting the Right Cream Cheese and Dairy Products
Quality dairy is key for a top-notch dessert. Use 400g of high-quality cream cheese for the best results. Let your cream cheese warm up to room temperature before mixing.
Room-temperature ingredients prevent lumps in your batter. This ensures a smooth, velvety texture. Cold ingredients can make your dessert grainy, so warming them up is crucial.
Necessary Kitchen Tools for Perfect Portions
The right tools are essential for consistent results. A food processor is great for making Lotus Biscoff cookies into fine crumbs. It saves time and makes your crust even.
A silicone mini muffin tray is also crucial. It helps you make perfectly sized mini cheesecakes that are easy to remove. See the table below for a checklist of what you need.
| Item Category | Recommended Quantity | Purpose |
|---|---|---|
| Biscoff Cookies | 150g | Crust base |
| Cream Cheese | 400g | Filling body |
| Silicone Tray | 1 unit | Portion control |
| Food Processor | 1 unit | Crumb preparation |
Preparing the Lotus Biscoff Crust
A firm, buttery base is key for a great no-bake cheesecake. It supports the creamy layers and adds a nice crunch. This crunch contrasts with the smooth filling.
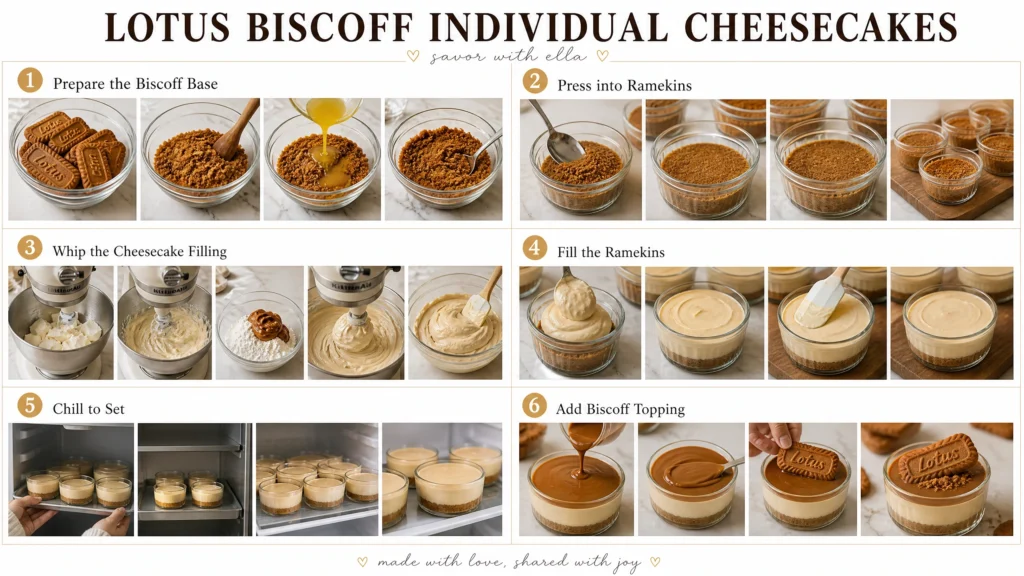
Crushing Cookies to the Ideal Consistency
To get the right texture, crush your Lotus Biscoff cookies until they’re like fine sand. Make sure there are no big chunks. Big chunks can make the base crumble when you take it out of the mold.
“The secret to a perfect crust is consistency; every crumb must be coated to ensure the base holds together under pressure.”
Mixing and Pressing the Base into Molds
After crushing, mix the crumbs with 45g of melted butter. Stir until it’s like wet sand. This is a common method in many dessert recipes.
Press the mixture into the mold bottoms with a spoon or tamper. Packing the base tightly helps it stay together when you serve it.
Chilling the Crust for Structural Integrity
Put your molds in the fridge for at least thirty minutes after pressing. This lets the butter solidify. It makes a sturdy structure that can hold the cheesecake filling.
Don’t skip this step. A cold, set crust is crucial for a good no-bake cheesecake look. Proper preparation means your dessert recipes will always look great, thanks to your Lotus Biscoff cookies.
Crafting the Creamy Lotus Biscoff Individual Cheesecakes Filling
The secret to a perfect no-bake cheesecake is in the filling’s texture. You need a smooth, rich base for this easy recipe. By controlling temperature and technique, you can make a pro-quality dessert at home.
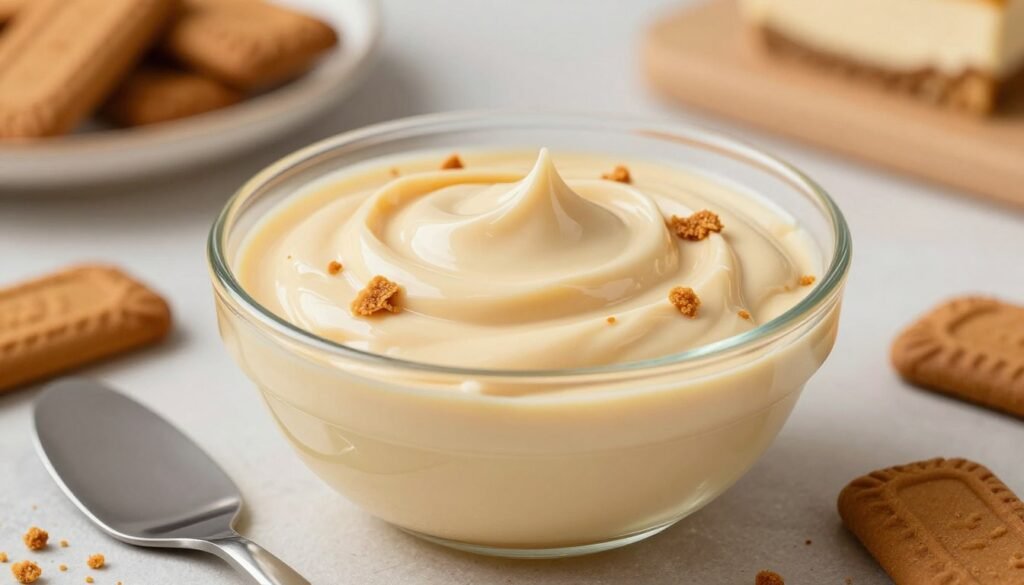
Whipping the Cream Cheese and Biscoff Spread
First, make sure your cream cheese is room temperature. Mix it with Biscoff spread in a big bowl. Use an electric mixer on medium until it’s smooth and even.
Incorporating Heavy Cream for a Velvety Texture
Slowly add heavy cream while mixing on low. This makes the mix light and velvety. Keep whipping until it’s thick and holds its shape.
Achieving the Perfect Sweetness Balance
The Biscoff spread has sugar, so taste before adding more. If it’s too sweet, add a bit of powdered sugar. The cream cheese filling should be balanced, showing off the cookie’s flavor without being too sweet.
Tips for Avoiding Lumps in Your Filling
Lumps happen if the cream cheese is too cold or not mixed enough. Soften your dairy before starting. If you see lumps, beat faster to get rid of them.
Ensuring the Correct Consistency Before Piping
Your mix should be thick enough to form peaks when you lift the beaters. If it’s too thin, chill it for ten minutes before piping. This step helps your no-bake cheesecake keep its shape in the molds.
Setting and Decorating Your Mini Cheesecakes
You’re ready to make your simple ingredients into a stunning delicious dessert. The last steps need patience for a beautiful presentation.
Piping the Filling into Your Prepared Molds
Using a piping bag is the best way to fill your molds cleanly. This method prevents air bubbles and fills every corner of the mold with cream cheese filling.
Fill the molds about three-quarters of the way. Gently tap the molds on your counter to settle the mixture. This creates a smooth surface for your mini cheesecakes.
Optimal Chilling Times for No-Bake Success
Patience is key with no-bake recipes. Place your molds in the freezer for at least 3 hours. This lets the structure set properly.
This deep chill makes the cream cheese filling firm. If you remove them too early, you might damage the edges.
Creative Topping Ideas with Biscoff Crumbs and Drizzle
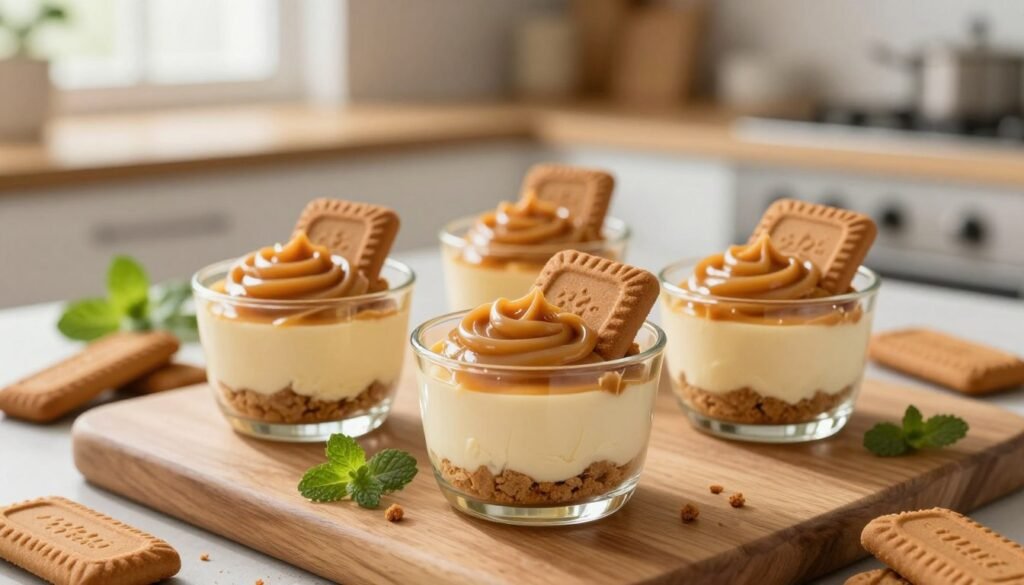
After they’re set, add the finishing touches. A drizzle of melted Biscoff spread adds shine and flavor.
Sprinkle reserved cookie crumbs on top for crunch. These details make your mini cheesecakes look like they came from a bakery.
How to Remove Cheesecakes from Molds Without Damage
Removing your creations from silicone molds needs care. Start by peeling back the mold sides to release the suction.
Push upward from the bottom to pop each piece out slowly. Working with a fully frozen cream cheese filling keeps your mini cheesecakes in perfect shape.
Conclusion
Creating Lotus Biscoff Individual Cheesecakes is easy and fun. You can now make elegant, spiced caramel treats without using an oven.
These desserts are great for busy days. You can make them ahead of time for school lunches or surprise parties. Your skills in mixing textures and flavors will always result in delicious treats.
Don’t be afraid to add your own twist to these recipes. Try new toppings or change the cookie crumb mix. Your kitchen will become the place to go for special snacks.
Share your creations with loved ones to spread happiness. We can’t wait to see how you make these treats your own. Enjoy mixing and chilling as you explore more recipes.