
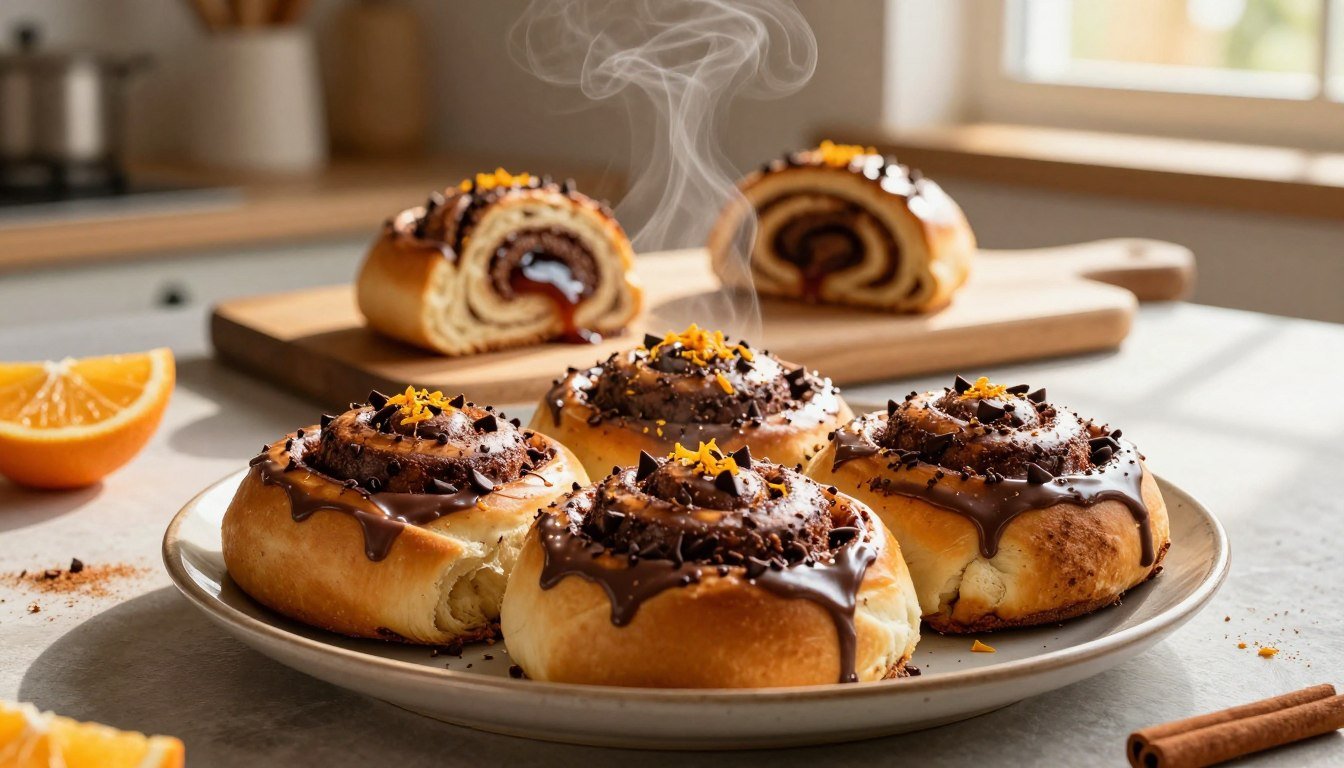
Bake Perfect Chocolate Orange Cinnamon Rolls with This Tutorial
Chocolate Orange Cinnamon Rolls are the kind of homemade treat that make waking up feel extra special. The scent of warm dough, rich cocoa, and fresh citrus fills the kitchen and turns an ordinary morning into something memorable. These sweet breakfast rolls bring comfort, a bakery-style feel, and a unique flavor that is both familiar and a little fancy.
They are perfect for guests, family brunches, or a cozy weekend bake. Best served warm, they also stay fresh for a few days when stored in a sealed container. Let’s start making your new favorite treat.
Table of Contents
Essential Ingredients and Equipment for Success
To make homemade cinnamon rolls that taste like they came from a bakery, start early. Make sure all your ingredients are at room temperature for 45 to 60 minutes before you start. This helps the dough rise evenly and gives it a better texture.
Selecting High-Quality Baking Components
The secret to a great pastry is in the ingredients. Use fresh, organic oranges for zest to add a bright, citrusy flavor. Premium dark chocolate with at least 60% cocoa adds a sophisticated taste that makes your rolls stand out.
Choosing high-quality flour and fresh yeast is key. These ingredients help you try different cinnamon roll variations without losing the dough’s structure. Using the same ingredients every time means your rolls will always taste the same.
Must-Have Kitchen Tools for Pastry Making
The right tools make baking easier and more fun. A microplane zester is crucial for getting the orange peel’s flavorful oils without the bitter pith. A sturdy bench scraper also helps with sticky dough.
Investing in a heavy-duty rolling pin and a reliable digital scale will improve your baking. These tools help you roll the dough evenly, which is important for even baking. Check out the table below to see how each ingredient affects your rolls.
| Ingredient | Role in Recipe | Quality Impact |
|---|---|---|
| Dark Chocolate | Flavor Depth | High cocoa content prevents melting too fast |
| Orange Zest | Aromatic Profile | Fresh zest provides superior citrus notes |
| Active Yeast | Leavening Agent | Freshness ensures a light, airy crumb |
| Unsalted Butter | Richness/Texture | Room temperature butter creates better layers |
Preparing the Perfect Yeast Dough
Creating a strong dough is key for your next batch of homemade cinnamon rolls. The secret to a light, airy crumb is in how you handle the yeast and develop the gluten. This happens during the initial mixing stages.
Activating Your Yeast for Optimal Rise
Before starting, make sure your yeast is alive and ready. Mix your yeast with warm liquid, between 105°F and 115°F. Add a pinch of sugar to feed the yeast.
Wait for five to ten minutes until it becomes frothy and fragrant. If it doesn’t bubble, it’s dead. You’ll need to start over for a proper rise.
Kneading Techniques for a Soft Texture
After mixing wet and dry ingredients, it’s time to knead. Use a stand mixer on low speed for 3 minutes. This makes the dough smooth and less sticky.
Kneading aligns gluten strands, which is crucial for holding air bubbles. When the dough feels smooth, elastic, and soft, it’s ready. It should feel like high-quality playdough.
Troubleshooting Dough Consistency
If your dough is too sticky or wet, don’t worry. It’s normal to need small adjustments. This can happen with different flours or kitchen humidity.
- Add flour one tablespoon at a time if the dough clings too much.
- Don’t add too much flour, or your rolls will be dense.
- Use a light dusting of flour on your hands to handle the dough without adding extra weight.
Mastering this stage is crucial for your favorite brunch recipes. Once you’re confident with the basic dough, you can try different cinnamon roll variations. Just add spices or citrus zest to the mix.
Crafting the Decadent Chocolate Orange Filling
Making the filling is the magic part of baking. It turns simple dough into a decadent pastry everyone wants. By balancing the ingredients, you’ll meet any sweet tooth craving.
Balancing Dark Chocolate and Zest
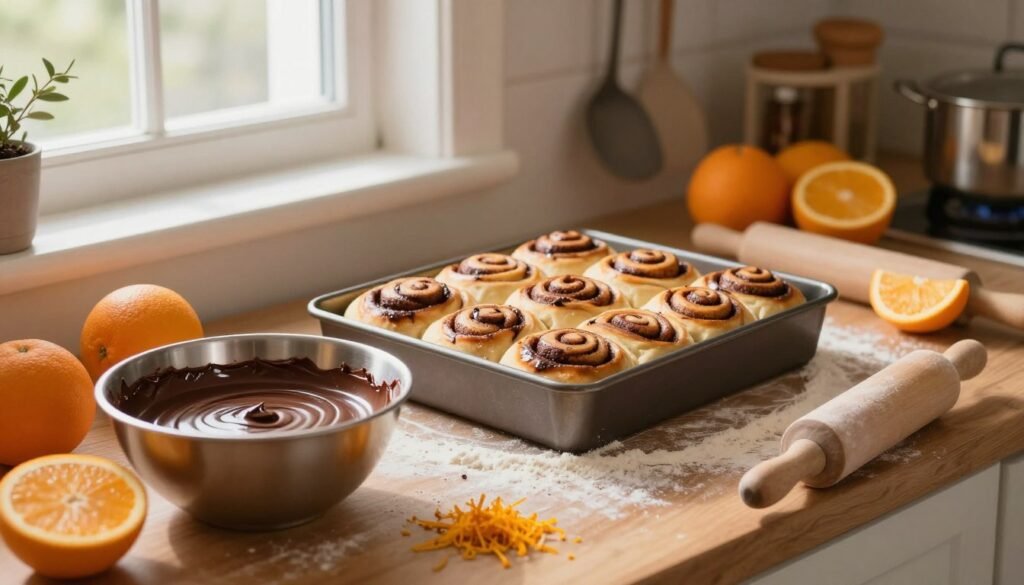
For a top-notch flavor, mix dark chocolate with fresh orange zest. Start by melting 2 1/4 ounces of dark chocolate with 1/4 cup of unsalted butter. This makes a smooth base that brings out the citrus.
When baking with chocolate and orange, the zest matters a lot. Use a fine grater to get the outer peel, avoiding the bitter pith. This keeps your filling bright and fragrant.
Achieving the Ideal Spreadable Consistency
The key to a great roll is the filling’s texture. It should spread easily but hold its shape. If it’s too warm, it soaks the dough; too cold, it tears it.
Let your mixture cool until it’s thick but spreadable. This step stops the filling from leaking during baking. Your delicious dessert ideas will look as good as they taste.
| Ingredient | Purpose | Preparation Tip |
|---|---|---|
| Dark Chocolate | Provides structure and depth | Use 60% cocoa or higher |
| Unsalted Butter | Adds richness and sheen | Melt slowly to avoid burning |
| Orange Zest | Adds bright, citrus aroma | Grate finely for even flavor |
| Granulated Sugar | Enhances sweetness and texture | Mix well into the warm base |
Mastering the Assembly and Rolling Technique
Getting the layers right is key to making your pastries look like they came from a bakery. Handling your dough carefully ensures every bite is perfect. Your decadent pastries will have just the right mix of texture and taste.
Rolling the Dough for Uniform Layers
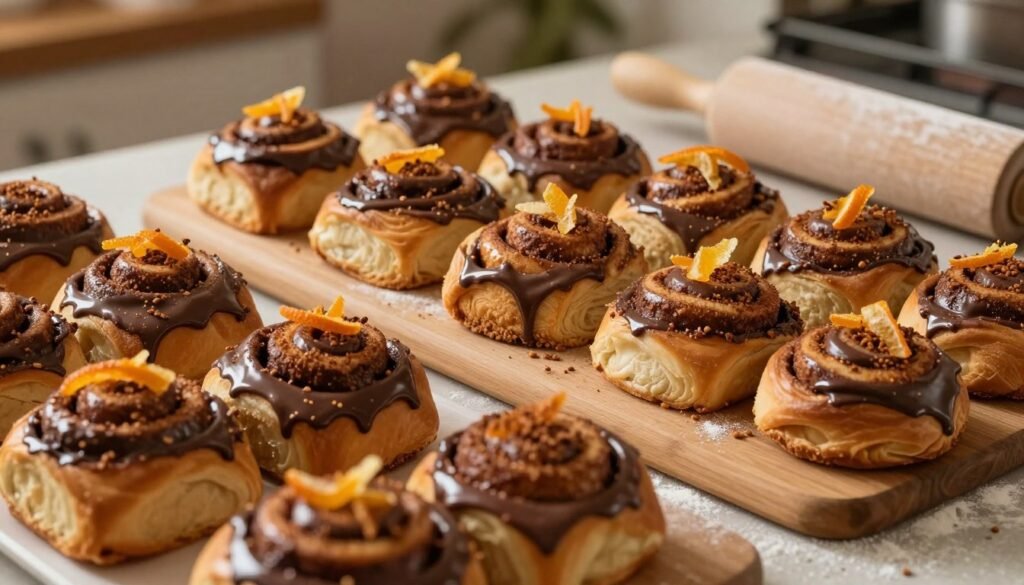
To get those beautiful swirls, roll your dough into a 16” x 24” rectangle. This size helps spread your filling evenly and keeps the dough soft.
First, dust your work surface with flour to stop the dough from sticking. Roll from the center outwards with a rolling pin. Make sure to leave a clean border around the edges to keep the filling inside.
Cutting Clean Rolls Without Squashing
Many bakers struggle with squashed rolls. But there’s a trick to avoid this. Use dental floss instead of a knife to cut your dough log.
Put the floss under the log, cross it over, and pull quickly. This method keeps your rolls round and looks great in your brunch recipes.
Tips for Even Spacing in the Pan
After cutting your rolls, place them in the baking dish with space to grow. Even spacing is crucial in easy baking recipes for even cooking.
Try to make a grid pattern, leaving about an inch between each roll. This way, all sides will brown evenly, avoiding doughy centers.
Baking and Glazing Your Chocolate Orange Cinnamon Rolls
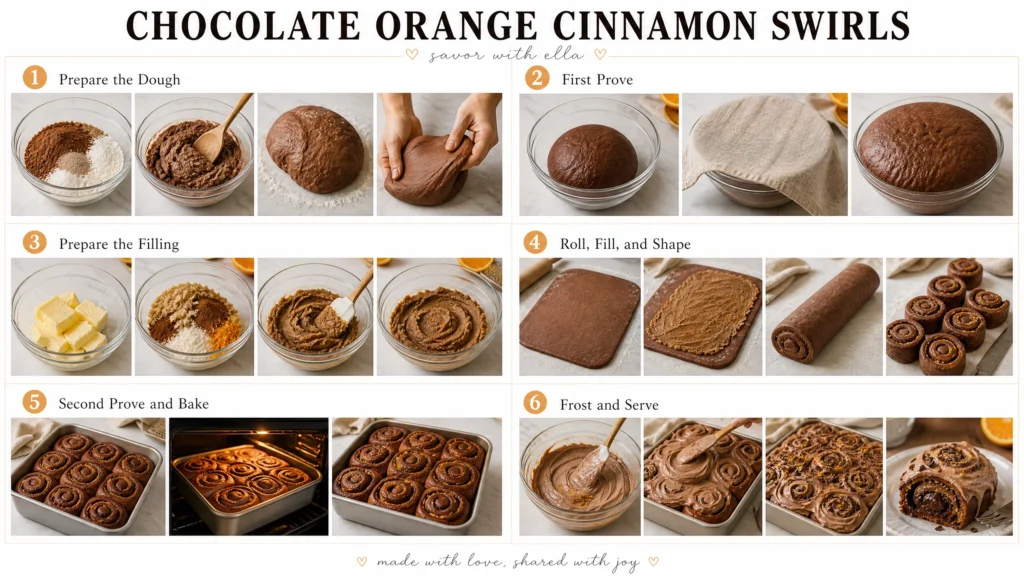
When your rolls go into the oven, the kitchen will fill with a delicious smell. This is where all your hard work comes together. You’ll end up with decadent Chocolate Orange Cinnamon Rolls that look like they’re from a bakery.
Monitoring Oven Temperature for Golden Results
Preheat your oven to 350°F. Put your pan in the center rack. Bake for 30 to 35 minutes until the tops are golden brown.
Consistency is key here. Rotate your pan halfway through to ensure even heat. This helps all rolls brown evenly.
Creating the Signature Orange Cream Cheese Glaze
While the rolls bake, make the orange cream cheese glaze. This glaze is crucial for baking with chocolate and orange. It balances the dark cocoa with bright citrus.
Whisk softened cream cheese, powdered sugar, and orange zest until smooth. If it’s too thick, add a bit of orange juice.
Applying the Glaze for Maximum Flavor
Timing is everything when applying the glaze. Take the rolls out of the oven and let them cool for a few minutes.
Drizzle the glaze over the rolls when they’re still warm. This lets the glaze soak into the swirls. Every bite of your Chocolate Orange Cinnamon Rolls will be full of flavor.
Conclusion
You now know how to make professional-quality rolls at home. Learning to make the dough, filling, and glaze lets you wow your loved ones. These sweet treats are perfect for breakfast or dessert.
Working with yeast and pastry takes practice. But, these recipes are great for improving your baking skills. With each batch, you’ll feel more confident in your abilities.
Creating these treats is a joy. Sharing them with others adds to the fun. Use top-notch ingredients like King Arthur Flour or Ghirardelli chocolate to make them even better.
Your kitchen is now a place where you can make delicious pastries. Keep trying new things and experimenting with ingredients. This is the start of your baking journey.