
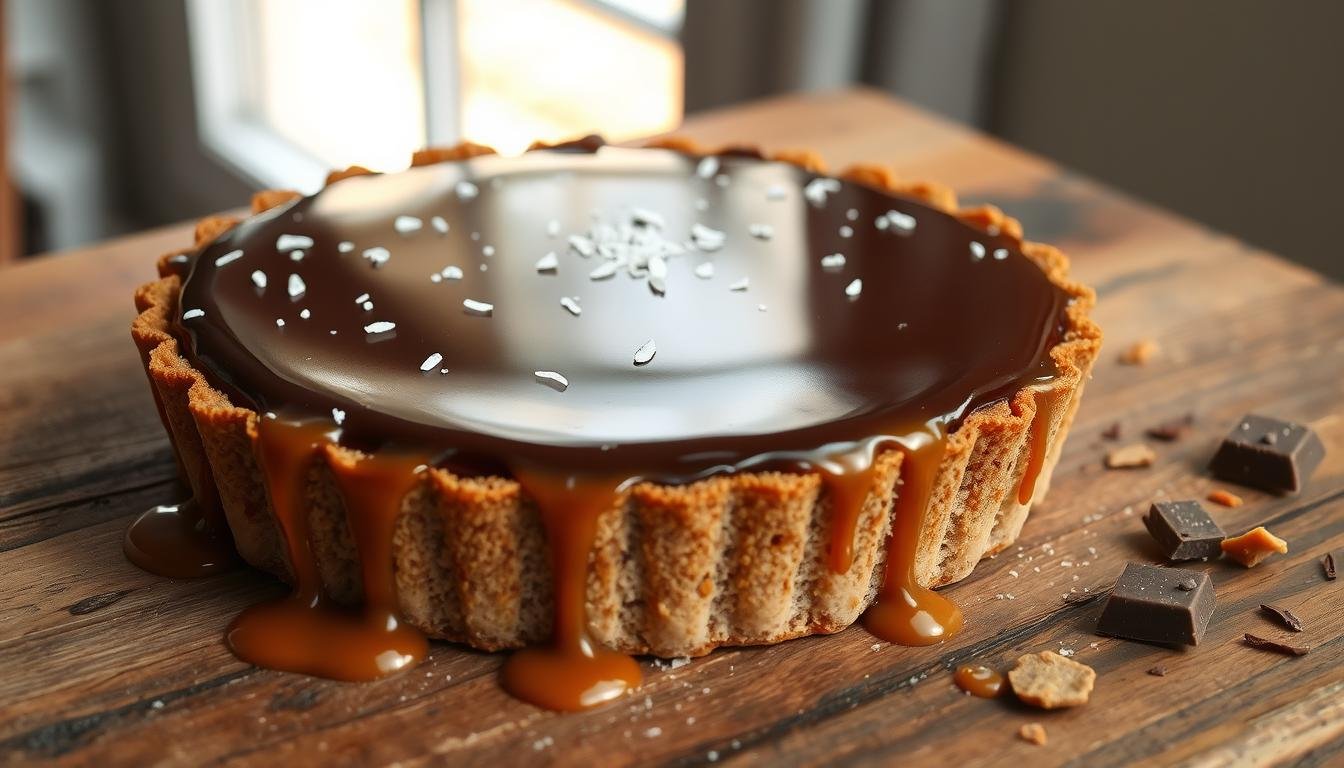
Your Guide to a Perfect Chocolate Salted Caramel Tart
There’s magic in that first bite of a decadent dessert. The rich texture melts on your tongue. Sweet and savory notes dance on your palate.
Making these sweet treats at home might seem hard. But it’s a rewarding journey for any baker. Whether for a dinner party or a craving, mastering this recipe will boost your skills.
This guide will walk you through making a stunning Chocolate Salted Caramel Tart. Follow these steps to impress your guests with dessert recipes that look and taste amazing.
Table of Contents
Essential Ingredients and Equipment
Making tasty sweet treats at home is easier with a well-prepared workspace. Having everything ready before you start makes baking a fun and stress-free activity.
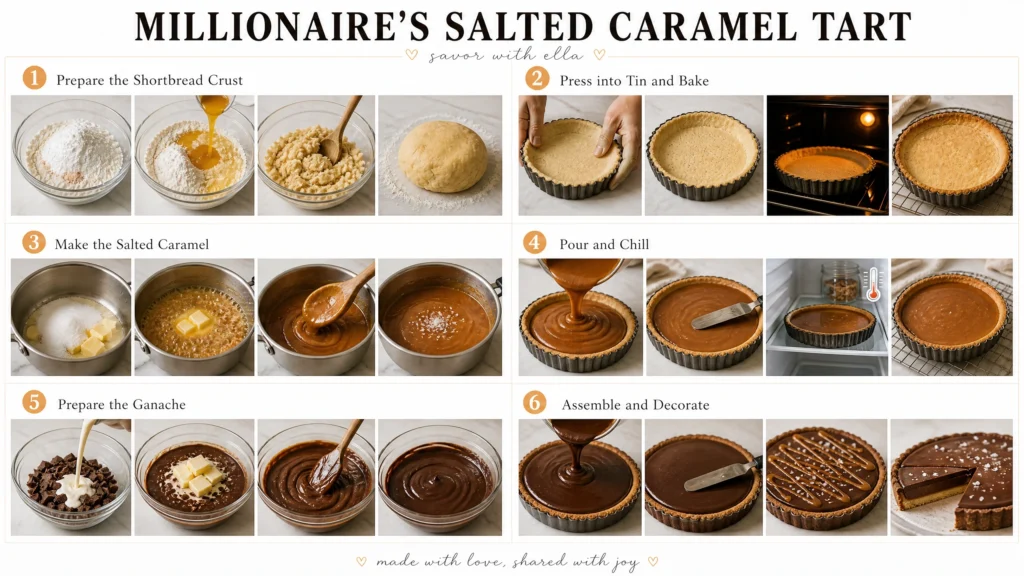
Selecting High-Quality Chocolate and Cocoa
The key to a rich tart is the chocolate you pick. Always choose a 70% cocoa dark chocolate for the best flavor.
Using high-quality cocoa solids makes your ganache smooth and creamy. Don’t use low-grade baking chips, as they can ruin the texture.
Choosing the Right Salt for Caramel
Salt balances the sweetness of caramel perfectly. Use a high-quality flaky sea salt instead of regular table salt.
Flaky salt adds a nice crunch and a clean flavor. It’s crucial for balancing the richness of the filling.
Must-Have Kitchen Tools for Success
The right tools are key to a great dessert look. A 20cm loose-bottomed fluted tart tin is essential for easy tart removal.
Organizing your ingredients, like 300g of butter and 200g of sugar, is important. Having everything measured and ready makes baking enjoyable. It helps you make impressive sweet treats every time.
Preparing the Perfect Chocolate Tart Crust
The secret to great homemade desserts is a crisp, buttery crust. A good base supports your fillings and adds crunch. Focus on quality ingredients and technique to make your baking stand out.
Mixing the Dough for Optimal Texture
Start by smashing biscuits in a plastic bag with a rolling pin. This makes a fine crumb, a key part of easy baking. Mix the crumbs with melted butter until it looks like wet sand.
Mix the butter well into the crumbs. This makes a base that holds its shape when chilled. The dough should feel tacky but firm.
Rolling and Blind Baking Techniques
Press the mixture into your pan and chill it for 30 minutes. This step is crucial for a stable crust. Without it, the crust might crumble.
Preventing Crust Shrinkage
Shrinkage happens when the crust melts too fast. Keep your workspace cool and avoid using warm hands. If edges pull away, press them back gently while warm.
Achieving a Crisp Finish
Bake the crust until it’s fragrant and slightly dark. This gives a crisp finish that contrasts with caramel and ganache. These easy baking tips will make your homemade desserts a hit with guests.
| Ingredient | Function | Impact on Texture |
|---|---|---|
| Biscuit Crumbs | Structural Base | Provides the primary crunch |
| Melted Butter | Binding Agent | Ensures the crust holds together |
| Sea Salt | Flavor Enhancer | Balances the sweetness of the chocolate |
| Granulated Sugar | Texture Modifier | Adds a slight snap to the finished crust |
Mastering the Salted Caramel Filling
Transforming simple sugar into caramelized goodness takes patience. This layer is the heart of many homemade desserts. It contrasts beautifully with the crisp crust and dark chocolate ganache.
The Dry Caramel Method Explained
The dry method melts sugar in a pan without water. Keep the heat at medium to avoid burning.
As sugar melts, gently swirl the pan. Look for a deep amber color to know it’s ready.
Incorporating Cream and Butter Safely
When sugar is the right color, remove it from heat. Slowly add warm heavy cream while whisking to avoid splatters.
Steam will rise fast, so keep back. After cream is mixed in, add butter for a glossy finish.
Balancing Sweetness with Sea Salt
Adding flaky sea salt is key for a sophisticated taste. It balances the sugar, enhancing the tart’s flavor.
Start with a small pinch and taste. You’re aiming for a balance, not an overpowering saltiness.
Troubleshooting Common Caramel Issues
Even pros face challenges with hot sugar. Crystallization or separation? Most problems can be fixed with a few tweaks.
| Issue | Cause | Solution |
|---|---|---|
| Crystallization | Stirring too early | Add a splash of water and reheat |
| Separation | Cream was too cold | Whisk vigorously over low heat |
| Burnt Flavor | Excessive heat | Discard and start over |
Creating the Silky Chocolate Ganache Layer
A smooth, velvety ganache is the perfect contrast to your salted caramel base. It’s the key to decadent desserts. Getting it right makes your tart look and taste amazing.
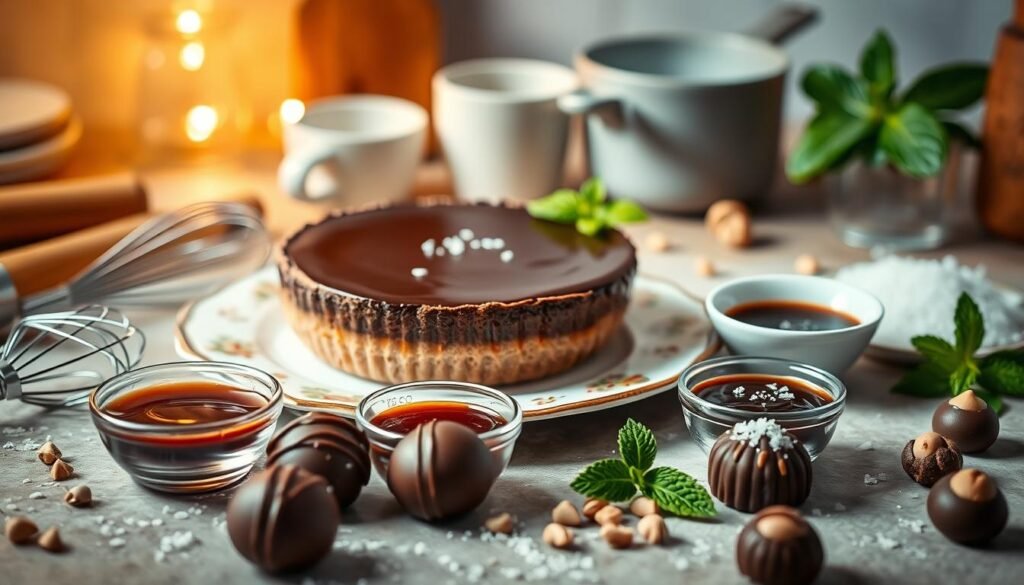
Choosing the Best Cream-to-Chocolate Ratio
Finding the right mix of heavy cream and chocolate is crucial. Chocolate lovers often want a higher cocoa percentage. This means you need a bit more cream to keep it spreadable.
Look for a balance that lets the ganache set but stay creamy. This is what makes it so special.
| Chocolate Type | Cream Ratio | Best Use |
|---|---|---|
| Dark (60-70%) | 1:1 | Rich, firm finish |
| Milk Chocolate | 1:0.75 | Sweet, soft texture |
| White Chocolate | 1:0.5 | Delicate, stable layer |
Tempering the Ganache for a Smooth Pour
Tempering is key when mixing. Heat your cream until it’s just simmering. Then, pour it over chopped chocolate.
Let it sit for a minute before stirring gently. Start from the center to avoid air bubbles.
“The beauty of a perfect ganache is found in the patience of the stir; never rush the emulsion of fat and liquid.”
If it looks grainy, it’s too cool or the chocolate was too big. Warm it up gently if needed. This will give you a flawless, mirror-like surface for your tart.
Adding Gloss with Butter or Corn Syrup
To get that shiny look, add a bit of unsalted butter or corn syrup. These make the ganache stable and shiny. Adding them last gives your decadent desserts a luxurious finish.
Assembling Your Chocolate Salted Caramel Tart
The final assembly stage is where your hard work turns into a professional-grade treat. Assembling your Chocolate Salted Caramel Tart needs a steady hand and careful attention. By following these steps, you ensure every slice shows off beautiful layers.
Layering the Caramel Base
Start by making sure your baked crust is cool to the touch. Pour your caramel filling into the center of the shell. Let it spread naturally toward the edges. This caramelized goodness should be smooth and bubble-free for the best look.
Setting the Tart Before the Final Pour
Patience is key during this phase. Place the tart in the fridge for at least two hours. This lets the caramel firm up, creating a stable foundation for the chocolate layer.
Applying the Ganache Evenly
After the caramel sets, it’s time for the final layer. Pour the silky ganache over the chilled caramel. Use an offset spatula to spread it gently to the edges. This step seals in the caramelized goodness and gives your Chocolate Salted Caramel Tart a glossy finish. Let it set before slicing and serving.
Tips for Achieving the Perfect Texture and Shine
Turning your kitchen into a pro patisserie starts with perfecting your tart’s details. For chocolate lovers, how it looks is as important as how it tastes. With these finishing tips, you can make your gourmet dessert ideas look like they came from a fancy bakery.
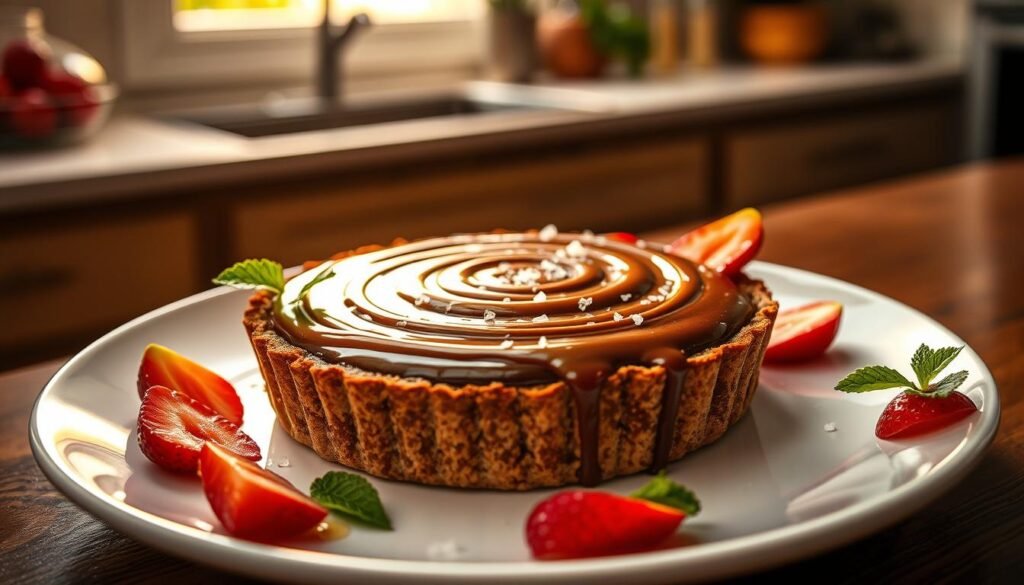
Temperature Control During Cooling
The cooling environment of your tart is crucial for its texture. Don’t cool it near drafts or hot ovens, as this can mess up the silky consistency of the ganache. Cool it at room temperature first, then refrigerate it.
Cooling slowly helps avoid unwanted moisture on the surface. This careful cooling ensures the chocolate and cream fats set right. This gives your dessert a luxurious mouthfeel that’s truly professional.
Achieving a Mirror-Like Finish
A glossy, mirror-like finish is key to a top-notch tart. Make sure your ganache is smooth by stirring gently to avoid air bubbles. High-quality ingredients with lots of cocoa butter will give a shiny finish once set.
“The secret to a perfect finish is not just in the recipe, but in the gentle handling of your ingredients during the final assembly.”
Cutting Clean Slices Every Time
Nothing spoils a beautiful tart like a messy slice. Use a sharp, thin-bladed knife that’s been warmed in hot water and dried before cutting. This trick helps the knife cut smoothly through the ganache without smearing.
Precision is key when serving your tart to guests. Warming your knife ensures each slice shows off the tart’s layers. For dedicated chocolate lovers, this detail makes a big difference between a good tart and an unforgettable one.
Serving and Storage Recommendations
Once you’ve finished making your dessert, it’s time to serve and store it right. This ensures your tart’s crisp crust and smooth filling stay perfect for everyone.
Ideal Serving Temperatures
Let your tart sit at room temperature for 15 to 20 minutes before cutting. This softens the ganache, making it luxuriously smooth to eat.
Serving it too cold can hide the chocolate and caramel’s flavors. Aim for a cool room temperature. This way, the filling stays firm but feels silky to the tongue.
Proper Storage for Freshness
Store leftovers in an airtight container to keep odors out. Covering the tart is key to keeping the crust crisp and preventing it from getting soggy.
Stored right, your dessert recipes will stay fresh for up to three days. Keep it in the coldest part of your fridge. This keeps the ganache stable and shiny.
Pairing Suggestions for Gourmet Presentation
Enhance your presentation by adding fresh berries like raspberries or blackberries. They cut through the tart’s richness. A dollop of unsweetened whipped cream or a sprinkle of cocoa powder adds a touch of elegance.
Pair these gourmet dessert ideas with a strong espresso or dark roast coffee. The coffee’s bitterness complements the tart’s sweetness, ending your meal on a sophisticated note.
| Condition | Recommendation | Benefit |
|---|---|---|
| Serving Temp | Room Temperature | Optimal texture and flavor |
| Storage | Airtight Container | Prevents moisture and odors |
| Shelf Life | Up to 3 Days | Maintains peak freshness |
| Pairing | Fresh Berries | Adds acidity and balance |
Conclusion
Mastering the chocolate salted caramel tart is a big achievement in your cooking journey. You now know how to turn basic ingredients into a fancy dessert. It’s as good as what you find in professional pastry shops.
The mix of textures and tastes makes your tart unforgettable. You’ve learned to control heat, timing, and precision. This ensures your tart looks as amazing as it tastes.
Keep practicing to get even better. Try new things in your kitchen. Using top-notch ingredients like Valrhona chocolate or Maldon sea salt will make your tart even better.
Your quest for the perfect tart is over. You’re ready to share your masterpiece with loved ones. Enjoy baking and keep exploring new ideas with each batch.