
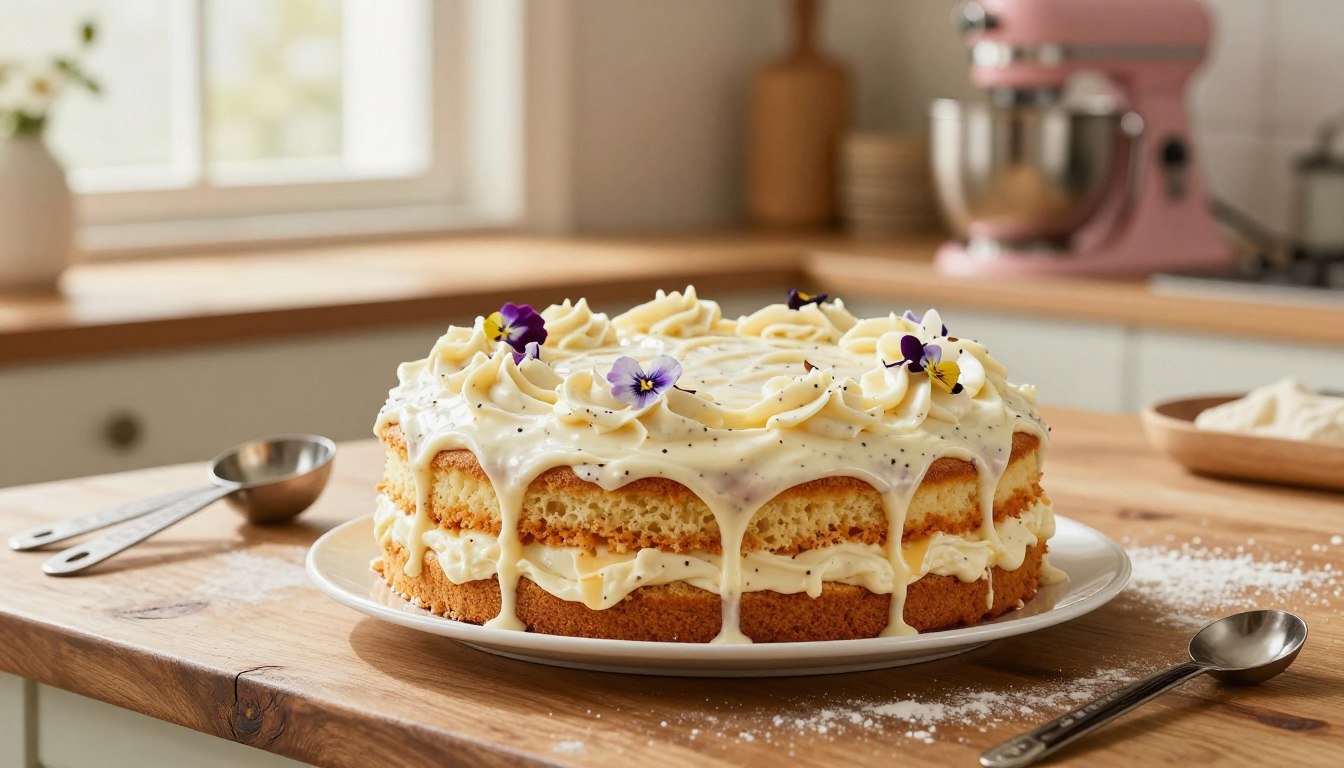
Your Guide to Baking a Vanilla Bean Cake from Scratch
There’s something magical about being the go-to person for celebrations. The joy of serving a homemade Vanilla Bean Cake brings smiles to everyone’s faces. It’s a way to create lasting memories for your loved ones.
Starting your baking journey means finding a classic vanilla cake recipe you can rely on. A solid recipe ensures your hard work pays off with a moist and sturdy cake. You deserve a dessert that looks as good as it tastes.
This guide will help you build confidence in your baking skills. We’ll show you how to turn simple ingredients into something amazing. Get ready to wow your guests with a dessert that’s truly worth the effort.
Table of Contents
Essential Vanilla Bean Cake Ingredients and Equipment
Starting with top-notch supplies is key for any baker aiming for a moist and flavorful cake. Using the best vanilla bean cake ingredients ensures every slice is rich and aromatic. This way, you can focus on the technique without worrying about missing items.
Selecting High-Quality Vanilla Beans and Extracts
The secret to a great homemade vanilla cake is the vanilla flavor. Fresh vanilla bean seeds give you that iconic black speck and a deeper flavor. Look for plump, oily beans that bend easily.
If you prefer extract, make sure it’s pure vanilla. High-quality vanilla is crucial, so invest in it. A little extra cost here makes a big difference in taste.
Dry and Wet Ingredient Requirements
Measuring dry and wet ingredients accurately is crucial. You’ll need 2 1/2 cups of cake flour for a delicate crumb. Mix this with 1 1/2 cups of granulated sugar for the right sweetness and structure.
Make sure your wet ingredients, like eggs and butter, are room temperature. This helps the batter mix smoothly, giving your homemade vanilla cake a consistent texture. Using fresh, quality dairy products also enhances the dessert’s richness.
Must-Have Baking Tools for Success
The right tools make baking easier. An electric stand mixer or a reliable hand mixer is essential for mixing butter and sugar well. You’ll also need high-quality round cake pans for even baking.
| Category | Essential Item | Purpose |
|---|---|---|
| Dry Goods | Cake Flour | Creates a soft, fine crumb |
| Flavoring | Vanilla Beans | Provides authentic, deep flavor |
| Equipment | Electric Mixer | Aerates batter for volume |
| Bakeware | Round Cake Pans | Ensures uniform baking results |
Preparing Your Kitchen for the Perfect Bake
Starting a perfect vanilla bean dessert is more than just mixing ingredients. It’s about setting up your kitchen right. This makes baking easier and your dessert looks like it’s from a pro bakery.
Achieving Room Temperature Ingredients
Getting your ingredients to room temperature is key. Take out your butter, eggs, and milk an hour before baking. Room temperature ingredients mix better than cold ones.
At the right temperature, they blend smoothly. This is crucial for a light cake. If you’re short on time, warm eggs in water to speed up.
Proper Oven Calibration and Rack Positioning
Being consistent is what makes a baker great. Preheat your oven to 350°F early to keep the temperature steady. An oven thermometer helps make sure it’s really at 350°F.
Put your oven rack in the middle for even heat. This stops the cake bottom from burning before the inside is done. Even heat means your cake rises well and gets a nice crust.
Pan Preparation Techniques for Easy Release
Sticky cakes are a baking nightmare. To avoid this, prepare your pans well:
- Lightly grease the bottom and sides with butter or non-stick spray.
- Cut a circle of parchment paper to fit the bottom of each pan perfectly.
- Dust the sides with a light coating of flour for easy cake removal.
Spending a few minutes on pan prep is worth it. It keeps your vanilla bean dessert intact. Then, you can mix with confidence.
Mastering the Vanilla Bean Cake Batter
Starting your journey to the best vanilla bean cake means mastering the mix. How you mix your ingredients affects the cake’s texture, rise, and quality. By using the right techniques, you get a consistent, professional result every time.
Creaming Butter and Sugar for Aeration
The creaming method is key for a light, airy crumb. Beat your softened butter and sugar until they’re pale and fluffy. This adds air to the fat, which expands in the oven for lift.
Don’t rush this step. It’s the base of your cake’s structure. Mix for at least three to five minutes on medium-high speed. You’ll see a big change in volume and color when it’s ready.
Incorporating Vanilla Beans and Eggs
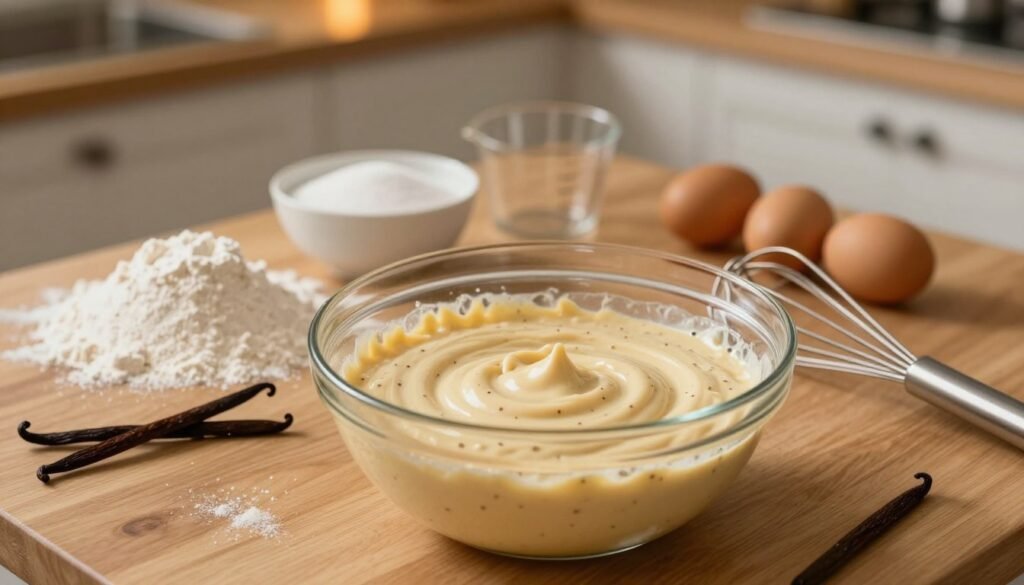
After aerating your butter and sugar, add flavor and binding agents. Scrape vanilla bean seeds into the bowl for full flavor. Add eggs one at a time to keep the emulsion stable.
- Add eggs slowly to prevent curdling.
- Scrape down the bowl sides often for even mixing.
- Make sure all ingredients are room temperature to avoid separation.
Mixing Dry and Wet Ingredients Without Overworking
Consider the reverse creaming method for a sturdy yet tender crumb. Mix dry ingredients first, then add butter until it’s like coarse cornmeal. This coats flour proteins in fat, reducing gluten.
When adding wet ingredients, mix just until flour streaks disappear. Overworking the batter can make it tough or rubbery. Gentle mixing preserves the cake’s delicate structure for a high-quality result.
Baking Techniques for a Moist Vanilla Bean Cake
Getting the heat right is key to a moist vanilla bean cake that’s a delight to eat. Mixing sets the stage, but baking brings out the flavors and texture. Follow these steps to make your dessert shine.
Monitoring Oven Temperature and Bake Times
When working with cake batter, consistency is crucial. For 8-inch round pans, aim for 25 to 30 minutes in a hot oven.
Try to keep the oven door closed. Frequent openings can mess with the temperature, causing uneven baking. Patience is your best tool here.
Testing for Doneness Using Visual and Physical Cues
To check if your cake is done, look for visual and physical signs. The edges should be set and slightly pulled from the pan.
Use a wooden skewer or thin cake tester in the cake’s center. If it’s clean or has a few moist crumbs, it’s ready. Wet batter means it needs more time.
Cooling Strategies to Retain Moisture
Cooling is as important as baking. Let the pans rest on a wire rack for exactly 10 minutes after removing them.
This brief pause helps the cake firm up for easy release. After 10 minutes, flip the cakes onto the rack to cool fully. This keeps the bottom from getting soggy and preserves a tender, delicate crumb.
Crafting the Perfect Vanilla Bean Cake with Buttercream Frosting
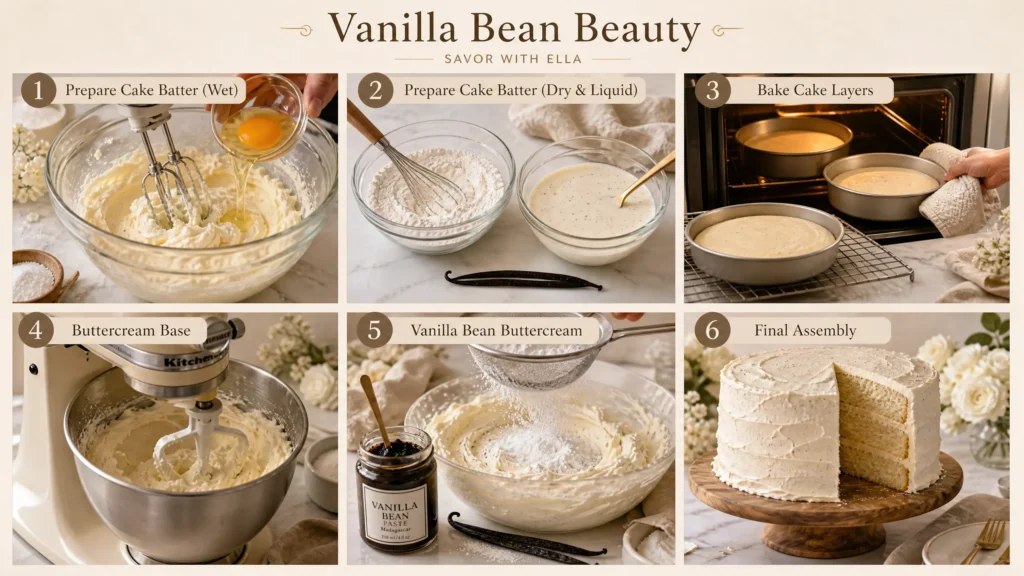
A professional-grade finish on your vanilla bean dessert starts with a stable, silky Swiss meringue buttercream. This frosting is smooth and holds its shape well. It also has a sophisticated taste, less sweet than traditional American buttercream.
Whipping the Ideal Buttercream Consistency
To start, mix egg whites and granulated sugar in a heat-proof bowl. Heat this mixture over simmering water, whisking until the sugar dissolves and the whites reach 180°F. This temperature is critical for safety and stability.
After heating, move the mixture to a stand mixer. Whip it on high speed until it’s stiff and glossy. Add softened, high-quality butter slowly, one tablespoon at a time. Keep whipping until the frosting is luxuriously smooth and stable.
Infusing Frosting with Real Vanilla Bean Specks
The visual appeal of your dessert comes from the black specks in premium vanilla beans. Once your buttercream is ready, split a vanilla bean pod lengthwise. Scrape out the seeds and fold them into your frosting for even flavor and color.
Using real beans adds a depth of flavor that extracts can’t match. This step turns your vanilla bean cake with buttercream frosting into a gourmet treat.
Layering and Crumb Coating Your Cake
Before the final layer, prepare the cake surface for a clean finish. Place your first cake layer on a turntable and spread frosting on top. Stack the layers, making sure they’re perfectly aligned.
Apply a thin, initial layer of frosting over the entire cake, known as a crumb coat. This step seals in moisture and traps crumbs, preventing them from showing in your final presentation. Chill the cake for twenty minutes before adding your final, thicker layer of frosting for a flawless look.
Troubleshooting Common Baking Challenges
Learning to fix common baking problems can make you a better baker. Even experienced bakers face issues with a classic vanilla cake recipe. By finding the cause of these problems, you can improve your baking skills and get better results every time.
Fixing Dense or Dry Cake Texture
A dense or dry cake often comes from over-mixing or too much flour. When adding dry ingredients, mix only until the streaks of flour disappear. This helps keep the cake light. Also, make sure your meringue is at room temperature before adding butter. If it’s too warm, the butter will melt, making the cake greasy or heavy.
Preventing Sunken Centers and Uneven Rises
Sunken centers happen when you open the oven door too soon. This drops the temperature too fast. Keep the oven door closed until the cake is set. Also, check your baking powder is fresh. Old leavening agents won’t help your classic vanilla cake recipe rise properly.
Adjusting for High-Altitude Baking
Baking at high altitudes needs special adjustments because of lower air pressure. You might need to use less baking powder and sugar to stop the cake from rising too fast. Raising the oven temperature by 15 to 25 degrees Fahrenheit can also help. These small changes are key for baking well in the mountains.
Conclusion
Baking a Vanilla Bean Cake from scratch turns simple ingredients into a fancy dessert. You now know how to make a top-notch treat at home.
Being consistent is key to your success. Using the reverse creaming method and a stable Swiss meringue frosting makes every slice perfect. This focus on detail makes your cake the best for any special event.
Your baking journey doesn’t end here. Try using high-quality ingredients like Nielsen-Massey vanilla beans to make your cakes even better. Paying attention to measurements and cooling times will always give you great results.
Share your Vanilla Bean Cake with loved ones to show off your new skills. Your ability to fix common problems means every cake is a hit. Keep improving to stay the go-to baker for the best vanilla bean cake.