
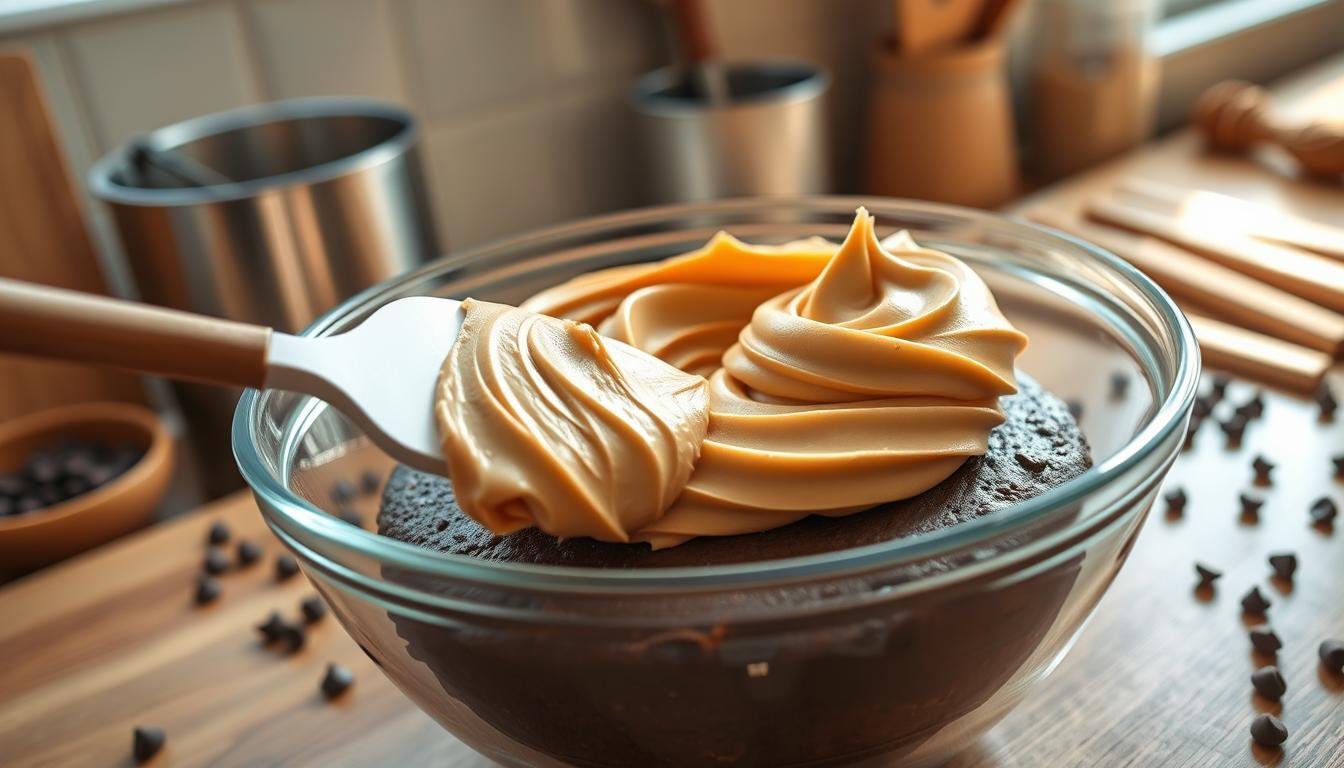
Your Guide to Peanut Butter Buttercream Frosting Step-by-Step
Do you remember the joy of licking the spoon after helping a loved one bake in the kitchen? That warm, nostalgic feeling is exactly what you capture when you create a homemade peanut butter frosting from scratch. It turns a simple dessert into a decadent experience that store-bought tubs can’t match.
This easy peanut butter frosting recipe offers a silky, creamy texture. It perfectly balances sweet and salty notes. Whether you’re topping a rich chocolate cake or fluffy banana muffins, this versatile spread gives a professional finish every time. You’ll gain the confidence to elevate your baking projects with this reliable, crowd-pleasing topping.
Table of Contents
Essential Ingredients and Equipment for Success
Starting your journey to making a top-notch topping is easy. Just get the right stuff ready. This ensures your creamy peanut butter icing is perfect every time.
Selecting the Best Peanut Butter for Frosting
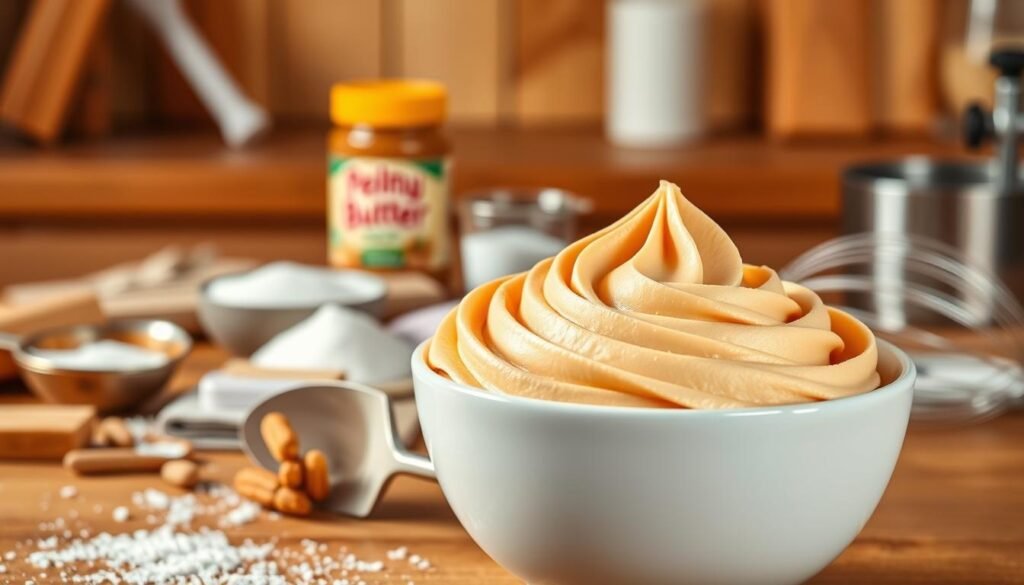
For the best peanut butter frosting, pick the right nut butter. Go for processed brands like Jif or Skippy.
Natural peanut butter can be too oily. This can make your frosting break or feel greasy. Stick with commercial brands for a smooth, stable frosting.
Necessary Kitchen Tools for a Smooth Texture
The right tools are as important as the right ingredients. A stand mixer with a paddle attachment is the best choice.
The paddle attachment mixes well without over-whipping. This is key for a great peanut butter frosting for cakes. If you don’t have a stand mixer, a good hand mixer will work, but blend slowly.
Room Temperature Ingredients and Why They Matter
Temperature is crucial when making frosting. Softened butter blends better with peanut butter and sugar.
Cold ingredients won’t mix well, leading to lumpy frosting. But melted butter ruins the frosting’s structure. It won’t pipe correctly.
| Ingredient | Role in Frosting | Temperature Requirement |
|---|---|---|
| Processed Peanut Butter | Flavor and Structure | Room Temperature |
| Unsalted Butter | Creaminess and Body | Softened (65°F-70°F) |
| Powdered Sugar | Sweetness and Stability | Room Temperature |
| Heavy Cream | Consistency Adjustment | Room Temperature |
Preparing Your Ingredients for the Perfect Consistency
Mastering your mixing technique ensures your frosting is always ready for piping. When you understand how to make peanut butter buttercream, you gain the confidence to decorate any dessert with ease. Proper preparation of your base ingredients creates a stable foundation for your sweet creations.
Creaming the Butter and Peanut Butter
Start by beating your softened butter and creamy peanut butter together until the mixture looks pale and smooth. This step is vital for creating a fluffy peanut butter frosting that holds its shape well. You should aim for a light, airy texture before adding any other ingredients.
Incorporating Powdered Sugar Gradually
Add your powdered sugar in small batches to prevent a dusty kitchen and ensure a smooth blend. Mixing slowly allows the sugar to dissolve completely into the fats. This method is the secret to a simple peanut butter buttercream that remains silky and free of lumps.
Adjusting Texture with Heavy Cream or Milk
If your mixture feels too thick, introduce a small amount of heavy cream or milk one teaspoon at a time. This liquid helps achieve the perfect spreadable consistency for your cakes. Always test the texture by lifting your spatula to see if the frosting holds a soft peak.
| Issue | Cause | Solution |
|---|---|---|
| Runny | Too much liquid | Add more sugar |
| Stiff | Too much sugar | Add more cream |
| Lumpy | Cold ingredients | Whip longer |
Troubleshooting Runny Frosting
If your frosting becomes too thin or runny, you can gradually add more powdered sugar to thicken the structure. Patience is key during this adjustment phase. Continue to mix on low speed until you reach the desired thickness for your piping bag.
Fixing Stiff or Dry Frosting
When your frosting feels too stiff or dry, simply add a tiny splash of milk or cream. Incorporate the liquid slowly to avoid over-thinning your batch. This simple adjustment ensures your simple peanut butter buttercream remains easy to work with for every project.
Step-by-Step Guide to Making Peanut Butter Buttercream Frosting
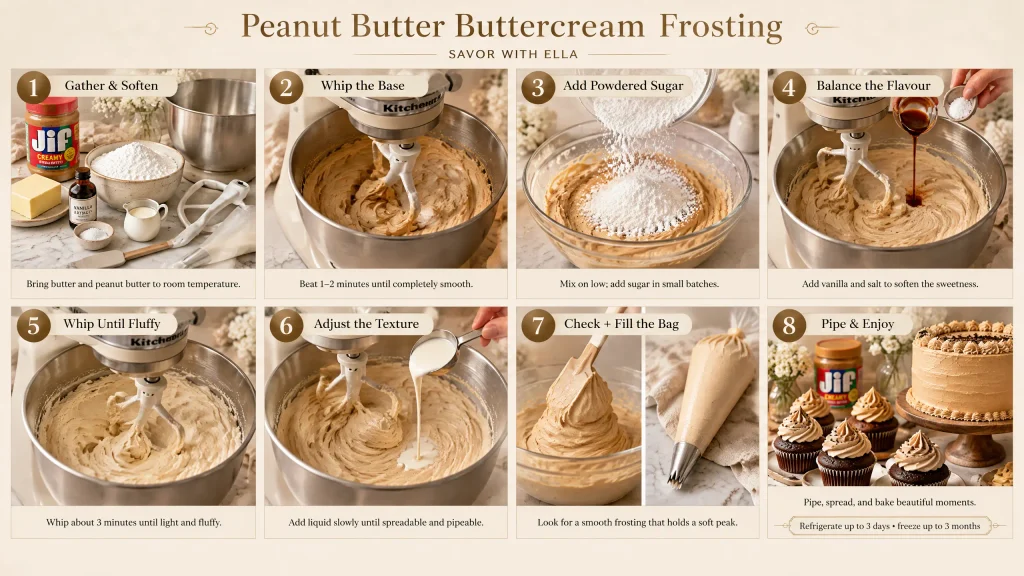
Learning how to make peanut butter buttercream is easy with this simple guide. By mastering the mixing, you’ll get a smooth, stable frosting. It’s perfect for any piping project.
Step 1: Whipping the Base
Start by mixing softened butter and creamy peanut butter in a big bowl. Beat them on medium-high speed for 1 to 2 minutes.
Make sure the mix is completely smooth and even. This step is key for a top-notch homemade peanut butter frosting that holds its shape well.
Step 2: Adding Sweeteners and Flavor Enhancers
When your base is smooth, slow down the mixer to low speed. Add powdered sugar, one cup at a time, to avoid a sugar cloud.
Once the sugar is mixed in, add vanilla extract and a pinch of salt. These add a balance to the frosting, making it a delicious peanut butter icing.
“The secret to a balanced frosting is the salt; it cuts through the sweetness and highlights the natural savory notes of the peanut butter.”
Step 3: Achieving the Fluffy Texture
To get the right consistency, turn the mixer speed back up to medium-high. Whip for another 3 minutes to add air.
The frosting will lighten in color and get fluffier. This step is crucial for a light, airy Peanut Butter Buttercream Frosting that’s easy to spread.
Step 4: Final Consistency Check
Before you’re done, check the frosting’s texture. If it’s too stiff, add heavy cream or milk, a tablespoon at a time.
Keep mixing until it’s just right for piping. This last step makes sure your delicious peanut butter icing is perfect for your dessert.
- Check for lumps in the powdered sugar.
- Ensure the butter is at room temperature.
- Adjust liquid slowly to avoid a runny texture.
Pro Tips for Decorating and Storing Your Frosting
Once your frosting is ready, the fun starts. You’ll need to decorate and store it right. A few tricks can help you achieve a pro finish and keep your creamy peanut butter icing perfect.
Best Cakes and Cupcakes to Pair with Peanut Butter Frosting
The frosting’s rich, nutty taste pairs well with many desserts. Classic chocolate cake is a top choice. It balances the frosting’s saltiness with its deep cocoa.
Banana cake or muffins are also great for your fluffy peanut butter frosting. The fruit’s sweetness matches the frosting’s savory taste, pleasing everyone.
Techniques for Piping and Spreading
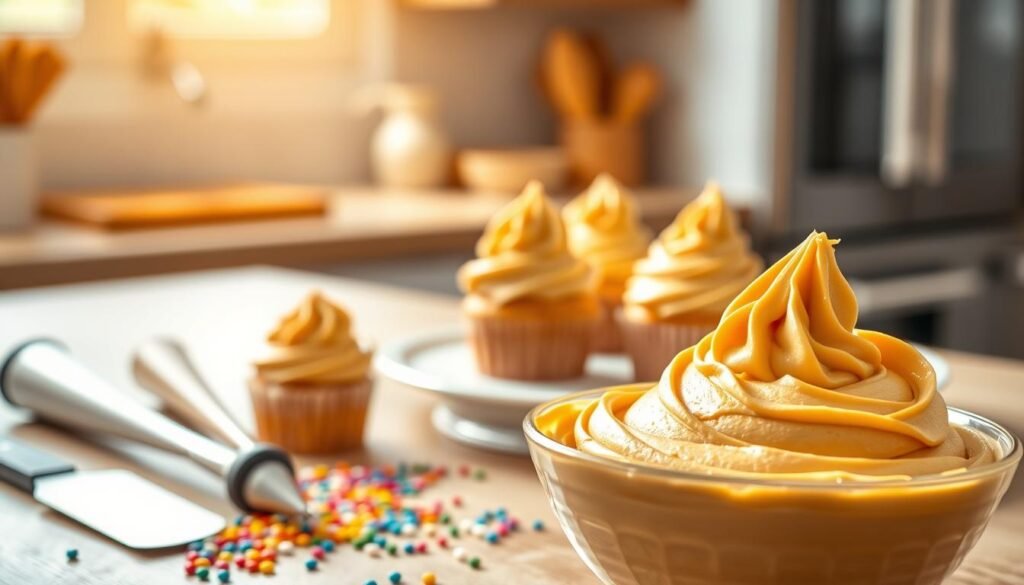
Temperature is key when using your peanut butter frosting for cakes. If it’s too soft, chill it for ten minutes before piping.
For neat swirls, use a large star tip on cupcakes. For a rustic look, spread it with an offset spatula on layered cakes.
Proper Storage and Shelf Life
Storing leftovers right keeps your work fresh. Always use an airtight container to avoid odors.
Refrigeration Guidelines
Store your frosting in the fridge for up to 3 days. Let it sit at room temperature to soften before using.
Freezing for Future Use
Freezing is great for longer storage. Your frosting stays good in the freezer for up to 3 months if sealed well.
Conclusion
Learning to make homemade frosting takes your baking to the next level. You can now make a culinary masterpiece that wows everyone at any event.
Making the best peanut butter frosting is a skill that makes simple treats gourmet. You know how to mix ingredients for a tasty icing that stays good and flavorful.
This easy peanut butter buttercream is a great addition to your recipes. Try different brands like Jif or Skippy to find your favorite taste. Now, you can make batches for any occasion.
Share your favorite flavors with other bakers to keep the ideas fresh. Your kitchen is now where amazing desserts are made easily.