
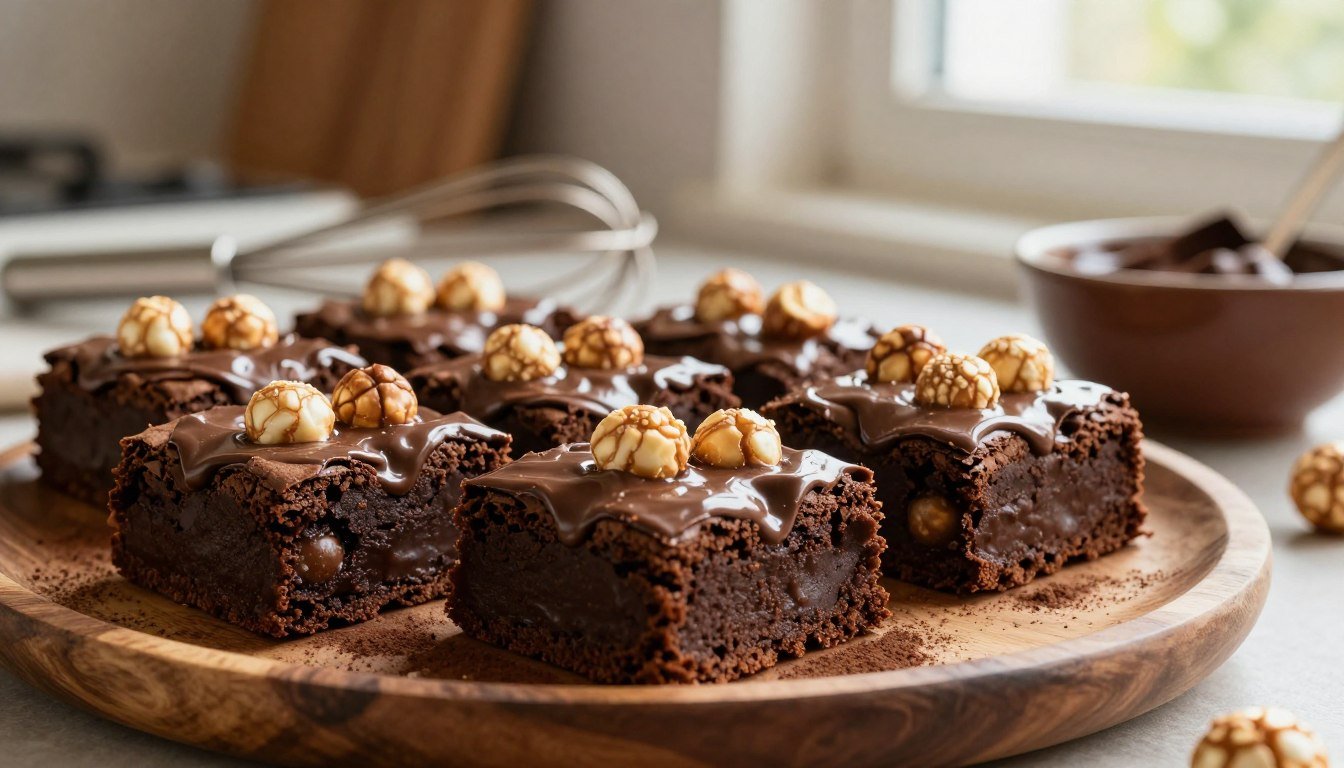
Bake Malteser Brownies Easily with This Step by Step Guide
Do you remember the comfort of a warm, gooey treat straight from the oven? The smell of chocolate filling your home is truly magical. Making homemade brownies is a way to share love with your loved ones.
If you love the perfect mix of fudgy and crunchy, you’re in the right spot. This easy brownie recipe teaches you pro techniques to improve your baking. You’ll learn to add iconic malted chocolates for a dessert that’s as good as any bakery’s.
Whether you’re new to baking or have lots of experience, these steps will make your kitchen creations delicious. Get ready to wow everyone with your next batch of decadent, crunchy treats.
Table of Contents
Essential Ingredients for Your Malteser Brownies
Starting your journey to a delicious brownie recipe means choosing top-notch ingredients. Quality matters, ensuring every bite is rich and fulfilling. Knowing how each part works together is key to mastering your baking skills.
Selecting High-Quality Chocolate and Cocoa Powder
To make a chocolate lover’s dream, use dark chocolate with 70% cocoa. This gives a deep flavor that balances the sweetness. Premium cocoa powder adds to this richness, making your dessert look and taste professional.
“Baking is a science, but it is also an art that relies on the integrity of your raw materials.”
The Role of Maltesers in Your Brownie Batter
Adding Maltesers chocolate to your batter needs care to keep their crunch. You want the malty taste to spread through the brownie without making it soggy. Adding them at the right time keeps the centers crunchy and tasty.
Pantry Staples for the Perfect Texture
Ingredients like flour and sugar are crucial for texture. They help create the chewy texture that makes Malteser Brownies great. Using the right amounts prevents them from being too dry or heavy.
| Ingredient | Primary Function | Impact on Texture |
|---|---|---|
| Dark Chocolate | Flavor Depth | Richness and Moisture |
| Granulated Sugar | Sweetness | Crispy Top Crust |
| All-Purpose Flour | Structure | Chewy Consistency |
| Maltesers | Texture/Flavor | Crunchy Contrast |
Choosing these ingredients carefully sets you up for success. Each one has a role in making a delicious brownie recipe that impresses. Focus on these basics, and you’ll see a big difference in your baking.
Preparing Your Kitchen and Equipment
Getting the perfect texture in your treats starts with the right tools and prep. When you follow a delicious brownie recipe, your kitchen setup is key. A little kitchen organization makes the baking process smoother.
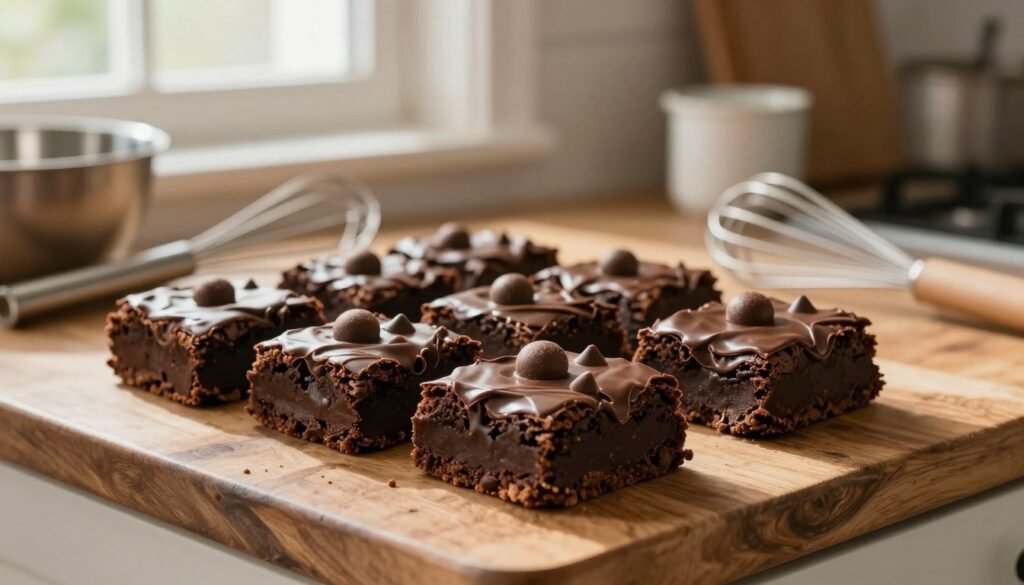
Choosing the Right Baking Pan for Chewy Bars
The right baking pan is crucial for any dessert. For chewy brownie bars, use an 8×8 inch square loose-base tin. This size helps the batter cook evenly for a fudgy center.
A loose-base tin is essential for easy removal. It also helps in even heat distribution, preventing burnt edges. Using the right pan ensures professional results every time.
Measuring Ingredients for Consistent Results
Being precise is key for a skilled baker. Measure dry and wet ingredients carefully to keep your batter right. A small mistake in flour or cocoa can change the texture a lot.
“Baking is a science, and precision is the key to unlocking the perfect flavor profile in every batch.”
Use a digital kitchen scale instead of measuring cups. This method avoids guesswork and keeps your delicious brownie recipe consistent every time.
Preheating and Oven Calibration Tips
Your oven is crucial, but it might need calibration. Always preheat your oven at least twenty minutes before baking. This ensures a stable and accurate temperature.
If your oven seems off, try an inexpensive oven thermometer. It helps avoid uneven baking. Mastering these details helps you make the most chewy brownie bars possible.
Mastering the Malteser Brownies Mixing Process
Transforming simple ingredients into a masterpiece starts with the mixing process. This stage decides the texture of your easy brownie recipe. A gentle touch is key to keep the right amount of air for a perfect crumb.
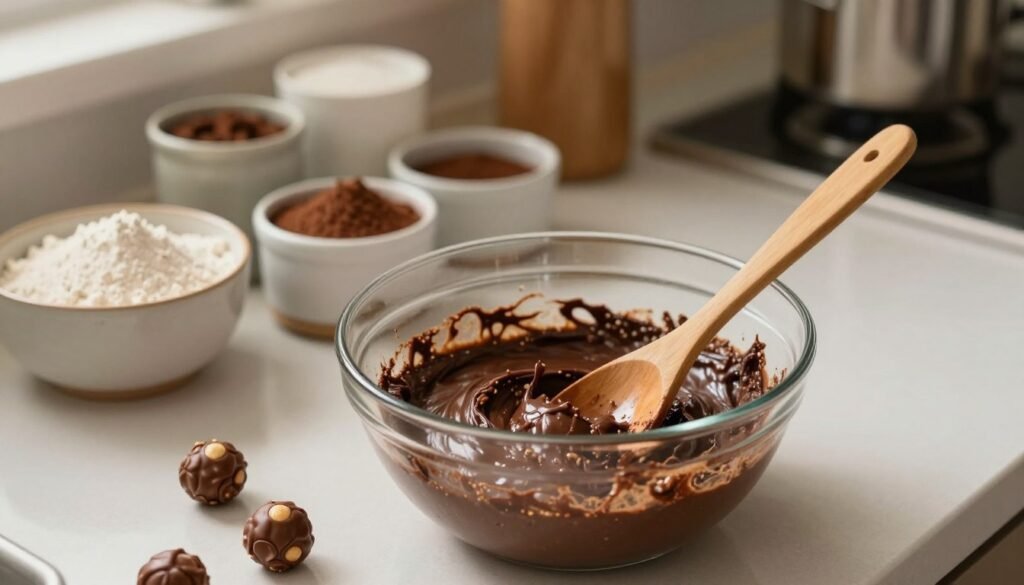
Melting Chocolate and Butter for a Silky Base
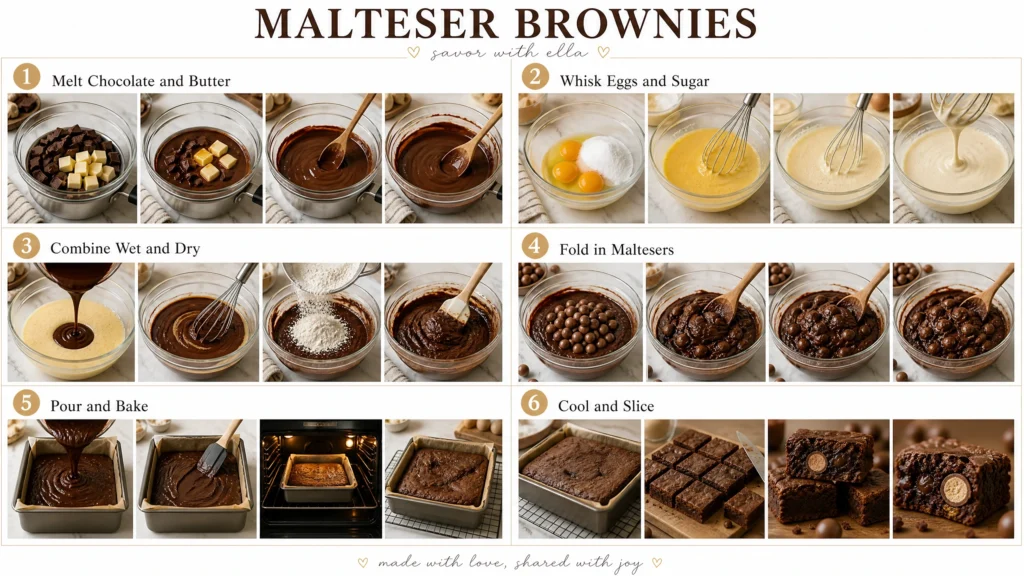
To get a smooth base, melt chocolate and butter together in a bain-marie. This method keeps the chocolate from burning. Consistency is key for a professional-grade finish on your indulgent dessert.
Incorporating Eggs and Sugar for the Ideal Crust
A glossy, crackly crust comes from how you mix sugar and eggs. Whip them together until they reach the ribbon stage. This adds enough air for a light and delicate top layer.
Folding in Dry Ingredients Without Overmixing
When your wet base is ready, fold in dry ingredients gently. Avoid overmixing to prevent tough brownies. Stir in your Maltesers chocolate carefully to ensure even distribution.
Baking Techniques for Irresistible Sweet Treats
To make a delicious dessert, watch your batter closely in the oven’s last minutes. It’s all about finding the right mix of heat and patience. This ensures the edges get set while the middle stays soft.
Determining the Perfect Bake Time
For the best results, put your brownie pan in the oven’s center. Bake it for 30 to 35 minutes at 180°C (356°F) in a fan-assisted oven.
This time lets the brownie structure form without drying out. Watch the oven light closely in the last five minutes.
Adding Maltesers at the Right Moment
To make a delicious sweet treat, timing is key. Adding Maltesers too soon can make them lose their crunch or melt into the batter.
Press the Maltesers gently into the batter’s top about five minutes before it’s done. This keeps them crunchy and adds great texture to each bite.
Testing for Doneness Using the Toothpick Method
A chocolate lover’s dream brownie should be moist and fudgy in the center. Check this by inserting a wooden toothpick into the middle.
If the toothpick has a few moist crumbs attached, your brownies are perfect. If it’s clean, they might be overbaked.
| Bake Stage | Visual Indicator | Toothpick Result |
|---|---|---|
| Underbaked | Very soft center | Wet batter |
| Perfect | Set edges, soft middle | Moist crumbs |
| Overbaked | Dry, firm surface | Clean/Dry |
Cooling and Slicing Your Homemade Brownies
Proper cooling and slicing make your brownies look like they came from a bakery. The smell of fresh baking is tempting, but wait before cutting your homemade brownies.
Why Patience Matters During the Cooling Phase
Letting the pan cool completely is key to keeping moisture in. This way, the brownies become perfectly dense and chewy.
Trying to slice them when they’re still warm can be a mess. Patience is your best tool for achieving the right texture.
Achieving Clean Cuts for Professional Presentation
For sharp edges, use a sharp, thin-bladed knife. You can also dip the knife in hot water and dry it between cuts to avoid sticking.
Pro tip: Lift the block out of the pan using parchment paper. This makes cutting straight down easy without hitting the tin sides.
Storing Your Chocolate Malteser Treat for Maximum Freshness
After slicing, keep your chocolate Malteser treat fresh. Store the pieces in an airtight container to prevent drying out or absorbing fridge odors.
In warm climates, fridge storage can keep them fresh for days. Just let them come to room temperature before serving for the best taste and texture.
Conclusion
Baking Malteser Brownies is a fun and rewarding experience. It brings joy to your kitchen. Now, you can make a rich, decadent dessert that impresses everyone.
Your hard work with quality ingredients and precise techniques pays off. Every batch turns out perfectly. This shows your growing skills in the kitchen.
Sharing a homemade chocolate Malteser treat creates lasting memories. It’s a special way to bond with friends and family. You should be proud of your professional results at home.
Keep trying new things as you get more confident. Your baking journey is just starting. Every time you bake, you learn something new.
Share your baking with others to spread the joy. Your kitchen is the best place to improve your skills. Enjoy making delicious treats for yourself and others.