
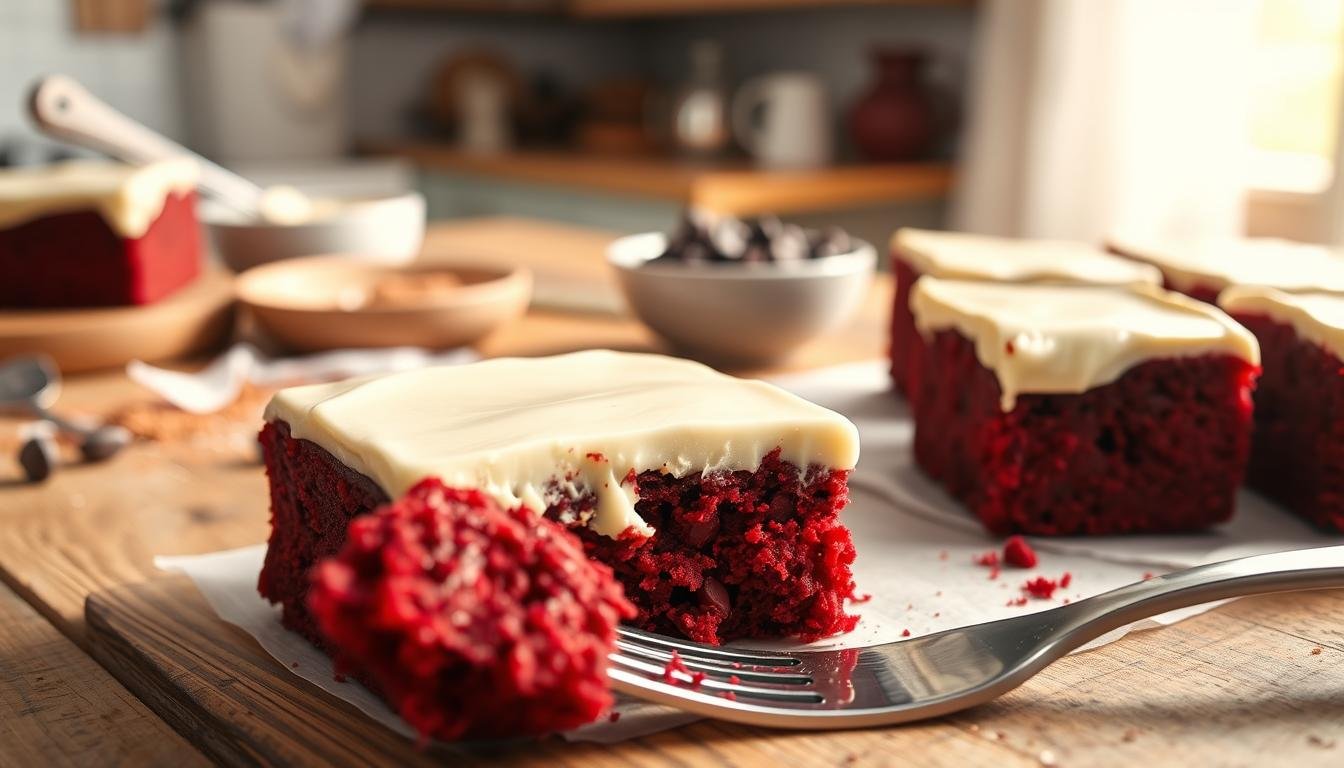
Your Guide to Baking Delicious Red Velvet Brownies
There’s something magical about the scent of cocoa in your home. Baking is a special way to slow down and make a treat that warms your heart.
If you love a mix of fudgy texture and vanilla taste, you’re in the right spot. We’re here to guide you in making the best red velvet brownies easily.
Whether you want an easy red velvet brownies recipe or to make them from scratch, we’ve got you covered. You’ll learn how to get that homemade look and top it with a cream cheese frosting. Follow our recipe to improve your baking skills today.
Table of Contents
Essential Ingredients for Homemade Red Velvet Brownies
Starting to make the perfect red velvet brownies means picking the right ingredients. Quality matters, so every bite is rich and velvety. Using unsalted butter lets you control the salt level.
Selecting High-Quality Cocoa Powder and Flour
The cocoa powder you pick affects the dessert’s flavor. For the best red velvet brownies, choose unsweetened cocoa powder. It adds a chocolate taste without being too strong. Use standard all-purpose flour for the right texture and chewiness.
The Role of Red Food Coloring and Vinegar
Red food coloring gives the brownies their iconic look. But vinegar is where the magic happens. It mixes with cocoa and baking soda to create a tender crumb. This gives the brownies a unique, tangy taste.
Choosing the Right Dairy for Moisture
Moisture is key for a top-notch brownie. Full-fat buttermilk or sour cream adds creaminess. They keep the brownies soft for days, working with other fats for a rich, moist treat.
| Ingredient | Primary Function | Pro-Tip |
|---|---|---|
| Unsalted Butter | Fat and richness | Control salt levels easily |
| Cocoa Powder | Flavor depth | Use high-quality Dutch-processed |
| White Vinegar | Acidity and texture | Reacts for a tender crumb |
| Buttermilk | Moisture | Adds a subtle, tangy richness |
Choosing these ingredients carefully is the first step to making the best red velvet brownies. Each one balances sweetness and texture, making this classic American dessert unforgettable.
Preparing Your Kitchen and Equipment
Getting your kitchen ready is key to making homemade red velvet brownies. When your tools are set, baking becomes easier and more fun. A tidy workspace helps you focus on mixing your ingredients right.
Necessary Baking Pans and Parchment Paper
Choosing the right pan size is crucial for your dessert’s texture. An 8×8 or 9×9 inch square pan works best for a dense, fudgy center. Always line your pan with parchment paper, leaving some overhang on the sides.
This trick makes it easy to lift the red velvet brownies out of the pan. It prevents sticking and keeps your edges clean and neat. This makes slicing your treats into perfect squares a breeze.
Mixing Bowls and Whisking Techniques
Use large, stainless steel or glass mixing bowls for enough room to mix well. When mixing, whisk steadily to add air without overworking the batter. Avoid over-mixing to prevent a tough texture, aiming for a gentle but thorough mix.
“Baking is a science, but it is also an art that requires the right tools and a bit of patience to master.”
Oven Calibration for Even Baking
Accuracy is what makes a baker great. Preheat your oven to 350°F for even baking without drying out. If your oven is off, an oven thermometer can help you find the true temperature.
| Equipment | Purpose | Benefit |
|---|---|---|
| Square Pan | Baking base | Uniform thickness |
| Parchment Paper | Lining | Easy removal |
| Whisk | Mixing | Smooth batter |
| Thermometer | Calibration | Consistent heat |
Proper calibration stops the edges from burning before the center is set. By following these steps, your homemade red velvet brownies will be perfect every time.
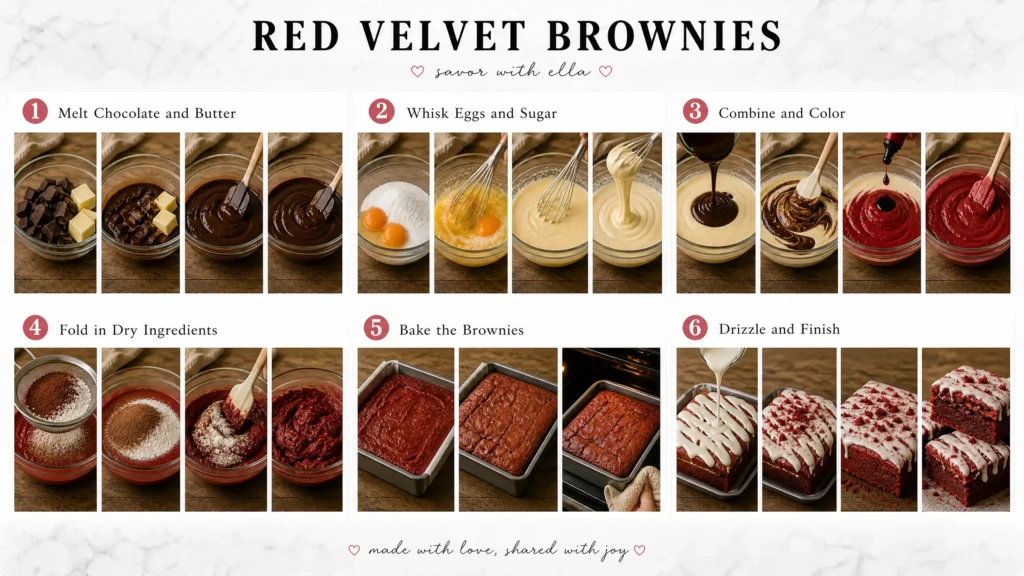
Step-by-Step Guide to Baking Red Velvet Brownies from Scratch
Making red velvet brownies from scratch is simpler than you might think. Just follow these easy steps. You’ll get a professional result that will wow your guests. This guide makes baking smooth and fun from start to finish.
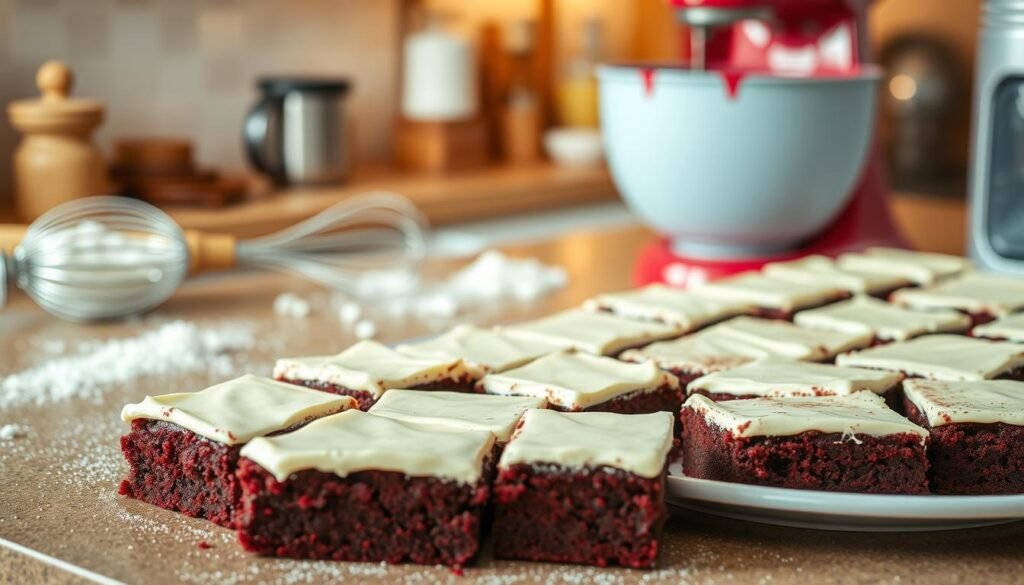
Combining Dry Ingredients for a Smooth Batter
Begin by sifting flour, salt, and leavening agents into a bowl. Sifting removes lumps and ensures even distribution. This step is key for a light, even base for your red velvet brownies.
Creaming Butter and Sugar for the Perfect Texture
In another bowl, mix softened butter and sugar until light and fluffy. This step adds air for a tender crumb. The mixture will lighten as sugar dissolves into butter.
Incorporating Eggs and Vanilla Extract
Beat in eggs one at a time, ensuring a stable mix. Add vanilla extract for deep flavors. This step is crucial for a velvety batter that holds its shape while baking.
Folding in the Cocoa and Red Velvet Base
Whisk together melted butter, sugar, cocoa, and vanilla until glossy. Fold in the red velvet base gently. Avoid overmixing to prevent a tough texture in your easy red velvet brownies.
Baking Times and Testing for Doneness
Pour the batter into a pan and spread it evenly. Bake as directed in your red velvet brownies recipe. Check for doneness with a toothpick; it should have a few moist crumbs.
The secret to perfect brownies is knowing when to take them out of the oven. The heat continues to cook the center after removal.
Let your brownies cool completely in the pan before cutting. By following this red velvet brownies recipe carefully, you’ll get a fudgy treat. Enjoy making these easy red velvet brownies at home.
Crafting the Perfect Cream Cheese Frosting
Getting the right mix of sweet and tangy is key for your red velvet brownies with cream cheese frosting. This frosting adds a sharp, acidic taste that contrasts with the rich cocoa of the brownies. When done right, it turns a simple dessert into a fancy treat that’s as beautiful as it is tasty.
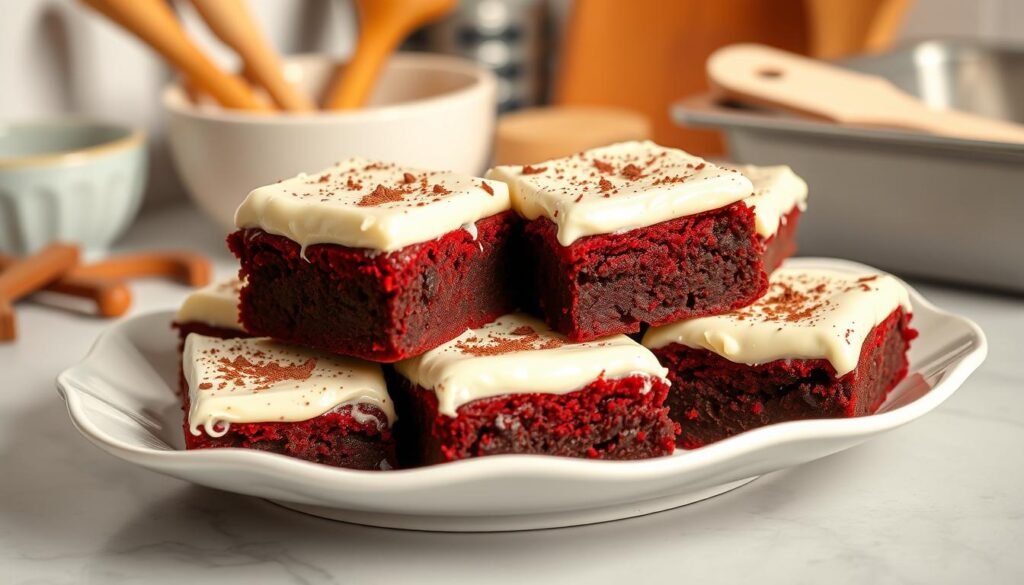
Achieving the Ideal Consistency
For a frosting that holds its shape, start with the right stuff. Use full-fat, brick-style cream cheese instead of the spreadable kind. This has too much water. Soften the cheese to room temperature before mixing to avoid lumps.
If your frosting is too runny, don’t add more sugar right away. Chill the bowl in the fridge for ten minutes to firm it up. This trick helps your red velvet brownies look neat and professional.
Balancing Sweetness and Tanginess
A great cream cheese frosting balances the richness of the dairy with the sweetness of the sugar. Sift your sugar to get a smooth texture. Here are some tips for the perfect taste:
- Begin with a 2:1 ratio of cream cheese to butter for a tangier taste.
- Add a pinch of salt to balance the sugar’s sweetness.
- Include a teaspoon of high-quality vanilla extract to enhance the flavor.
Techniques for Spreading or Piping onto Brownies
When your frosting is ready, how you apply it makes all the difference. For a rustic look, spread it with an offset spatula. For a fancy touch, pipe it with a star tip.
Always wait until the brownies are completely cool before adding the frosting. If they’re still warm, the frosting will melt and slide off. By following these steps, your red velvet brownies with cream cheese frosting will look and taste amazing for everyone.
Conclusion
Baking red velvet brownies is a rewarding experience. It adds elegance to any dessert table. Now, you know how to pick the best ingredients and follow the right techniques for a perfect bake.
Your kitchen is set to make professional results with every batch. Using high-quality cocoa powder and fresh dairy products makes your treats gourmet. These details make your brownies stand out at any gathering.
Sharing these rich, fudgy brownies creates lasting memories. You can experiment with textures and flavors to match your taste. Every batch you make shows your dedication to baking.
Keep improving your baking to find new ways to customize your recipes. The joy of making something from scratch is the best part. Enjoy perfecting your signature style in the kitchen.