
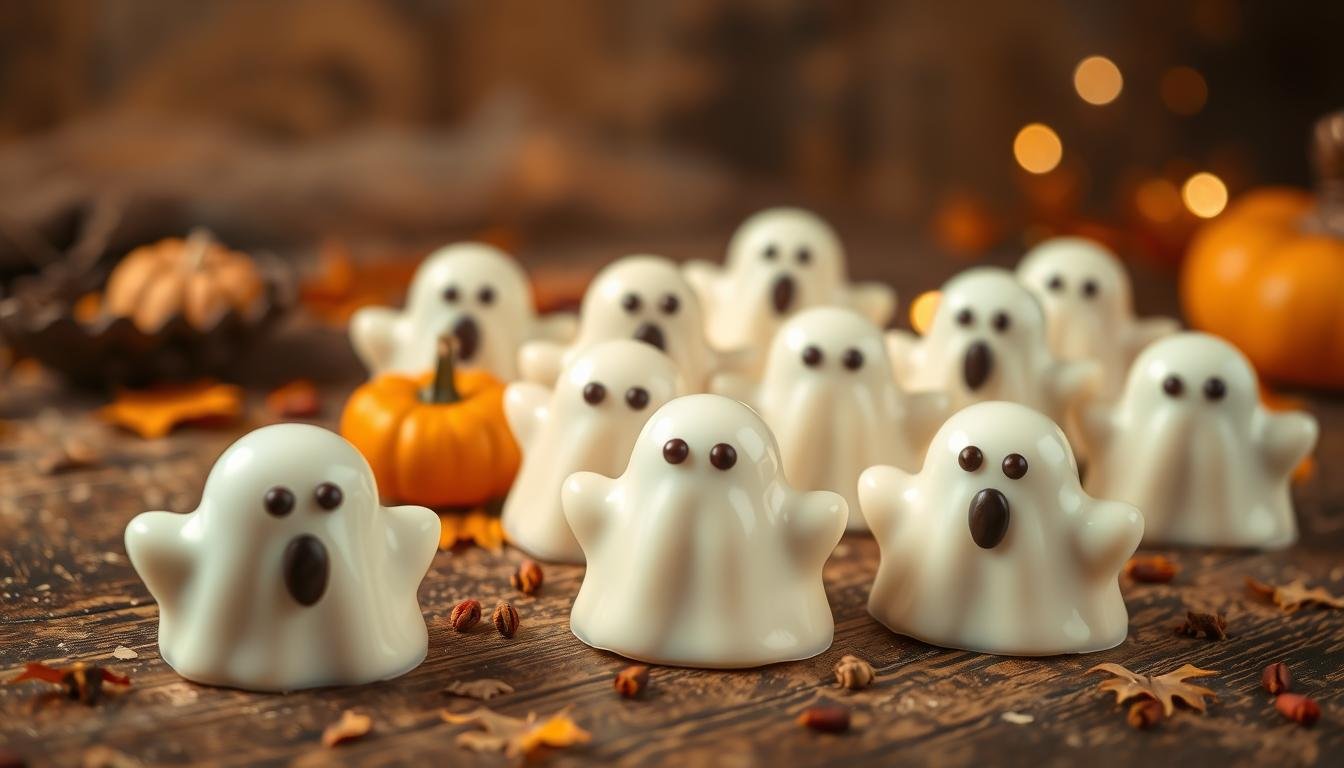
How to Make White Chocolate Ghosts for Halloween Treats
The crisp autumn air brings excitement as October nears. You might remember making seasonal decorations with your family. These memories last long after the holiday. This year, make your kitchen a place of wonder with a fun project.
Making White chocolate ghosts is a fun, easy activity. It turns your kitchen into a creative space. These Halloween treats are tasty and fun to make, great for both parents and kids. You don’t need to be a pro to make them look amazing.
With simple steps, you can make this homemade candy quickly. It’s a great way to celebrate the season and encourage your kids’ creativity. Let’s explore how to make these spooky, sweet figures at home.
Table of Contents
Essential Ingredients and Tools for Your Spooky Creations
To make impressive easy Halloween treats, you need the right ingredients. You don’t need fancy molds or expensive gadgets. Simple ingredients make your spooky desserts look professional without the hassle.
Selecting High-Quality White Chocolate
The quality of your chocolate affects how smooth it melts and how bright your ghosts look. Choose white chocolate bars or melting wafers with cocoa butter. Don’t use standard white chocolate chips, as they don’t melt well.
High-quality chocolate gives you control over texture. It makes your ghosts look beautiful and glossy. Always check the label to make sure it’s good for melting and dipping.
Necessary Kitchen Equipment
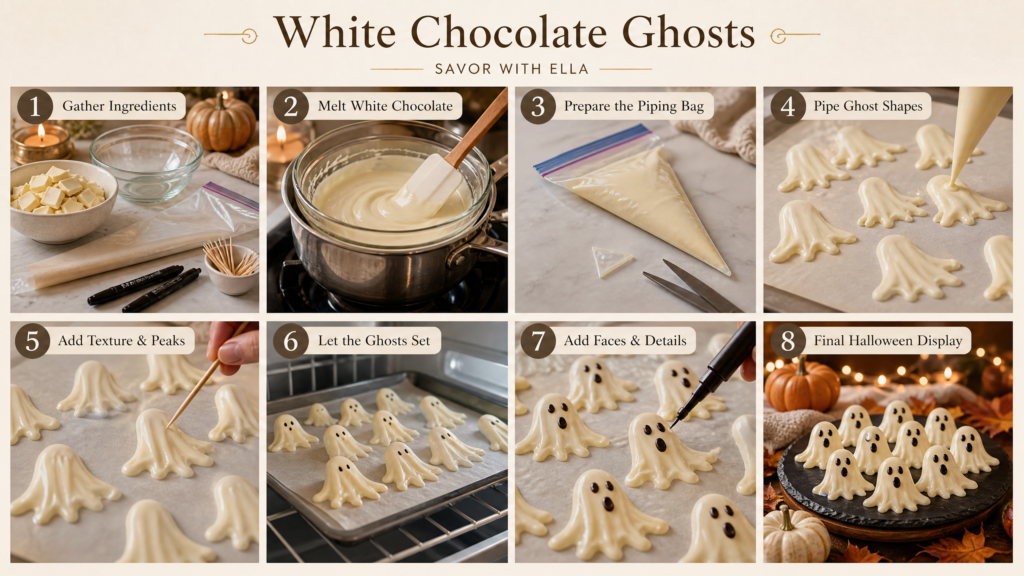
You only need white chocolate and mini dark chocolate chips for the faces. You’ll also need basic tools to keep things organized. Having everything ready helps you work smoothly with melted ingredients.
Here’s a table of the best tools for your project:
| Tool Name | Purpose | Key Benefit |
|---|---|---|
| Parchment Paper | Surface lining | Prevents sticking |
| Heat-Proof Bowl | Melting vessel | Retains heat well |
| Silicone Spatula | Mixing | Scrapes sides clean |
| Piping Bag | Shaping | Ensures precision |
Prepare your parchment paper, bowls, and spoons before starting. This makes your easy Halloween treat process smooth. With these tools, you’re set to create your festive snacks.
Preparing Your Workspace and Melting the Chocolate
A clean kitchen is key to making desserts look professional. Before starting your white chocolate recipes, make sure your counter is dry. A little bit of water can mess up your melted ingredients.
Setting Up a Double Boiler
A double boiler is great for melting chocolate gently. Put a heat-proof bowl over a pot of water. Make sure the bowl doesn’t touch the water.
Or, you can melt chocolate in the microwave. Put it in a safe bowl and heat in 30-second bursts. Stir well after each burst to avoid hot spots.
Avoiding Seized Chocolate
Seized chocolate is when sugar and cocoa clump together. This makes your white chocolate recipes grainy. Here’s how to avoid it:
- Make sure everything is dry before you start.
- Don’t overheat the chocolate, as it burns easily.
- Stir constantly to keep the temperature even.
- Don’t cover the bowl while melting, as steam can cause moisture.
By keeping everything under control, your white chocolate recipes will be smooth. Being patient is important. Once it’s smooth, you can start shaping it.
Step-by-Step Guide to Crafting White Chocolate Ghosts
Start making your dessert table come alive with these easy steps for shaping chocolate. You don’t need to be a pro to make white chocolate ghosts that look like they’re from a fancy bakery. Just follow a few simple steps, and you can make these easy Halloween treats at home.
Step 1: Preparing the Piping Bag
First, you need a way to control your melted chocolate. A plastic freezer bag works great for this. Cut a small corner off the bottom to make a precise opening for your designs.
Or, you can use parchment paper to make a cone. Roll it up and tape the edges to keep it in shape. Consistency is key, so get your bag ready before piping.
Step 2: Piping the Ghost Shapes
Now, it’s time to pipe your ghost-shaped chocolates onto parchment paper. Start by adding a spoonful of melted white chocolate. Then, use the back of your spoon to spread it out in a ghostly shape.
This method is easier than it seems for beginners. You can make your ghosts different sizes to create a spooky family. Keep your movements smooth for that classic, spooky silhouette.
Step 3: Adding Texture and Dimension
Work fast because white chocolate sets quickly. Before it hardens, use a toothpick or spoon to create small peaks. These details give your white chocolate ghosts depth and character.
Try different shapes and heights to make your easy Halloween treats unique. Once you’ve shaped your ghost-shaped chocolates, let them set completely. This patience helps keep their details and smooth finish.
Creative Ways to Decorate Your Ghostly Treats
Turning plain white chocolate shapes into festive characters is the most exciting part. Adding simple details can transform basic shapes into cute Halloween snacks that wow your guests. Whether you like a simple look or something more detailed, these methods help you get a professional finish at home.
Using Edible Markers for Facial Expressions
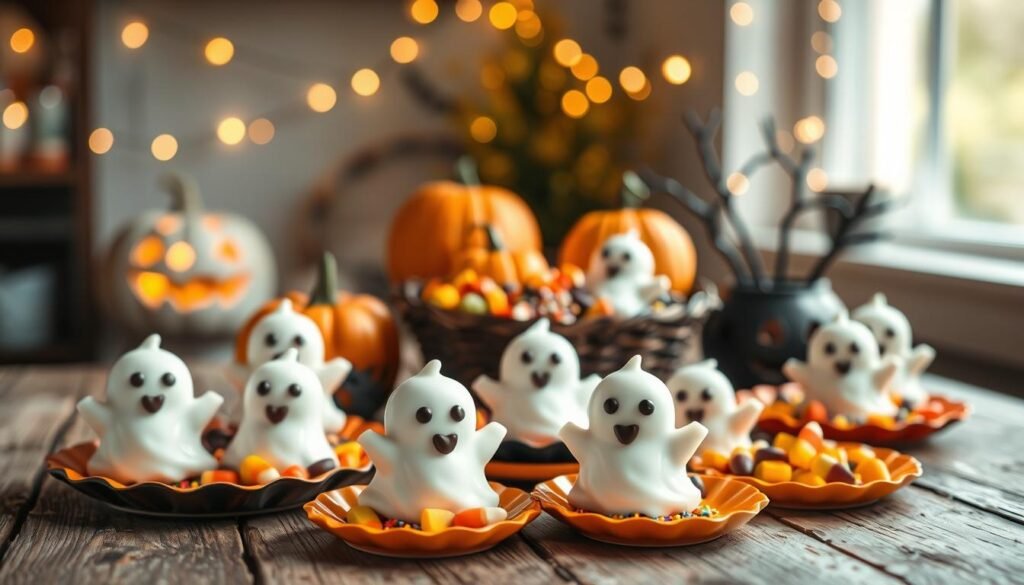
Edible ink markers are great for adding precise details to hardened chocolate. You can draw wide, surprised eyes or a crooked grin to make each ghost unique. Precision is key on small surfaces, so take your time for the ink to set before handling.
For a 3D look, use mini chocolate chips instead of markers. Press them into the soft chocolate while it’s still tacky. This creates a classic, silly, or scary expression that adds depth to your ghosts.
Incorporating Sprinkles and Colored Accents
Adding color can make your treats pop. Orange or purple sanding sugar creates a vibrant contrast against white chocolate. Sprinkling these accents while the chocolate is wet ensures they stick well.
For a more elegant touch, use edible glitter or metallic dust. These elements sparkle and make your display magical. Here’s a table with popular decoration combinations to plan your next batch:
| Decoration Type | Best For | Visual Effect |
|---|---|---|
| Mini Chocolate Chips | Facial Features | Classic, 3D look |
| Colored Sprinkles | Festive Borders | Playful, bright |
| Edible Glitter | Overall Finish | Elegant, shimmering |
Creating Ghost-Shaped Cookie Toppers
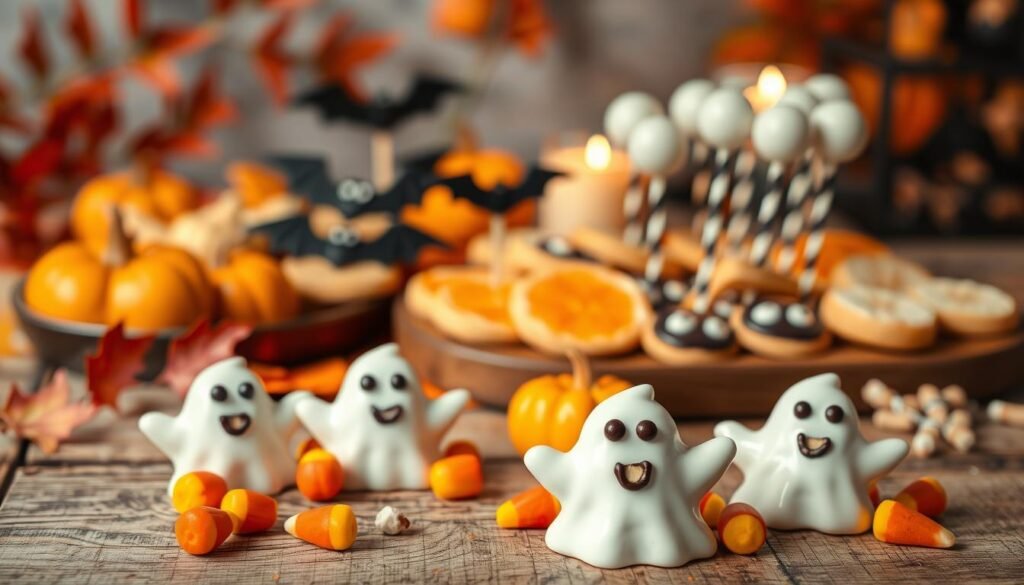
You can use your finished ghosts as decorations for other baked goods. Place a chocolate ghost on top of sugar ghost cookies for a layered dessert. This is perfect for themed parties where you want to offer different textures.
To keep the ghost on your cookie, use a small amount of melted white chocolate as “glue.” This keeps your decorations in place during transport or display. Experimenting with different cookie bases, like shortbread or ginger, adds great flavor to the sweet white chocolate.
Troubleshooting Common Issues with White Chocolate
Even the most skilled bakers sometimes run into problems with white chocolate. If your white chocolate recipes don’t turn out right, don’t worry. Most issues can be fixed with a few tweaks to your method.
Fixing Overheated or Clumpy Chocolate
If your chocolate turns thick, grainy, or clumpy, it’s likely overheated or got moisture. You can fix it by adding a bit of vegetable shortening or warm cream. Stir it gently until it’s smooth again.
To avoid this, use low and steady heat. If you see clumps, take it off the heat right away. A good thermometer keeps your ghost-shaped chocolates in the right melting range.
Managing Humidity and Temperature
How your candy turns out depends a lot on the environment. High humidity can make chocolate bloom or lose its shine. Too much heat stops it from hardening right.
Here’s how to keep your ghost-shaped chocolates perfect:
- Work in a cool, dry space to avoid moisture.
- Store your treats in an airtight container to keep humidity out.
- Put them in the fridge for up to 1 week if you want them extra firm.
By watching your environment, you can make your white chocolate recipes work, no matter the weather. The right storage is key to keeping your spooky sweets looking and tasting great.
Storage and Preservation Tips for Homemade Candy
Once your ghostly creations are finished, knowing how to store them properly is the final step to success. Proper storage is essential to maintain the texture and quality of your homemade candy after the crafting process is complete. By following a few simple rules, you ensure your treats remain as delightful as the moment they were made.
Maintaining the Perfect Texture
White chocolate is highly sensitive to its environment, especially when it comes to moisture and heat. You should always store your ghosts in an airtight container to prevent them from absorbing humidity or unwanted odors. Keeping them in a cool, dry place away from direct sunlight will help preserve their smooth, glossy finish.
Avoid leaving your treats near ovens or windows where temperature fluctuations occur. If the environment is too warm, the chocolate may soften or lose its crisp structure. Protecting your cute Halloween snacks from these elements is the best way to keep them looking professional and appetizing.
Shelf Life and Proper Packaging
When stored correctly in an airtight container at room temperature, your ghosts will stay fresh for up to 5 days. If you need to prepare your homemade candy well in advance, you can safely freeze it for up to one month. Simply place them in a single layer between sheets of parchment paper to prevent sticking.
When you are ready to serve your cute Halloween snacks, allow them to come to room temperature slowly. This prevents condensation from forming on the surface of the chocolate. Refer to the table below for a quick guide on how to manage your storage needs effectively.
| Storage Method | Ideal Temperature | Maximum Duration |
|---|---|---|
| Room Temperature | 65°F – 70°F | 5 Days |
| Refrigerator | 35°F – 40°F | 2 Weeks |
| Freezer | 0°F or below | 1 Month |
Serving Ideas for Your White Chocolate Ghosts
Getting your kitchen ready for Halloween is the last step. Whether it’s a big party or a small family get-together, how you present your white chocolate ghosts matters. These Halloween treats are great as a snack or a beautiful centerpiece.
Displaying Ghosts on Halloween Dessert Tables
Use a tiered dessert stand for a striking look. A dark tablecloth or a wooden board makes the white ghosts stand out. Add fake spiderwebs or plastic spiders for a spooky touch.
For a graveyard look, place ghosts on dark chocolate shavings or crushed cookies. This adds a delightful and spooky feel. Keep your display cool to prevent chocolate from melting.
Pairing with Other Spooky Desserts
Your creations are perfect for adding to other spooky desserts. Try floating them in hot chocolate for a cozy treat. It’s a fun way to enjoy the night after trick-or-treating.
Use your ghost cookies as toppers for cupcakes or brownies. Press them into frosting or whipped cream. This way, your dessert table will be the star of the show.
Conclusion
Making white chocolate ghosts turns your kitchen into a festive workshop for the holiday season. You now know how to melt, shape, and decorate these spooky treats easily.
These handmade sweets add a personal touch that store-bought candy can’t match. Your friends and family will love the effort you put into every ghostly detail.
Try different brands like Ghirardelli or Guittard to find your favorite flavor. You might find new ways to customize your designs as you get better with your piping bag.
Share your creations on social media to inspire other bakers. Your unique treats make every Halloween gathering more special.
Keep practicing to get better at making ghostly shapes for future events. Enjoy making edible art that brings joy to your home this October.