
Create Meringue Mushrooms Easily with This Step-by-Step Guide
The holiday season is truly magical. As the air gets crisp, your kitchen becomes the heart of the home. It’s filled with the scent of sugar and warmth. You likely remember the joy of decorating festive treats that look like they came straight from a professional bakery.
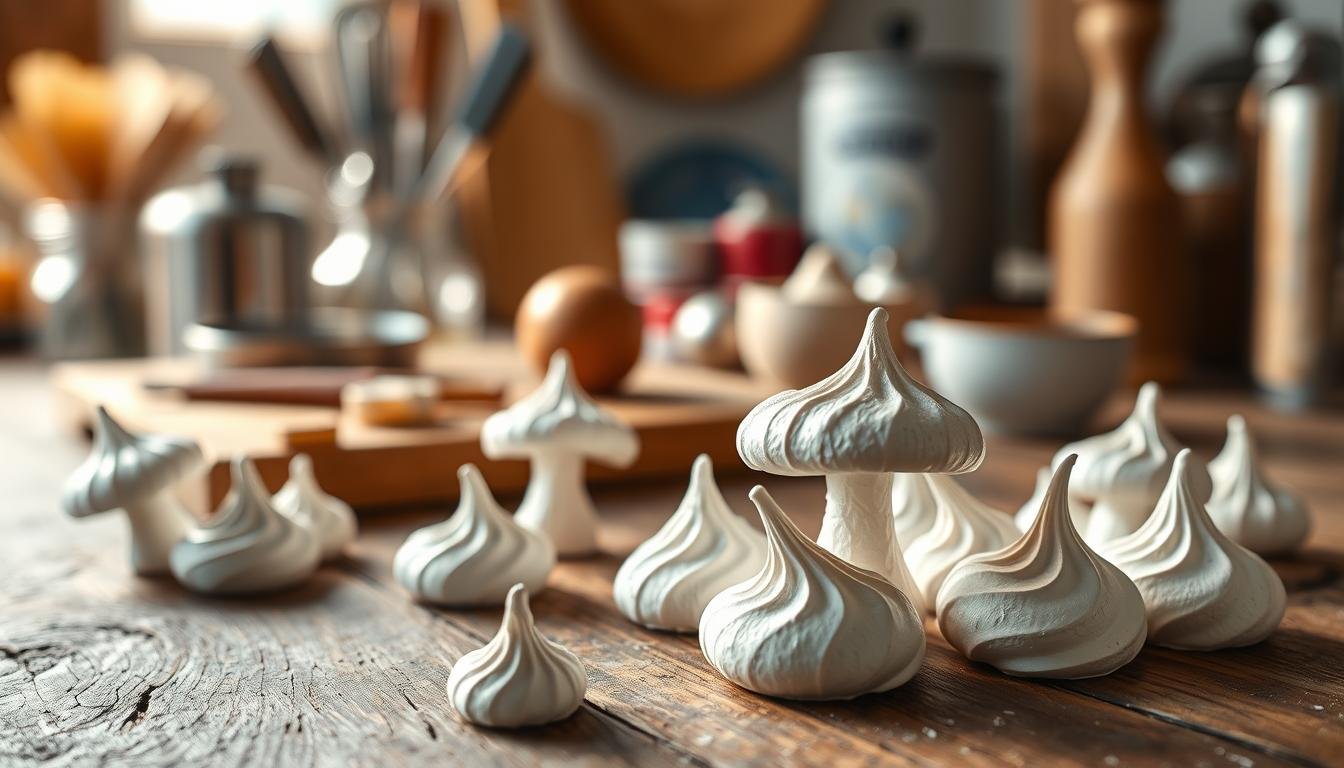
Making homemade meringue mushrooms is a great way to add charm to your table. These delicate, sweet meringue mushrooms are easy to make, even if you’re new to baking. Since they’re meant to look rustic and natural, you don’t have to worry about perfect shapes.
These edible decorations are perfect for a classic Yule Log cake. Adding these Meringue Mushrooms to your dessert makes it look stunning and professional. Follow this guide to learn how to make these whimsical treats with confidence from your first try.
Table of Contents
Essential Ingredients and Equipment for Meringue Mushrooms
Making edible mushroom meringues starts with top-notch ingredients and tools. Having these ready before you start makes baking easier and more consistent.
Selecting the Right Ingredients
For the best texture, choose fresh, room-temperature egg whites and fine granulated sugar. Room-temperature eggs whip up better, making your meringue light and airy.
Cream of tartar is a must for your recipe. It keeps your meringue stable, preventing it from becoming hollow or collapsing during baking.
Must-Have Kitchen Tools
The right tools are as crucial as the ingredients. A reliable stand mixer is key for stiff, glossy peaks in your Meringue Mushrooms.
You’ll also need a good piping bag with a round tip for precise shapes. And don’t forget parchment paper to line your baking sheets. It stops your edible mushroom meringues from sticking to the pan.
Preparing Your Meringue Batter
The secret to a successful meringue mushroom recipe starts with egg whites turned into a glossy foam. This is key for keeping your treats’ shape and texture during baking.
Achieving the Perfect Stiff Peaks
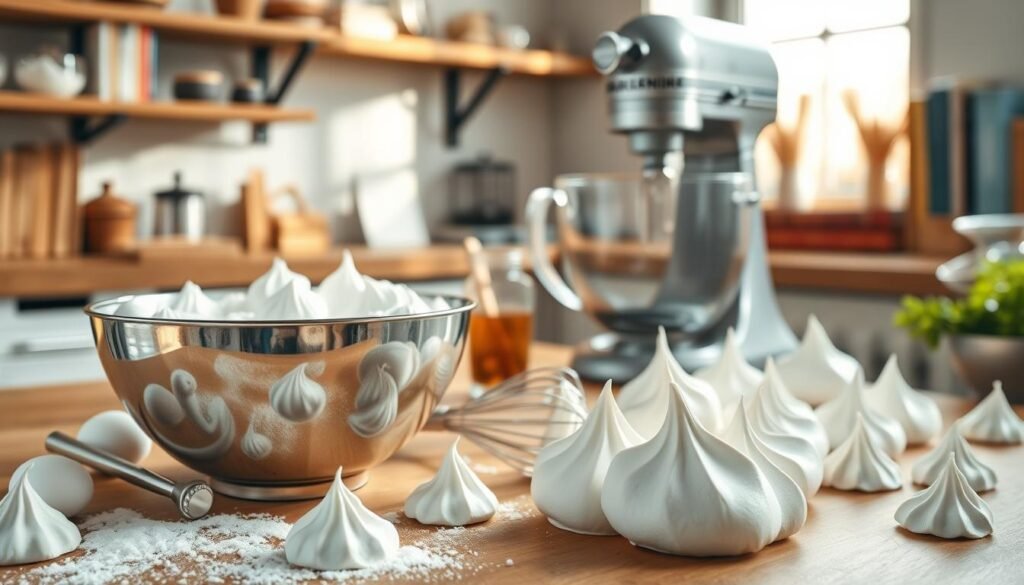
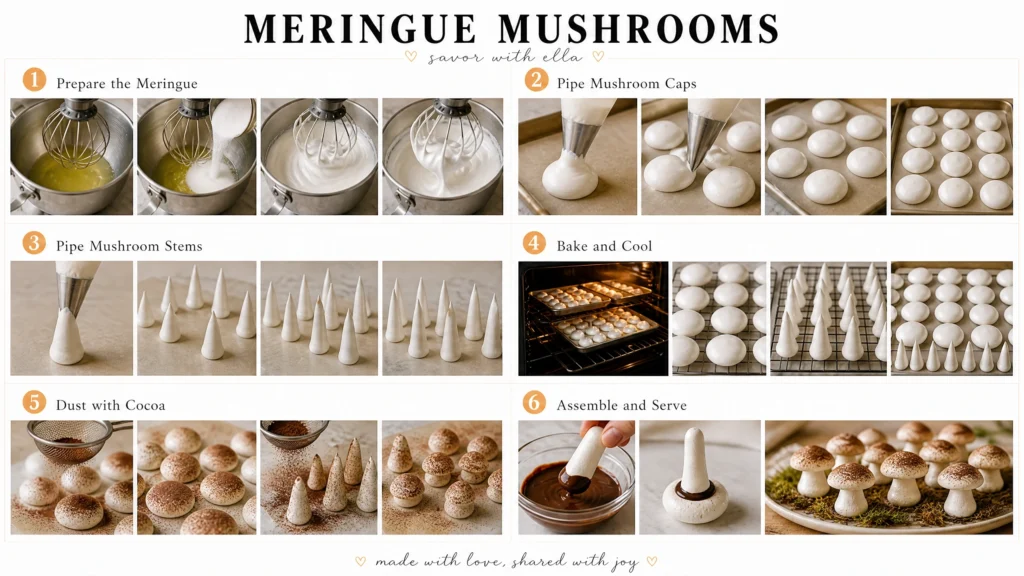
Start by using a clean, grease-free bowl to whip your egg whites until they’re foamy. Then, add a pinch of cream of tartar and increase the mixer speed to medium-high. This helps stabilize the protein structure.
Keep whipping until you see stiff, glossy peaks that stand straight up. These peaks are crucial for your meringue mushroom cookies to hold their shape in the oven.
Tips for Incorporating Sugar Gradually
When your egg whites are soft and foamy, it’s time to add sugar. Add it one tablespoon at a time to make sure it dissolves completely.
Adding sugar too fast can make the batter grainy or collapse. By adding it slowly, you ensure a smooth, voluminous batter ready for piping.
Check the mixture’s consistency by rubbing a small amount between your fingers. If it feels gritty, keep whipping until it’s silky smooth.
Piping and Shaping Your Meringue Mushrooms
The magic happens when you pipe your homemade meringue mushrooms. It’s all about the right touch and a steady hand. You’ll need the perfect piping tip to get it just right.
Creating the Mushroom Caps
Start by holding your piping bag straight over the baking sheet. Press down to make a round base. Then, lift the bag slowly while easing off the pressure to form a point.
This method gives your caps a Hershey’s kiss look. Consistency is key to ensure they bake evenly.
Forming the Mushroom Stems
After the caps, use a smaller tip for the stems. Pipe small, upright cylinders that match your caps’ height.
“The beauty of handmade confections lies in the small imperfections that give them character and charm.”
Keep the stems straight for support. A firm, vertical motion helps them stand up well.
Techniques for Smooth Surfaces
Don’t worry about sharp points or ridges. Just dab a tiny bit of water on your finger and smooth them out.
This trick makes your meringue mushroom decorations look professional. A little extra effort goes a long way in making your dessert look amazing.
Baking and Drying Techniques for Perfect Results
Getting the heat right is key to making sweet meringue mushrooms look like they came from a bakery. Unlike cakes or cookies, these treats need a gentle touch. This ensures they dry out completely without turning brown.
Setting the Oven Temperature
To get the best results, your oven should be at a very low temperature, around 200°F. If it’s too hot, the sugar will caramelize, making your mushrooms golden brown. Consistency is key when working with egg white foams.
Always check the temperature with an oven thermometer. Home ovens can vary, which can mess up your meringue mushroom cookies. Keeping the heat steady is crucial for the right texture.
The Importance of Low and Slow Drying
Patience is essential during the drying stage. Letting the meringues dry for hours prevents them from becoming soft. This slow drying is what makes them delicate and airy.
After baking, turn off the oven and leave the door ajar. Cooling them inside the oven helps them harden slowly. This step keeps your sweet meringue mushrooms sturdy for beautiful displays.
| Oven Setting | Resulting Texture | Visual Appearance |
|---|---|---|
| 200°F (Low) | Crisp and light | Bright white |
| 250°F (Medium) | Chewy center | Slightly golden |
| 300°F+ (High) | Burnt or melted | Dark brown |
Assembling Your Sweet Meringue Mushrooms
Turning your baked meringue into forest treats takes patience and skill. Once your caps and stems cool down, you’re set to make your edible mushroom meringues.
Preparing the Chocolate Glue
You’ll need a strong adhesive to stick your pieces together. Melt semi-sweet or dark chocolate in a double boiler or short microwave bursts.
Stir until the chocolate is perfectly smooth and lump-free. Let it cool a bit so it thickens into a paste. This paste will act as a strong glue for your project.
Joining Caps and Stems Securely
Before attaching, carve a tiny hole in the cap’s flat side with a small knife. This hole will hold the stem securely.
Dip the stem’s top in chocolate and press it into the cap’s hole. Hold it for a few seconds to make sure it’s securely bonded. Then, let it harden before moving on.
Adding Finishing Touches with Cocoa Powder
To get a natural look, dust your creations with unsweetened cocoa powder. This step turns white shapes into meringue mushroom decorations that look real.
Use a soft-bristled brush to apply cocoa powder unevenly. This gives your charming meringue mushroom decorations a realistic look. They’re now ready to decorate your cakes or dessert platters.
Dietary Variations for Vegan and Gluten-Free Meringue Mushrooms
These treats are perfect for those who follow a plant-based diet or avoid gluten. You don’t have to give up on taste or texture. Just a few changes to your meringue mushroom recipe can make it fit your dietary needs. This way, everyone at your holiday gathering can enjoy a special treat.
Using Aquafaba for Vegan Meringues
Aquafaba is the key to making perfectly airy vegan meringue mushrooms. It’s the liquid from a can of chickpeas. This liquid acts like egg whites, whipping up into glossy peaks that keep their shape when baked.
To use it, just drain the chickpea liquid and measure it as you would egg whites. It whips up fast, keeping your meringues crisp. It’s a truly magical ingredient for those baking without eggs.
Ensuring Your Ingredients Remain Gluten-Free
Making gluten-free meringue mushrooms is easy since most ingredients are naturally gluten-free. But, you must watch out for gluten in your kitchen. Always check the labels on powdered sugar and cocoa powder to make sure they’re gluten-free.
When baking for those with gluten sensitivities, avoiding cross-contamination is key. Use only clean, gluten-free equipment. By doing this, you can safely serve your gluten-free mushroom treats to all your guests.
Conclusion
Making these delicate treats is a rewarding experience. It adds a professional touch to any holiday dessert table. Now, you can turn simple pantry items into delightful art that wows your guests.
Learning how to whip, pipe, and dry meringues is key. This ensures your Meringue Mushrooms turn out perfectly every time. These crisp treats are great for decorating cakes or adding a festive touch to your table.
Your kitchen becomes a creative space when you try out these shapes. Share your Meringue Mushrooms with friends to bring joy this winter. Your skill in making these treats takes your baking to new levels.
Begin making your next batch today. See how Meringue Mushrooms can elevate your dessert presentation. Your hard work leads to stunning displays that truly capture the holiday spirit.