
Your Guide to Vegan Millionaire’s Shortbread Recipe
There’s something magical about making a sweet treat from scratch. Whether it’s for a special occasion or just because, homemade treats are the best. Making Vegan Millionaire’s Shortbread lets you enjoy classic tastes with plant-based ingredients.
This vegan dessert recipe makes it easy to get pro results. You’ll learn to make a crisp base, smooth caramel, and rich chocolate topping. It’s great for impressing guests or treating yourself to a top-notch snack at home.
With this guide, you can make this indulgent Vegan Millionaire’s Shortbread with confidence. Each layer is crafted for a rich, satisfying taste. Let this vegan dessert recipe be your go-to for adding sweetness to your life.
Table of Contents
The Appeal of Vegan Millionaire’s Shortbread
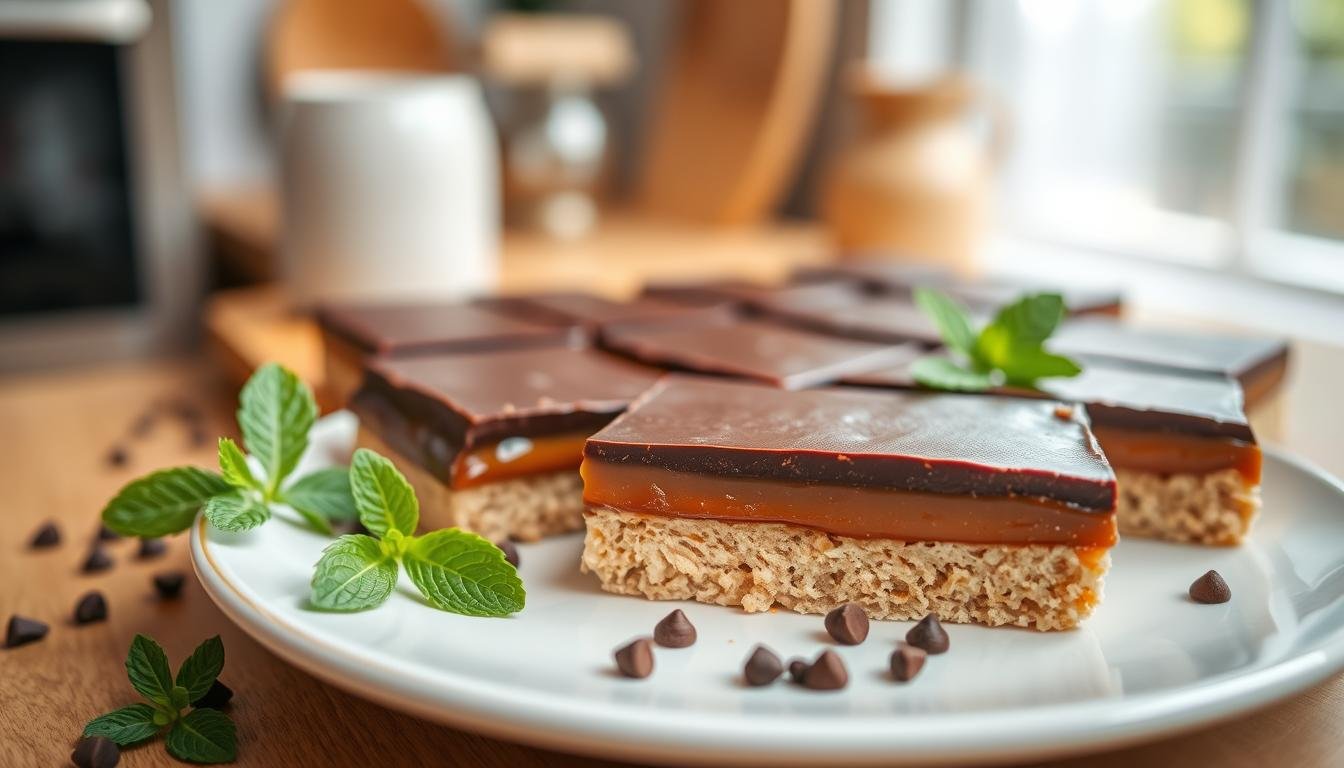
A perfectly crafted bar has three distinct layers. A classic Vegan Millionaire’s Shortbread combines a crisp base, a luscious caramel layer, and a smooth chocolate top. This mix creates a taste experience that’s unmatched.
Unlike traditional versions, this plant-based Millionaire’s shortbread is just as rich but uses no animal products. These indulgent vegan desserts offer a great mix of textures and tastes. The chocolate’s snap against the soft caramel and crumbly base is especially delightful.
Knowing why this treat is loved shows the effort needed to make it. Plant-based fats need chilling to keep the layers in place. This ensures every slice is firm and stunning at your next event.
| Layer | Traditional Ingredient | Plant-Based Alternative |
|---|---|---|
| Shortbread Base | Dairy Butter | Vegan Butter Sticks |
| Caramel Filling | Condensed Milk | Coconut Milk & Sugar |
| Chocolate Topping | Milk Chocolate | Dairy-Free Dark Chocolate |
Sharing these treats with friends or enjoying them alone shows you don’t need dairy for culinary excellence. These indulgent vegan desserts are perfect for any holiday table. Mastering the plant-based Millionaire’s shortbread takes your baking to a pro level.
Essential Ingredients for Your Plant-Based Treat
Starting your journey to make indulgent vegan desserts means choosing the right ingredients. High-quality items are key to getting the perfect taste and texture. By picking the best, you’re on your way to a top-notch dessert in your kitchen.
Selecting the Right Vegan Butter and Flour
The base of any plant-based Millionaire’s shortbread depends on the butter and flour. Choose a high-fat vegan butter stick for the best results. This keeps the dough right during baking.
For the dough, mix oat flour with almond flour. This mix gives a soft, crumbly texture that’s just right. It also adds a nice nutty flavor to your dessert.
“The secret to great baking is not just the recipe but the integrity of the ingredients you choose to bring into your home.”
Choosing Dairy-Free Sweeteners and Chocolate
After setting your base, focus on the sweetness and chocolate topping. Use organic cane sugar or maple syrup for a clean sweetness. It pairs well with the caramel layer.
For chocolate, pick high-quality dairy-free bars with at least 60% cocoa. These indulgent vegan desserts need chocolate that melts well and has a nice snap. With these ingredients, you’ll get a dessert that’s as good as any traditional one.
Preparing the Perfect Shortbread Base
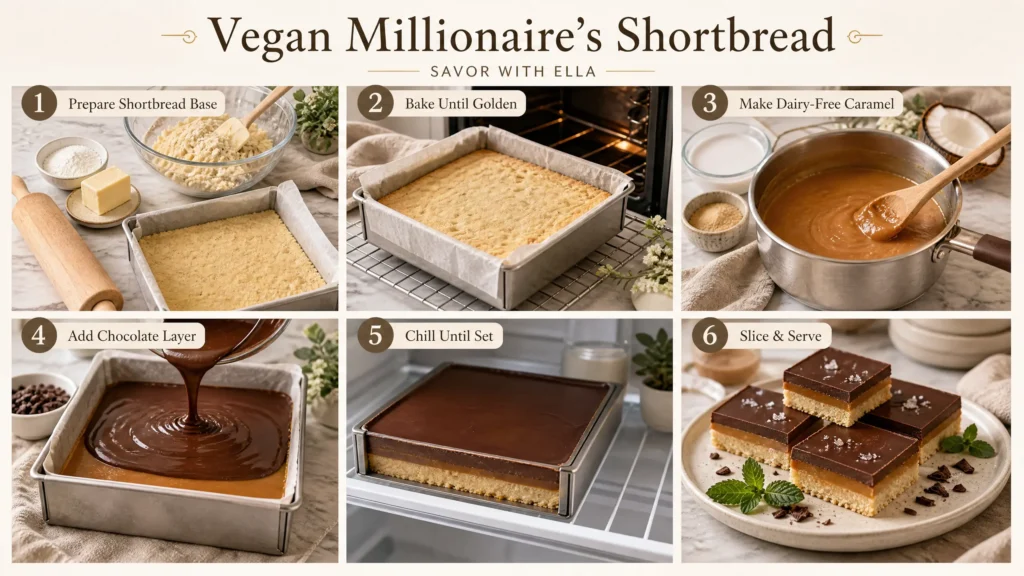
Starting your journey to making tasty, plant-based sweets means baking a great shortbread base. This base is key for your caramel and chocolate toppings. It makes sure your gluten-free vegan treats look and taste amazing.
Mixing and Pressing the Dough
First, mix your dry and wet ingredients until you get a soft dough. The dough should stick together when pinched but still be crumbly. Patience is key here to avoid dry flour pockets.
After mixing, put the dough in your baking dish. Press it down with a flat cup or spatula to fill the corners. Consistency is vital to prevent crumbling later.
Baking for the Ideal Texture
The baking time affects your dessert’s texture. Whether you like it soft or crisp, easy vegan baking needs precise timing. Watch the edges for golden brown before the center sets.
“Baking is both a science and an art, where the smallest adjustment in time can transform the entire character of your creation.”
Here’s a guide for different textures:
| Bake Time | Texture Result | Best For |
|---|---|---|
| 15 Minutes | Soft and Tender | Chewy dessert bars |
| 20 Minutes | Crisp and Firm | Traditional shortbread snap |
| 25+ Minutes | Very Crunchy | Long-term storage stability |
Let the base cool completely before adding more layers. This step is crucial for easy vegan baking. It keeps your gluten-free vegan treats stable and tasty. Controlling the heat ensures your dessert turns out perfectly.
Crafting the Creamy Dairy-Free Caramel
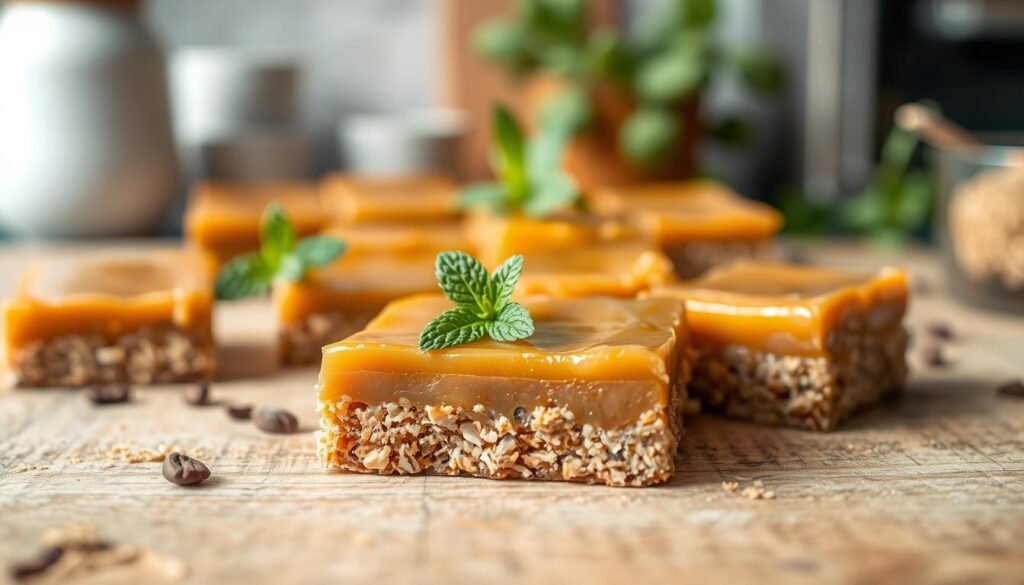
Turning coconut milk and sugar into a rich caramel is a fun challenge. This layer is the heart of your dairy-free caramel slice. It gives that gooey texture that’s perfect against the crisp base.
The Science of Coconut Milk and Sugar
Caramelization is where magic happens. Sugars break down under heat, creating deep flavors. Full-fat canned coconut milk is essential for its creaminess, just like dairy.
When you mix it with cane or coconut sugar, the mixture thickens as water evaporates. Stir constantly to avoid burning, as coconut milk sugars can scorch fast.
Achieving the Right Consistency
To make your vegan caramel chocolate slice hold its shape, watch the temperature closely. A candy thermometer is the best tool for tracking.
Shoot for a temperature of 225°F. At this point, the sugar is concentrated enough for the caramel to set when cooled in the fridge.
Troubleshooting Caramel That Won’t Set
If your caramel is too soft or runny after chilling, it might not have hit the right temperature. Patience is key. If you take the pan off the heat too soon, it won’t set right.
The type of sugar you use also matters. Refined cane sugar sets better than coconut sugar, which can make it softer and fudge-like.
Adding the Final Chocolate Layer
A glossy chocolate finish is key to a perfect vegan caramel chocolate slice. This step adds the signature snap that makes each bite satisfying. It’s a rewarding part of easy vegan baking, turning simple ingredients into a professional treat.
Tempering Vegan Chocolate for a Snap
To get that crisp texture, melt your chocolate carefully. Use a double boiler or microwave at low power to avoid burning the cocoa. Whisking your ganache off the heat is crucial to prevent seizing.
If the chocolate becomes grainy or stiff, it’s seized. This happens due to moisture or too much heat. Keep your workspace dry and remove the bowl from the heat before the chocolate melts completely. This ensures a silky, smooth consistency every time.
Spreading and Smoothing the Topping
Once your chocolate is melted, pour it over the chilled caramel layer. Use an offset spatula to spread it quickly and evenly. Work fast because the cold caramel will make the chocolate set quickly.
For a flawless look, tap the pan gently against your counter to release air bubbles. Let the layer set completely in the fridge before slicing. This patience ensures your final product is beautiful and ready to enjoy.
Tips for Achieving the Perfect Slice
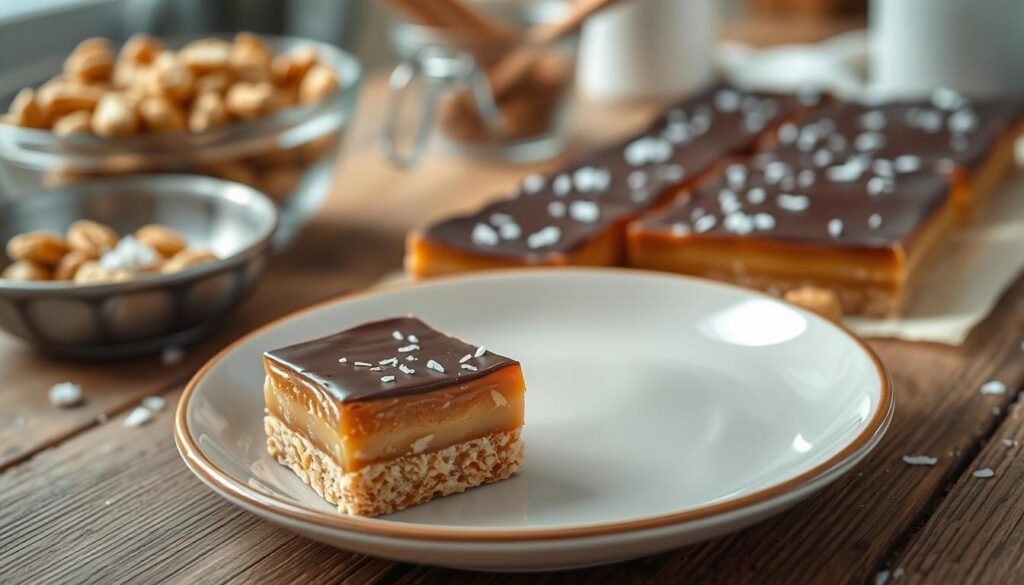
The secret to a beautiful presentation lies in how you handle the final slicing stage. The flavors are already developed, but the visual appeal of your dairy-free caramel slice depends on your technique. Preparing properly ensures your hard work results in professional-looking bars.
The Importance of Chilling Time
Patience is key when working with layered desserts. You must let the bars firm up completely in the refrigerator before cutting. If the caramel layer is too soft, it will squish out the sides, ruining the clean lines of your dessert.
“Good things come to those who wait, especially when it comes to setting the perfect dessert layers.”
For the best results, follow these guidelines to ensure your treat is ready for the knife:
- Keep the pan in the refrigerator for at least four hours.
- Check that the chocolate top has hardened completely.
- Avoid rushing the process, as temperature stability is essential for a clean finish.
Techniques for Clean Cuts Without Cracking
Once your dessert is fully chilled, you can focus on achieving sharp, bakery-style edges. A common mistake is using a cold, dry knife, which can cause the chocolate layer to crack or shatter. Instead, use a simple method to ensure every dairy-free caramel slice looks perfect.
Run a sharp chef’s knife under hot water for a few seconds to warm the blade. Carefully wipe the knife dry with a clean towel before making each cut. This heat helps the blade glide through the chocolate and caramel layers without dragging or pulling the ingredients apart.
Storing and Serving Your Homemade Vegan Candy Bars
Keeping your homemade vegan candy bars fresh is easy with the right storage. These treats have layers of caramel and chocolate ganache. They need careful handling to stay delicious.
Maintaining Freshness in the Refrigerator
For short-term storage, the fridge is best. Store your gluten-free vegan treats in an airtight container. This keeps them fresh for up to 5 days.
“The secret to a perfect dessert is not just in the preparation but in the patience you show during the storage process.”
Freezing for Long-Term Storage
For longer storage, the freezer is great. You can store them for up to 3 months without losing quality.
Follow these steps for the best results:
- Wrap each bar in parchment paper to prevent sticking.
- Put the wrapped bars in a freezer-safe bag or container.
- Let the bars sit at room temperature for a few minutes before eating.
Letting them soften slightly before eating is key. It brings back that perfect, creamy texture you worked for.
Conclusion
Making a professional vegan dessert at home is very rewarding. You now know how to mix textures and flavors perfectly.
These homemade vegan candy bars are as good as those from fancy bakeries. Your hard work makes them look and taste amazing.
Try using top ingredients like Guittard chocolate or Earth Balance butter to make them even better. Small changes can make a big difference in your creations.
Sharing these treats with loved ones makes special moments. Your adventure in making plant-based sweets has just started.
Be proud of making tasty sweets without animal products. Your kitchen is now a place for endless creativity and yummy discoveries.