
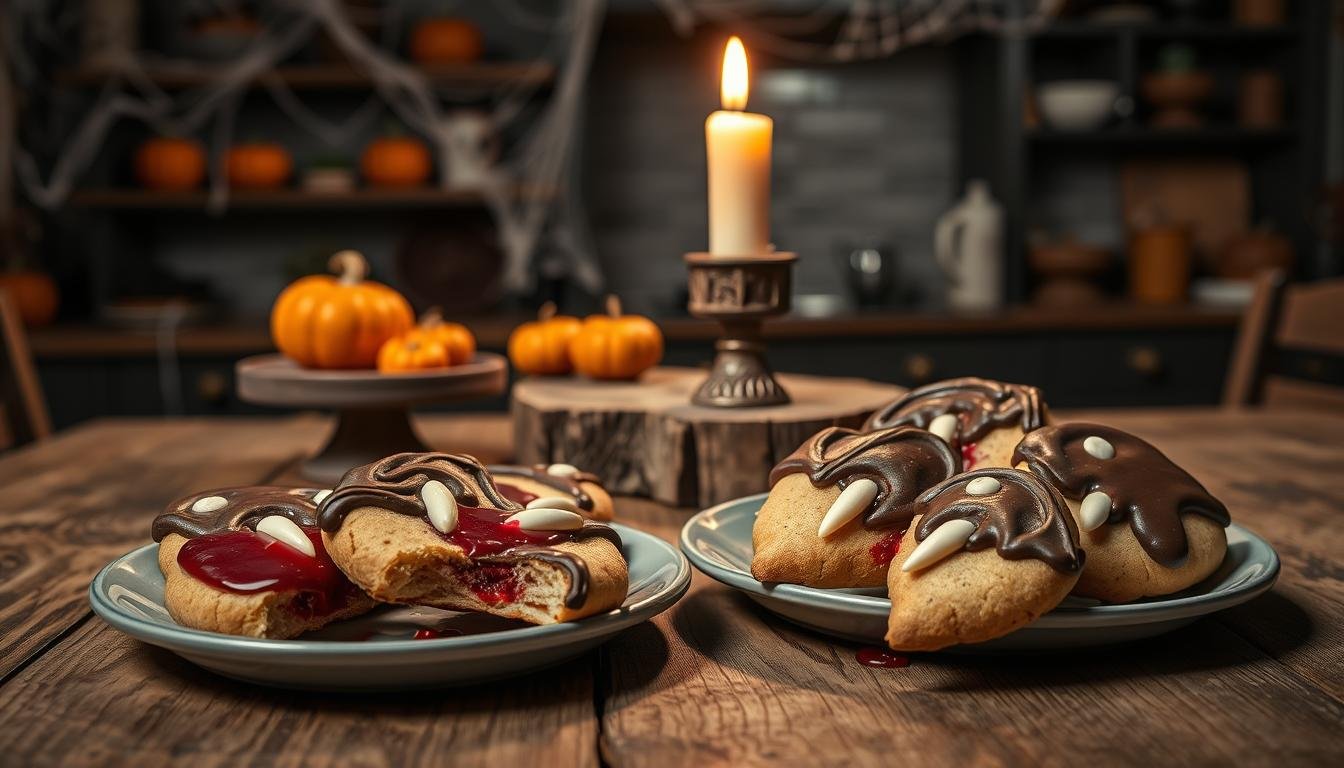
How to Make Vampire Cookies Your Family Will Love
The crisp autumn air and October’s excitement are magical. As leaves turn, you might want to bring that joy into your kitchen. Making festive treats is a great way to bond with your family and create lasting memories.
You don’t need to be a pro to make amazing Halloween desserts. These snacks are easy, fun, and perfect for all skill levels. They add a touch of whimsy without scaring the little ones.
These spooky treats are perfect for any gathering or a cozy night in. Baking Vampire Cookies will become a beloved tradition for your family every year.
Table of Contents
Essential Ingredients and Tools for Vampire Cookies
Making great Halloween desserts begins with the right ingredients and tools. Preparing your workspace helps keep your baking session organized and efficient. By getting these holiday sweets essentials early, you can dive into making spooky treats without worry.
Selecting Quality Baking Staples
For a simpler project, consider using premade sugar cookie dough. It’s a top easy baking idea for those short on time but wanting great results. If baking from scratch is your preference, make sure you have fresh flour, quality butter, and pure vanilla extract ready.
To achieve the vampire-themed snack look, you’ll need specific decorating supplies. Get vibrant red icing, white frosting, and edible candy eyes. These basics are key to cookie recipes that your family will adore.
Must-Have Kitchen Equipment
The right tools make assembling your Vampire Cookies easier. Reliable piping bags are crucial for precise fangs and blood-red details. If you don’t have professional bags, a small plastic sandwich bag works as a convenient alternative.
Also, have a sharp paring knife or small spatula for shaping the dough. These tools help you refine the mouth area of your vampire-themed snacks easily. With these cookie recipes and the right tools, you’re set to make your own delicious Vampire Cookies for the season.
Preparing Your Dough for Spooky Treats
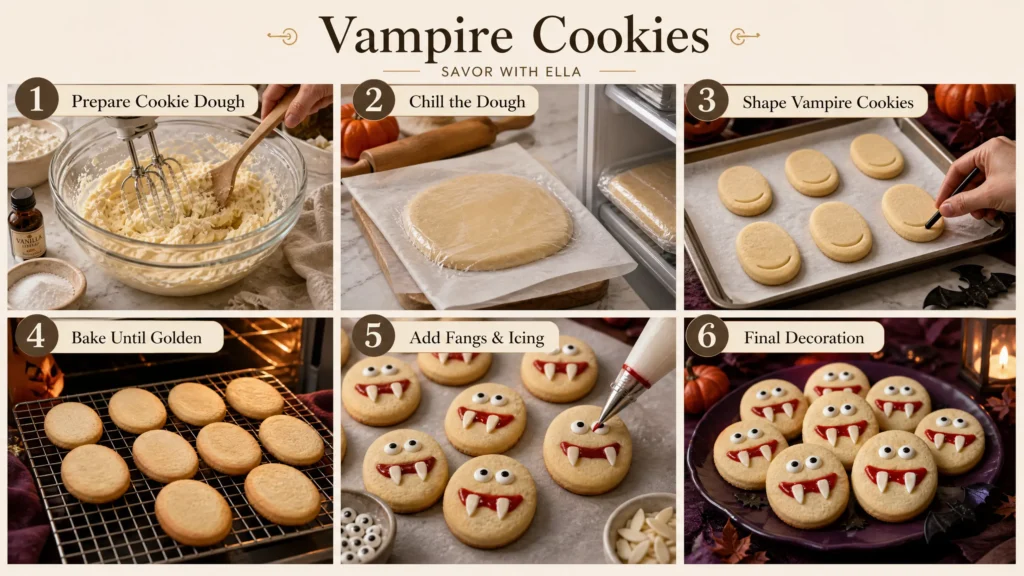
To get your Vampire Cookies just right, start early. You can use store-bought dough or make your own. The choice affects how your treats look.
Deciding between store-bought and homemade dough depends on your time and skill. Both options are great for easy baking ideas. They let you focus on decorating later.
Mixing the Perfect Cookie Base
For homemade dough, use quality ingredients like unsalted butter and fine-grain sugar. A good base is key for vampire-themed snacks. It keeps shapes sharp without spreading too much.
Don’t overmix the dough. Overworking can make cookies tough. Mix just until everything is combined. This ensures your cookie recipes are tender and delicious.
“Baking is a science that requires both precision and a little bit of heart. When you take the time to prepare your dough correctly, the results will always shine through in the final presentation.”
Chilling Techniques for Better Shape Retention
Chilling is crucial for themed treats. Wrap your dough in plastic and chill it for at least an hour. This firms up the fats, keeping edges sharp in the oven.
Roll the dough between parchment papers before chilling. This makes cutting out shapes easier when it’s firm.
| Feature | Store-Bought Dough | Homemade Dough |
|---|---|---|
| Preparation Time | Very Fast | Moderate |
| Ingredient Control | Limited | Excellent |
| Shape Retention | Good | Superior |
| Flavor Profile | Standard | Customizable |
By following these easy baking ideas, your vampire-themed snacks will impress. Proper chilling is key to turning simple cookie recipes into amazing, spooky desserts. Your family will love them.
Step-by-Step Guide to Crafting Vampire Cookies
Turning your dough into vampire-themed snacks is the fun part. Follow these steps to make your cookies look great and hold up well for your party.
Shaping the Cookie Bodies
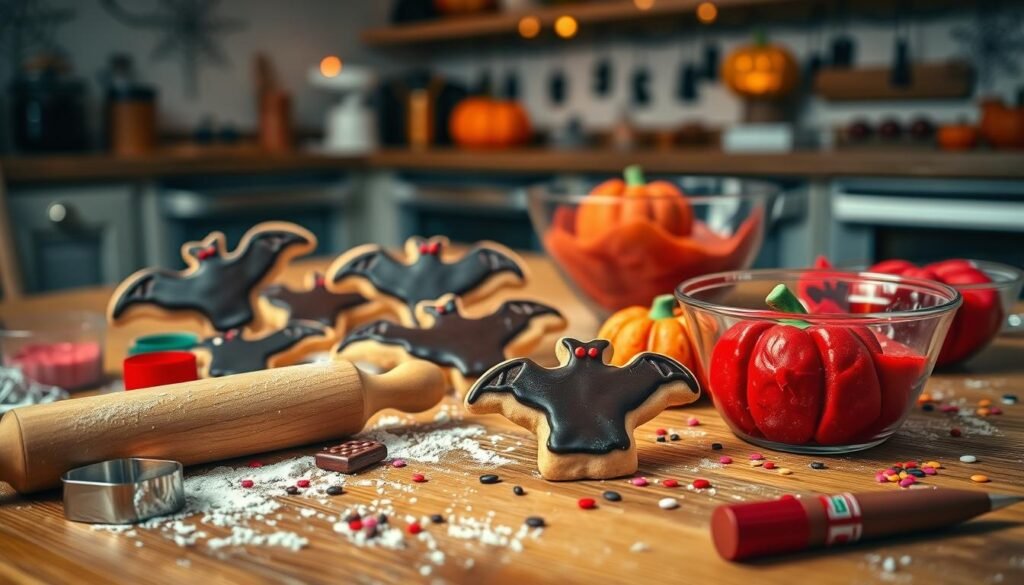
Roll out your dough on a floured surface to the right thickness. Use your favorite cookie recipes to cut out shapes for your creatures.
For a unique look, shape the dough into rounded ovals by hand. Place them on a parchment-lined baking sheet, leaving space to prevent sticking.
Creating the Signature Vampire Mouth
Put your cookies on the tray and use a knife or straw to make a mouth shape. This will be where you add your decorations later.
Make sure not to cut too deep. You want a shallow impression that will hold your red icing and marshmallow fangs after baking.
Baking to Perfection
Getting the right texture is key for these easy baking ideas. The right heat keeps your cookies from spreading too much.
Temperature Control and Timing
Preheat your oven to the exact temperature in your recipe. Consistency is vital, so don’t open the oven door too often.
Set a timer for the minimum baking time. Check the cookies early to avoid over-baking, which can make them hard or dry.
Ensuring Even Browning
Rotate your baking sheets halfway through baking for even color. This trick helps get perfectly golden edges on all your delicious goodies.
When the edges are set and lightly browned, take them out of the oven right away. Let them cool completely on a wire rack before decorating.
Creative Decorating Tips for Festive Treats
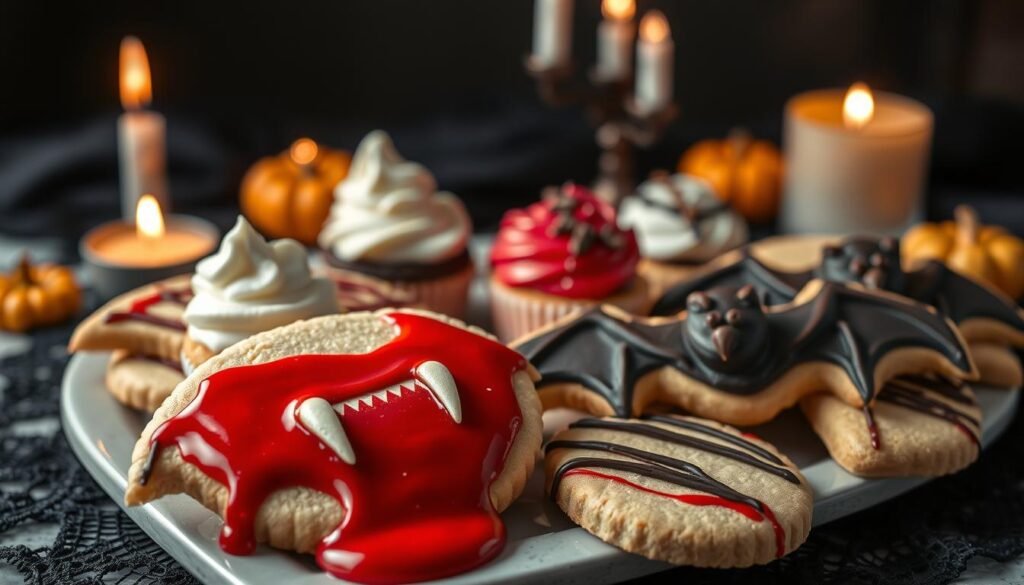
To make your baked goods into spooky treats, just add a few finishing touches. Once your cookies cool, start making your characters come alive. These steps turn simple shapes into snacks that wow your guests.
Adding Fangs and Red Icing Details
To get the vampire look, focus on the mouth area of your Halloween desserts. Use slivered almonds or white chocolate chips for sharp fangs.
Press these into the dough or hold with icing. Then, pipe red gel around the fangs for a vampiric bite. This detail makes your cookies pop.
Using Edible Eyes for a Spooky Effect
The eyes make your festive treats come alive. Buy pre-made candy eyes at craft stores for a quick fix.
Place eyes at different angles for unique looks. For a menacing appearance, put them close or tilt them. This trick adds charm to your cookies.
Storage and Serving Suggestions
Keep your holiday sweets fresh with the right storage. Store cookies in an airtight container at room temperature.
In humid climates, use parchment paper between layers to prevent sticking. Serve on a dark platter to highlight the theme. Your guests will love the effort you put into it.
Conclusion
Learning to bake these unique cookies turns your kitchen into a creative space. You now have the skills to make spooky treats that embody the holiday spirit.
These projects are a great way to bond with your family. They make holiday sweets that are both memorable and delicious.
Sharing these festive treats brings a sense of pride to your baking. Each batch reminds you of the joy in making homemade snacks.
Try using different icing colors or candy eyes to make your cookies unique. Your friends and neighbors will love the effort you put into these fun snacks.
Make sure your kitchen is always ready for baking. Enjoy making edible art that makes every table brighter.