
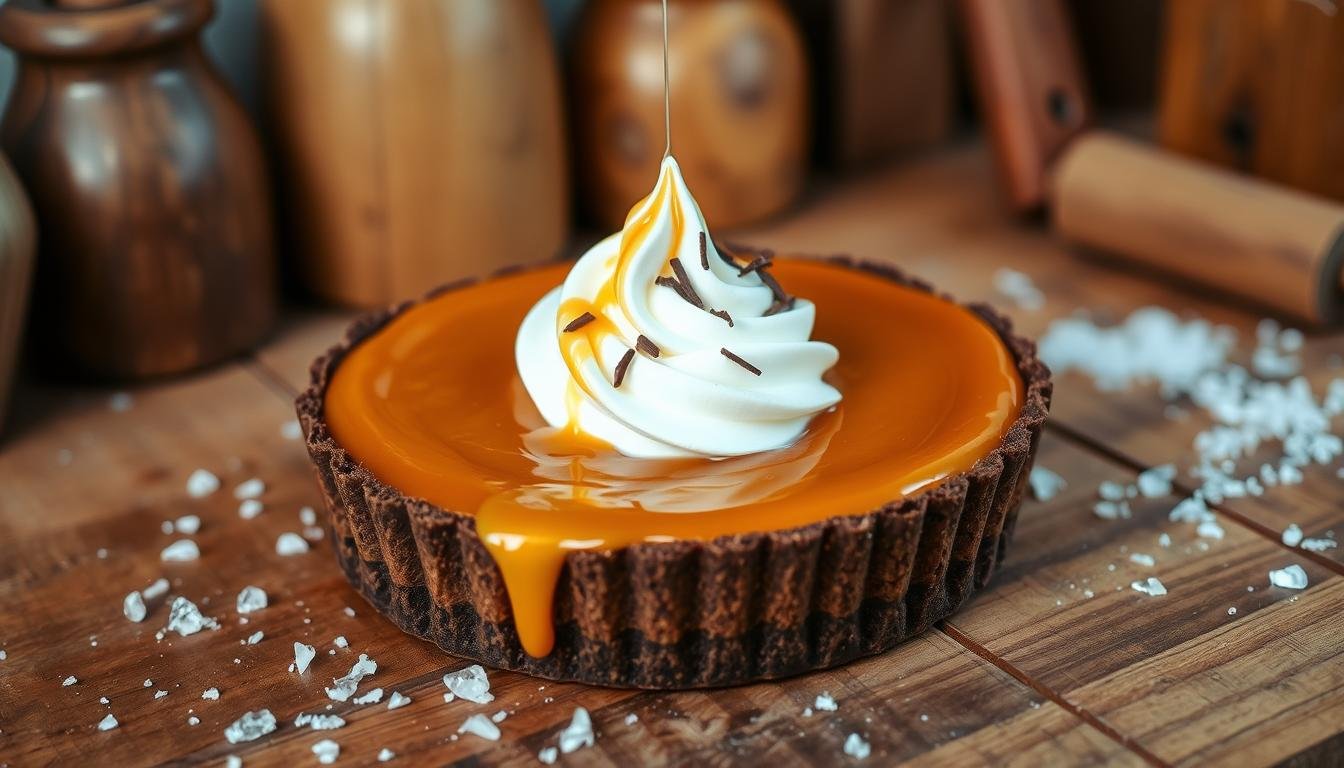
Your Guide to Making a Millionaire’s Salted Caramel Tart
Stepping into your kitchen to make something from scratch is magical. You want to impress your guests with a luxurious dessert that looks like it’s from a fancy store.
Making a Millionaire’s Salted Caramel Tart is an act of love. This guide will teach you the skills needed for a perfect tart. You’ll learn to balance buttery shortbread, rich filling, and smooth chocolate.
You’ll learn to do each layer with confidence. This turns simple ingredients into a top-notch homemade dessert. By following these steps, your kitchen will become a place of amazing flavors and skills.
Table of Contents
Essential Equipment and Ingredients for Success
Turn your kitchen into a patisserie with the right tools and ingredients. Prepare your workspace before starting. This way, you can focus on baking this indulgent treat without stress.
Selecting High-Quality Ingredients
Your shortbread crust’s success depends on the butter quality. Always pick unsalted butter for full flavor control.
For the caramel and ganache layers, use top-notch heavy cream and premium chocolate. These give your dessert its rich texture and flavor. Using the best ingredients makes your dessert an extraordinary experience.
Must-Have Kitchen Tools for Precision
Precision is key when working with sugar and chocolate. A candy thermometer is crucial for accurate caramel temperature monitoring.
With precise measurements and the right tools, this complex dessert becomes an easy recipe for home. Keep your workspace tidy and tools clean for a smooth process.
Mastering the Perfect Shortbread Crust
The base of any decadent dessert is crucial. A good shortbread crust holds fillings well and adds a buttery crunch.
Achieving the Ideal Texture
For the perfect crumb, use the 1-2-3 ratio. This means one part sugar, two parts butter, and three parts flour. This ratio keeps the dough tender, not tough.
Precision is key when mixing. Mix the butter until it’s like coarse breadcrumbs. This locks in rich flavors. Don’t overwork the dough to avoid gluten and keep it soft.
Blind Baking Techniques for a Crisp Base
Blind baking stops a soggy bottom. Chill the dough in the fridge for thirty minutes before baking. This solidifies the butter for a crisp crust.
Use parchment paper and pie weights or beans to bake. This keeps the crust from bubbling. Bake until the edges are golden, then remove the weights for the center.
Troubleshooting Common Crust Issues
Even pros face challenges with shortbread. Bubbling means the dough was too warm or the oven too hot. Fixing these problems early keeps your decadent dessert looking and tasting great.
| Issue | Primary Cause | Best Solution |
|---|---|---|
| Excessive Bubbling | Warm dough | Chill for 30 minutes |
| Uneven Browning | Hot spots in oven | Rotate pan halfway |
| Crumbly Edges | Too much flour | Add a teaspoon of water |
| Soggy Bottom | Under-baking | Extend blind bake time |
Crafting the Ultimate Millionaire’s Salted Caramel Tart Filling
Transforming simple sugar into a decadent dessert is all about mastering caramelization. The filling is the heart of your Millionaire’s Salted Caramel Tart. It gives that gooey texture that’s perfect against a crisp base.
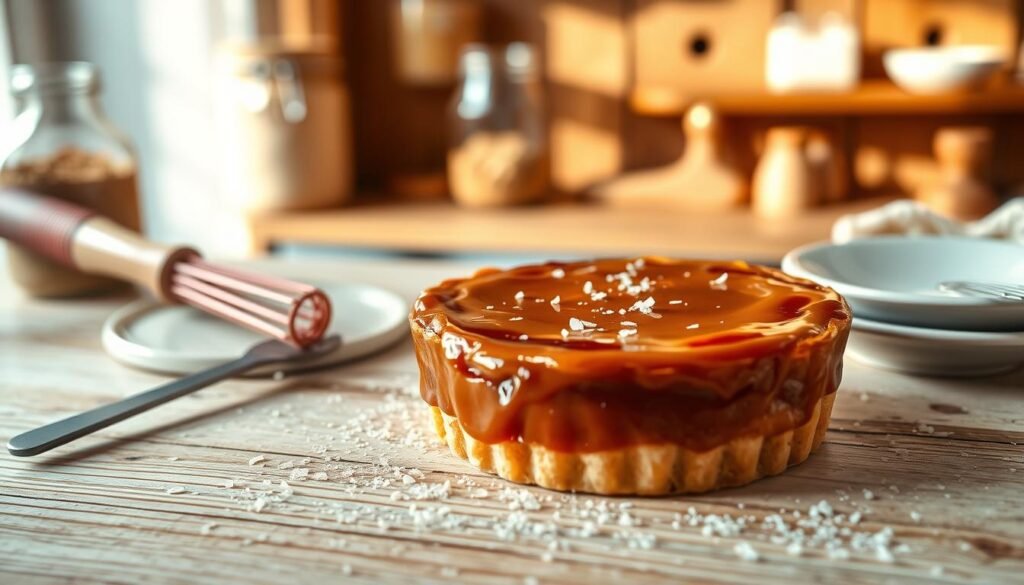
The Science of Caramelization
Making perfect caramel is a science that needs careful heat control. To make your easy recipe work, avoid letting sugar turn grainy.
Adding a bit of corn syrup helps. It stops sugar from forming crystals, making your caramel smooth and easy to pour. This trick ensures your tart looks professional every time.
“Caramelization is the quiet alchemy of heat and sugar, turning simple ingredients into liquid gold.”
Balancing Sweetness with Sea Salt
A great tart has that perfect sweet and salty mix. Sugar is the base, but high-quality sea salt adds depth. It’s what makes the tart unforgettable.
When adding salt, do it slowly and taste as you go. Finding the right balance is what turns a good caramel into an amazing dessert.
| Temperature Range | Consistency | Best Use |
|---|---|---|
| 225°F – 230°F | Soft and Pourable | Tart Fillings |
| 240°F – 245°F | Firm and Chewy | Caramel Candies |
| 280°F – 300°F | Hard and Brittle | Sugar Decorations |
Safety Tips for Working with Hot Sugar
When working with hot sugar, you must stay focused to avoid burns. Use a heavy-bottomed saucepan to spread heat evenly and avoid hot spots.
Have a bowl of ice water ready. If hot sugar splashes on you, quickly dip the area in cold water. This stops the cooking and prevents burns.
Achieving a Professional Chocolate Ganache Finish
A glossy ganache can turn your homemade tart into a gourmet dessert. It adds a smooth, rich layer on top of the crunchy shortbread and chewy caramel. By paying attention to detail, you can make sure your tart showcases the rich flavors of quality cocoa.
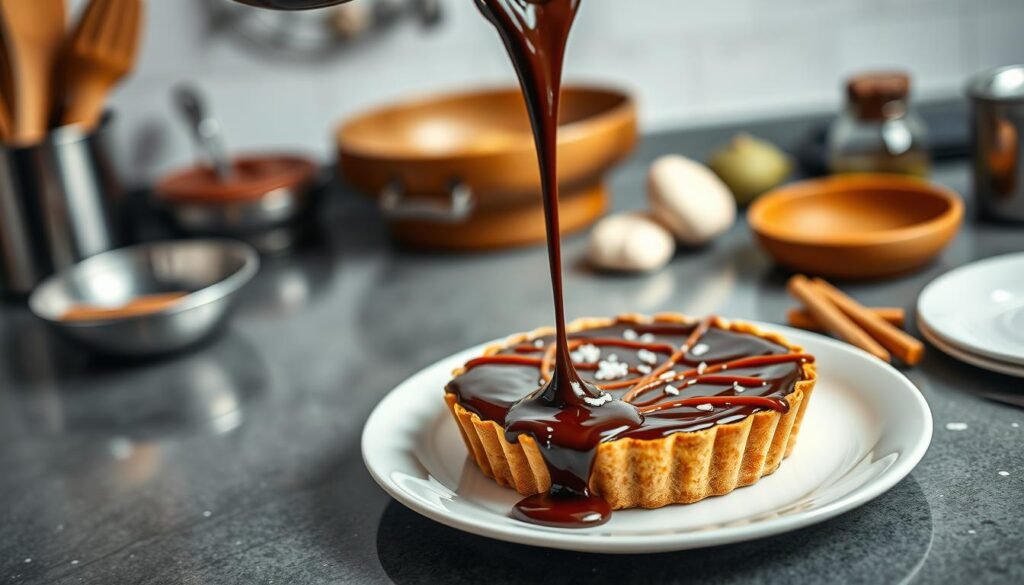
Choosing the Right Chocolate Percentage
The quality of your chocolate affects the ganache’s texture and snap. Experts often suggest using Callebaut Callets #811 for professional results. This dark chocolate melts evenly and sets with a beautiful sheen.
When picking your chocolate, keep these points in mind for the best results:
- Cocoa Butter Content: Higher percentages give a firmer set and cleaner snap.
- Flavor Profile: Pick a chocolate that goes well with your caramel’s sweetness.
- Melting Point: Professional-grade callets melt smoothly without graininess.
Emulsification Techniques for a Glossy Ganache
The key to a mirror-like finish is in the emulsification process. Stir your mixture gently to avoid air bubbles. A smooth, slow stir ensures the fat and liquid mix into a stable, shiny emulsion.
Here’s how to keep your ganache perfect:
- Pour your hot cream over the chocolate in small, controlled batches.
- Use a silicone spatula to stir from the center outward in tight circles.
- Let the mixture rest until it’s pourable and at room temperature.
By mastering these techniques, your tart will look as good as it tastes. A well-made ganache brings out the rich flavors of the chocolate. This makes your tart a standout gourmet dessert for any event.
Pro Tips for Assembly and Presentation
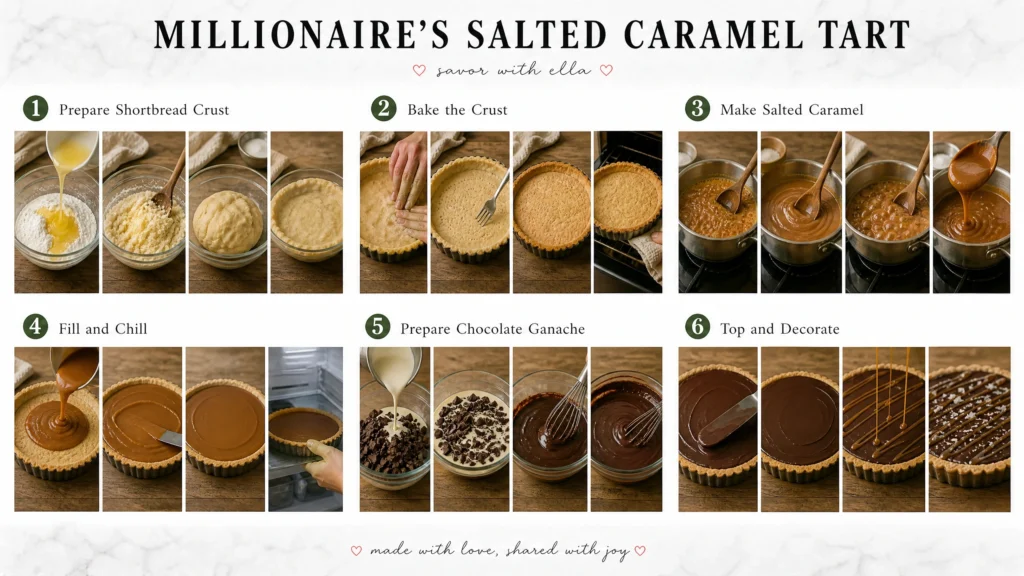
To make your baked treat a gourmet dessert, you need patience and skill. The way you put the tart together after it’s chilled is key. It can make your dessert look like a work of art or a mess. Follow these professional tips to make your dessert stand out as an impressive dessert at any event.
Layering for Clean Visual Lines
For sharp, clear layers, handle the tart carefully once it’s set. Use a small, straight metal spatula to gently release the sides from the pan. This step helps avoid cracks and makes lifting the tart easy.
Keeping the shortbread, caramel, and ganache layers intact is crucial for a clean look. If the tart is too warm, the layers can mix, spoiling the look. Always let the tart cool completely before taking it out of the tin.
Slicing Techniques for a Gourmet Look
The key to a perfect slice is a warm knife and quick cuts. A warm knife cuts through the chocolate ganache smoothly, without smearing. This highlights the sweet and salty flavors that make this dessert unforgettable.
“Presentation is the silent language of a chef; it tells the guest exactly how much care went into the craft before the first bite is even taken.”
Here’s a table to help you pick the best presentation method:
| Method | Best For | Result |
|---|---|---|
| Hot Knife | Clean Ganache | Professional Finish |
| Room Temp Knife | Rustic Style | Soft Edges |
| Sawing Motion | Hard Crusts | Structural Stability |
Using a steady, downward motion, you get a clean cut that shows off the sweet and salty flavors. This attention to detail turns a simple bake into an impressive dessert that will impress your guests.
Conclusion
Making a Millionaire’s Salted Caramel Tart is a fun and rewarding task. It turns simple ingredients into a luxurious treat. You now know how to mix rich chocolate with buttery shortbread and smooth caramel.
This dessert shows off your growing kitchen skills. Sharing it brings happiness to your table. It also shows your commitment to making high-quality baked goods.
Keep trying new things in your baking. Try different sea salts or use top-notch chocolates like Valrhona or Ghirardelli. Each try gets you closer to making this dessert perfect.
Your baking journey begins with these basic steps. Keep improving your skills. Enjoy making beautiful sweets for your loved ones.